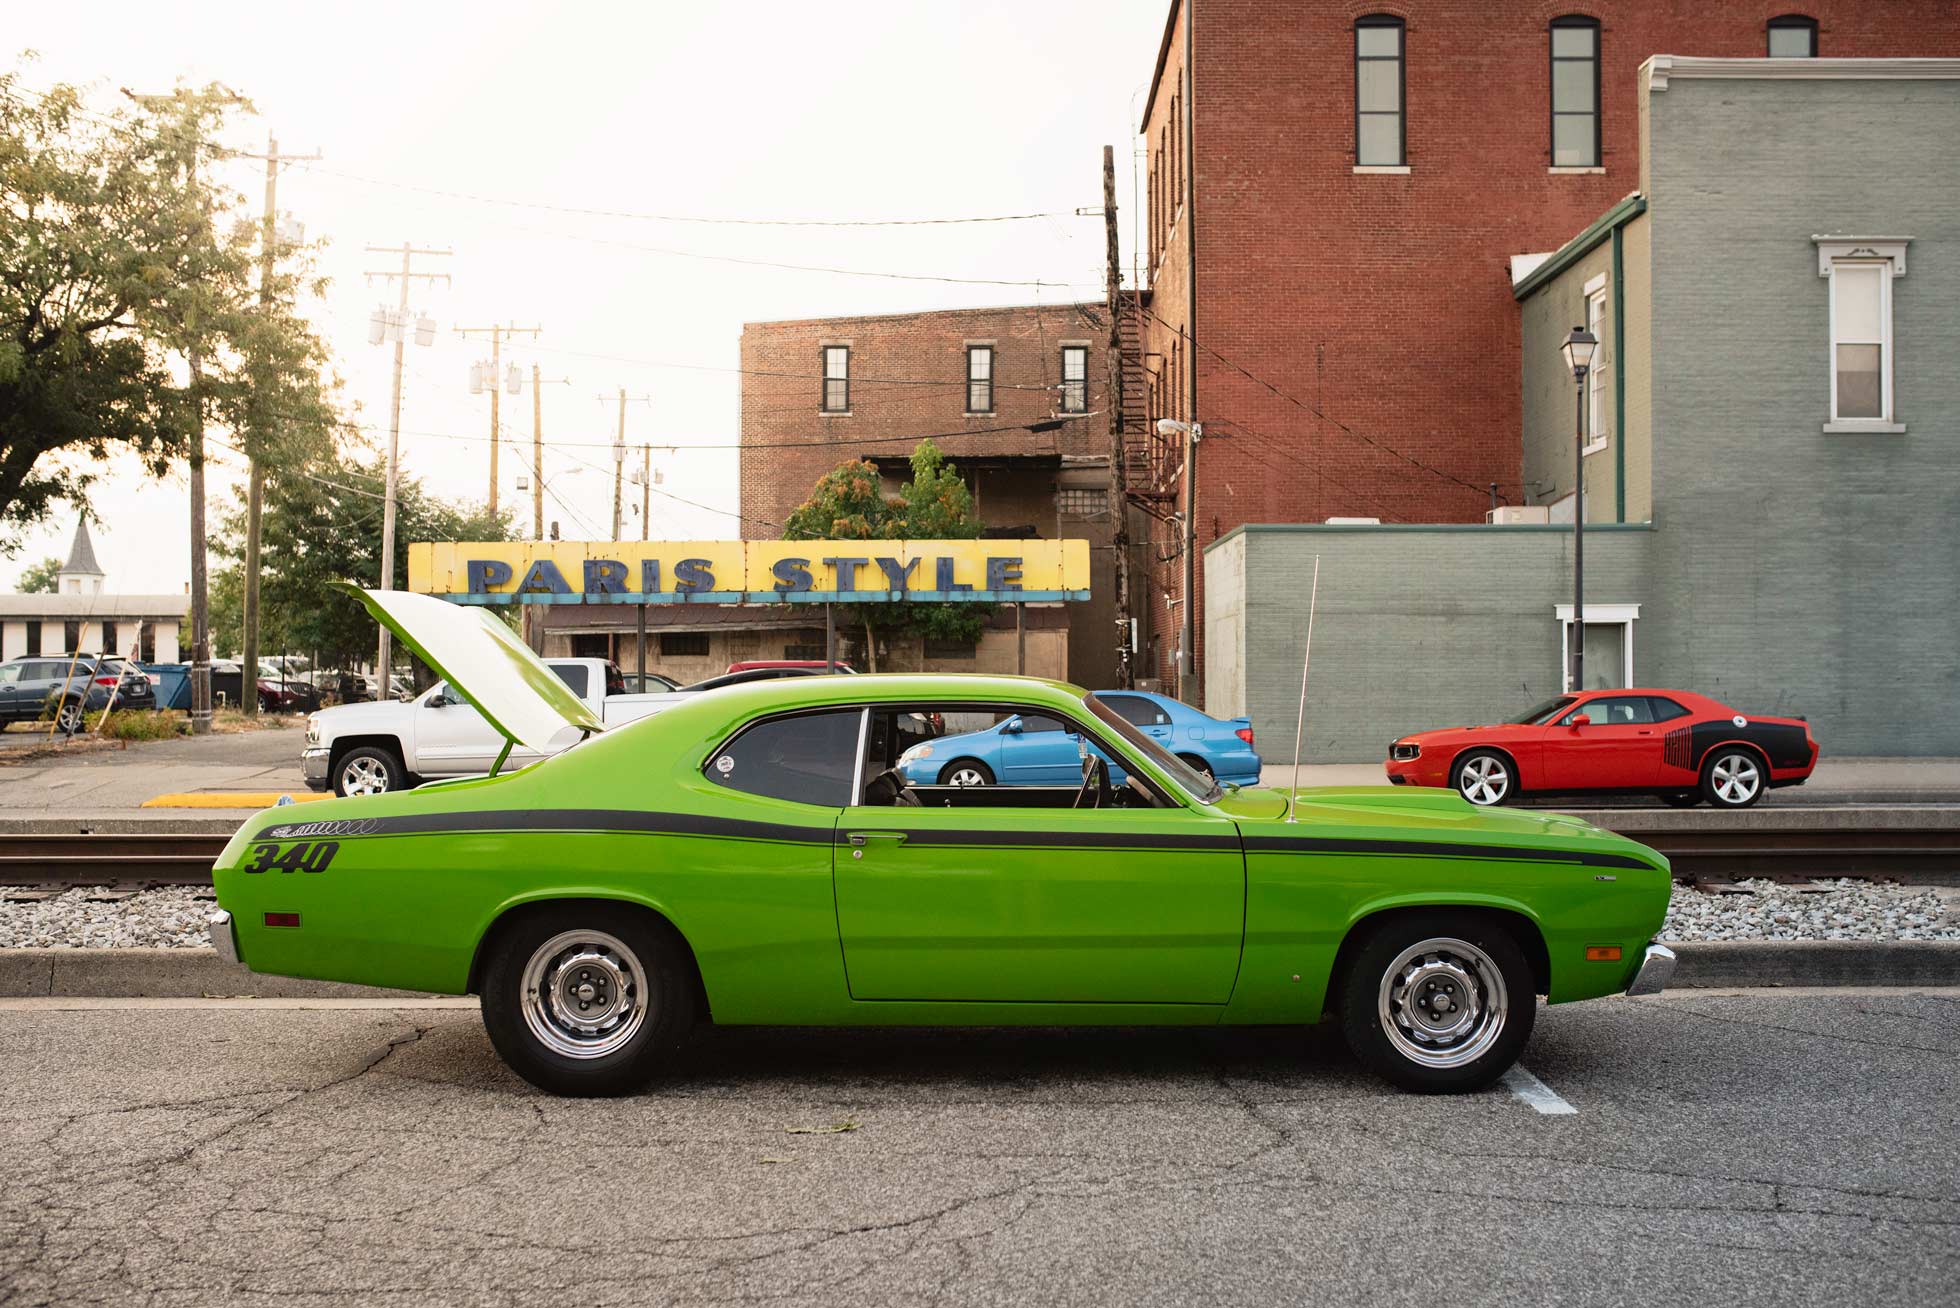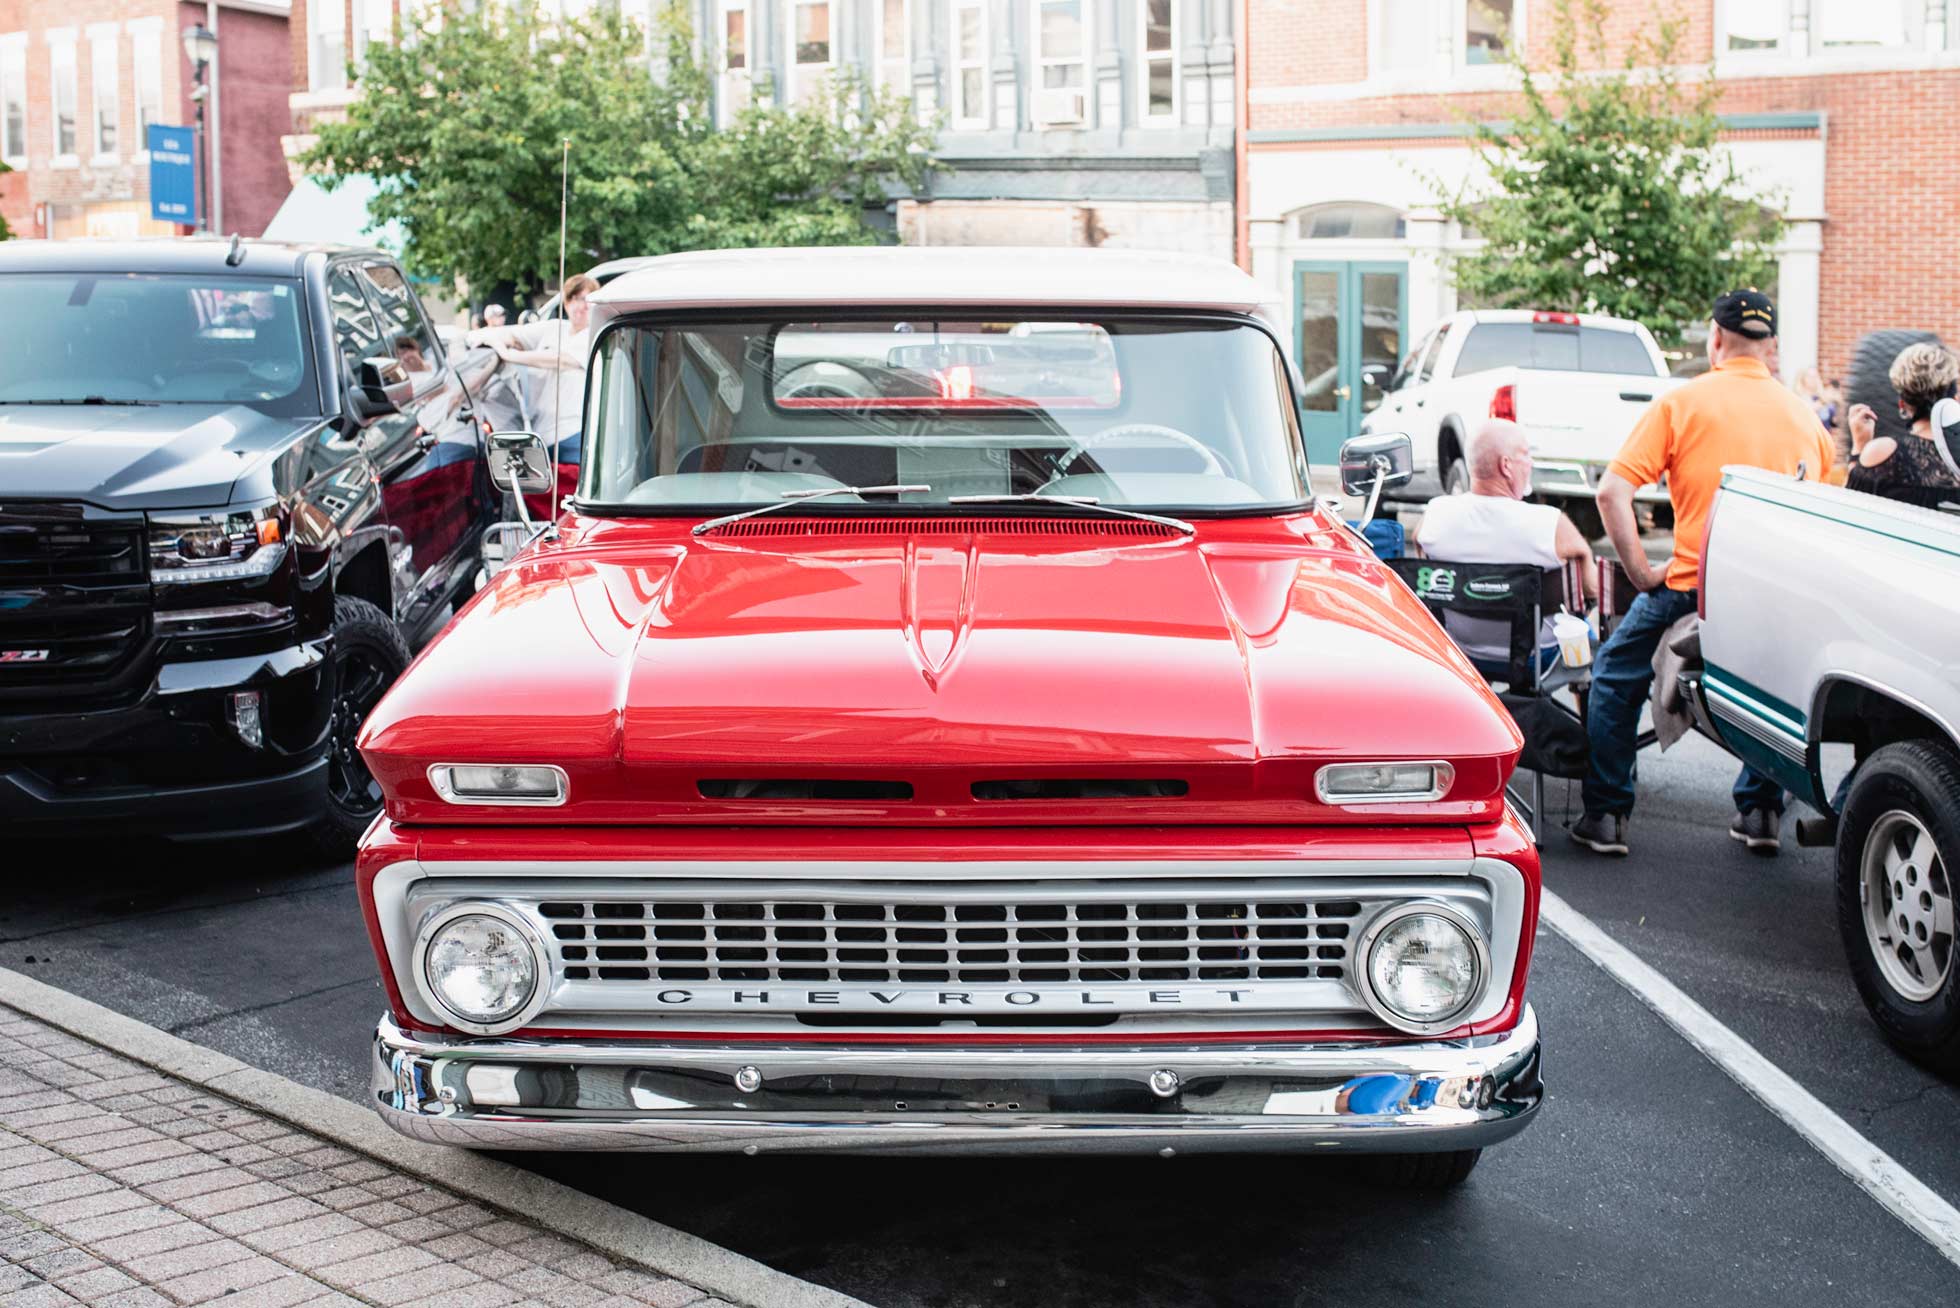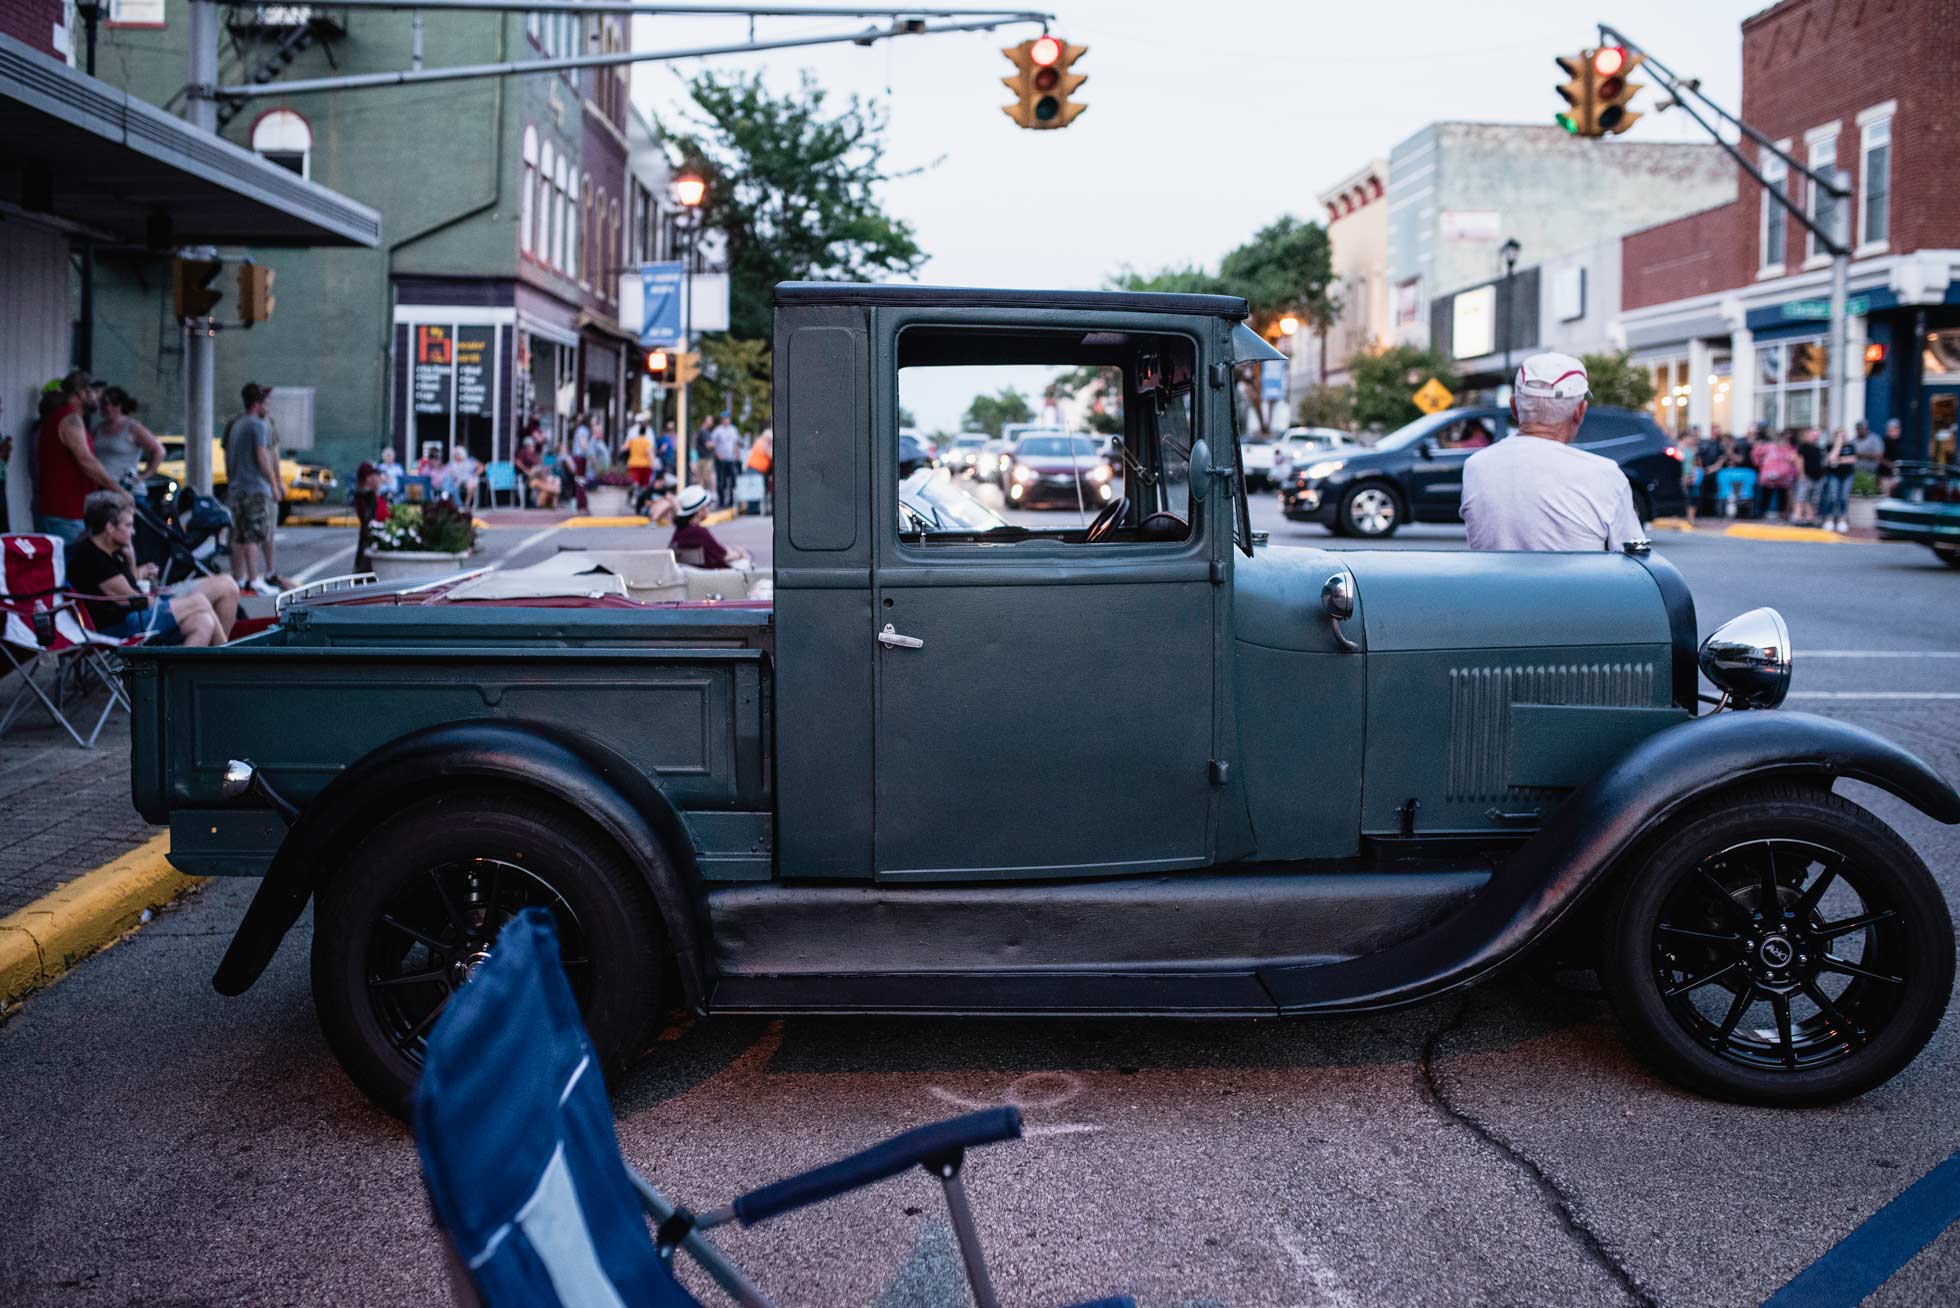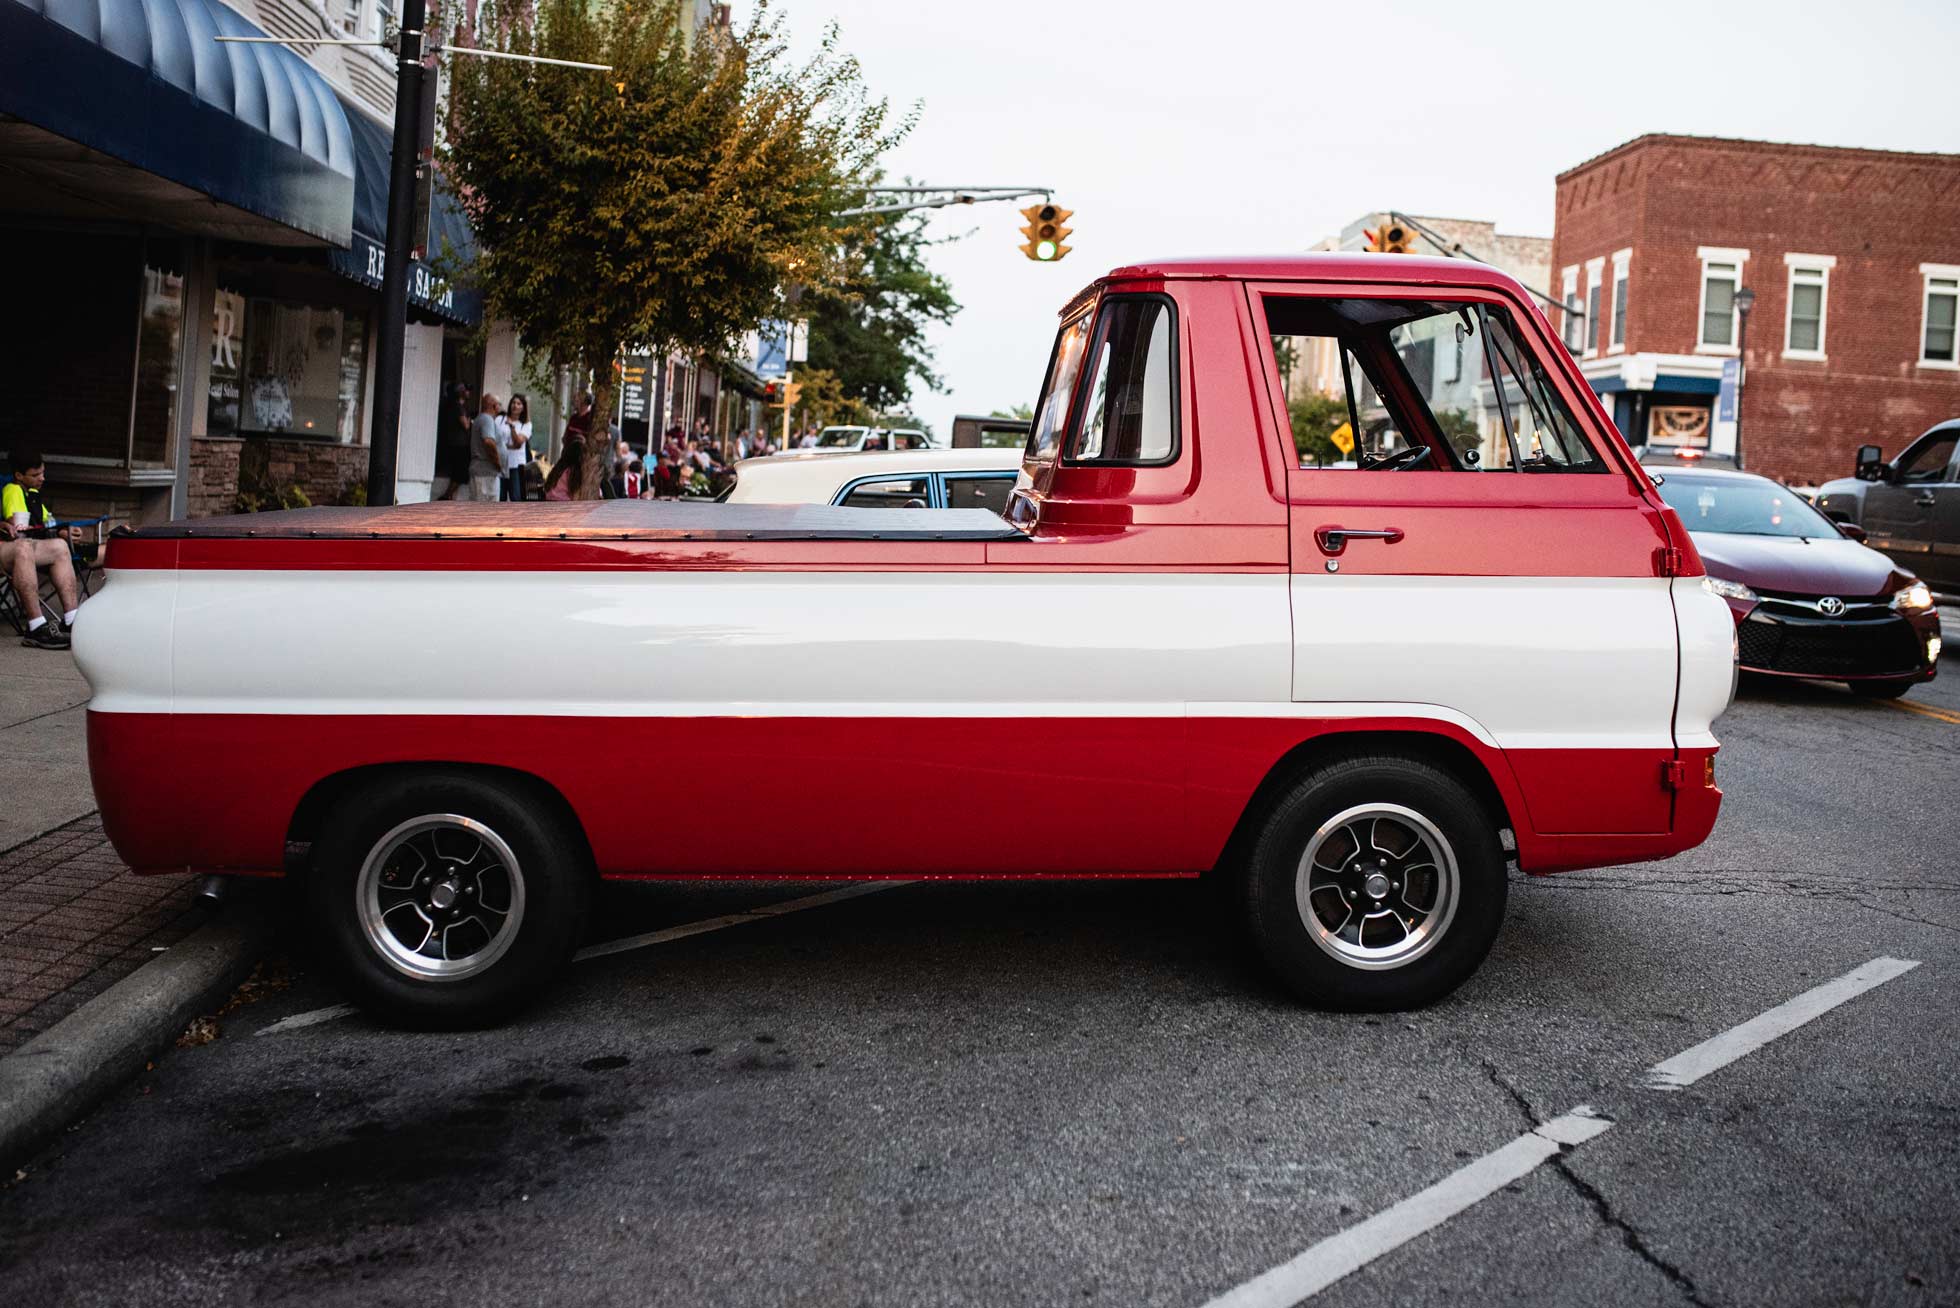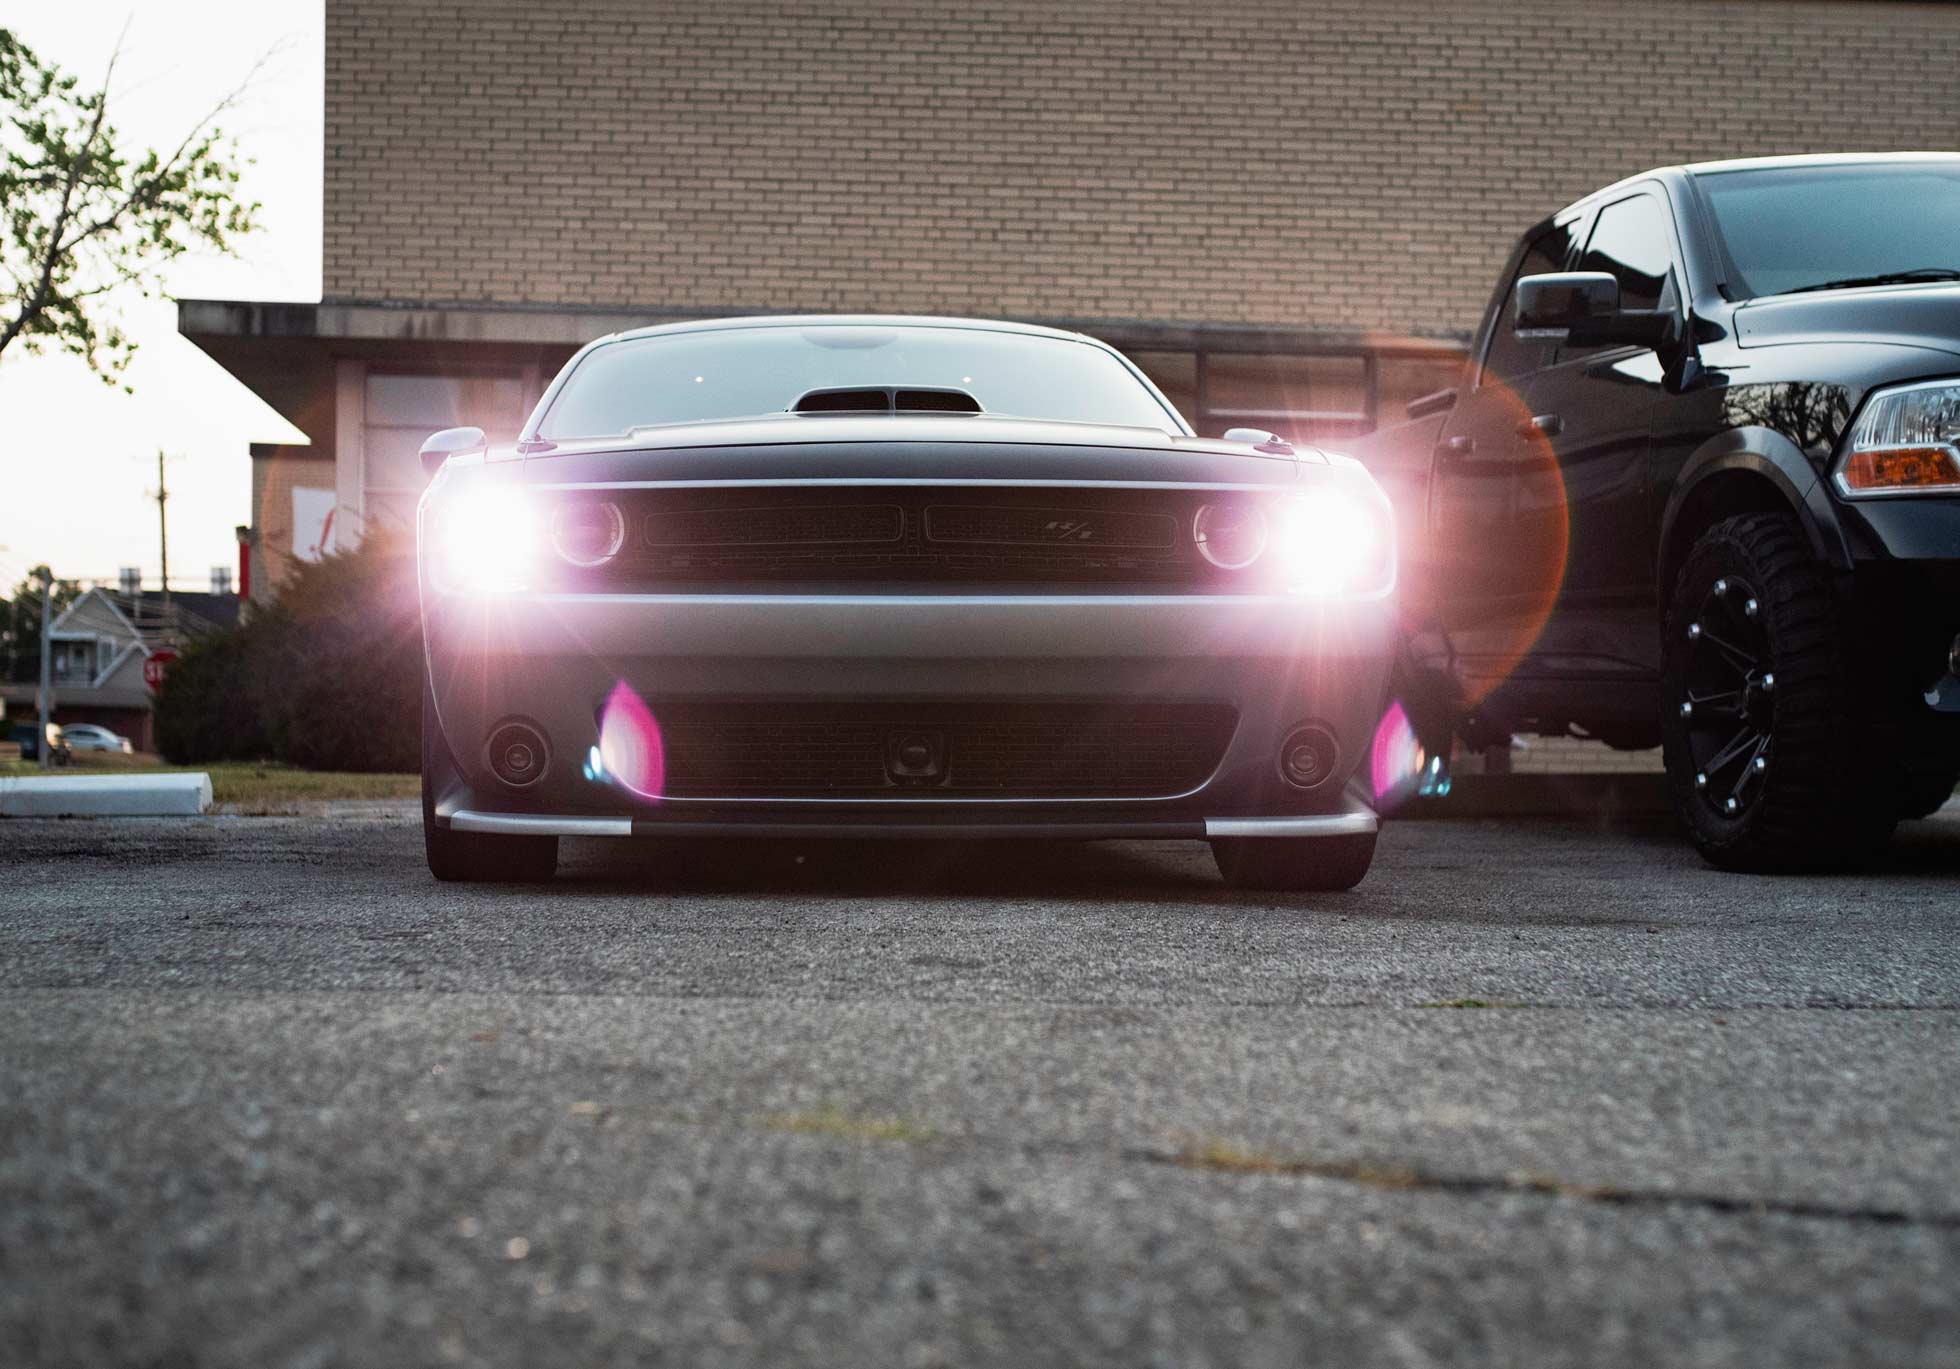
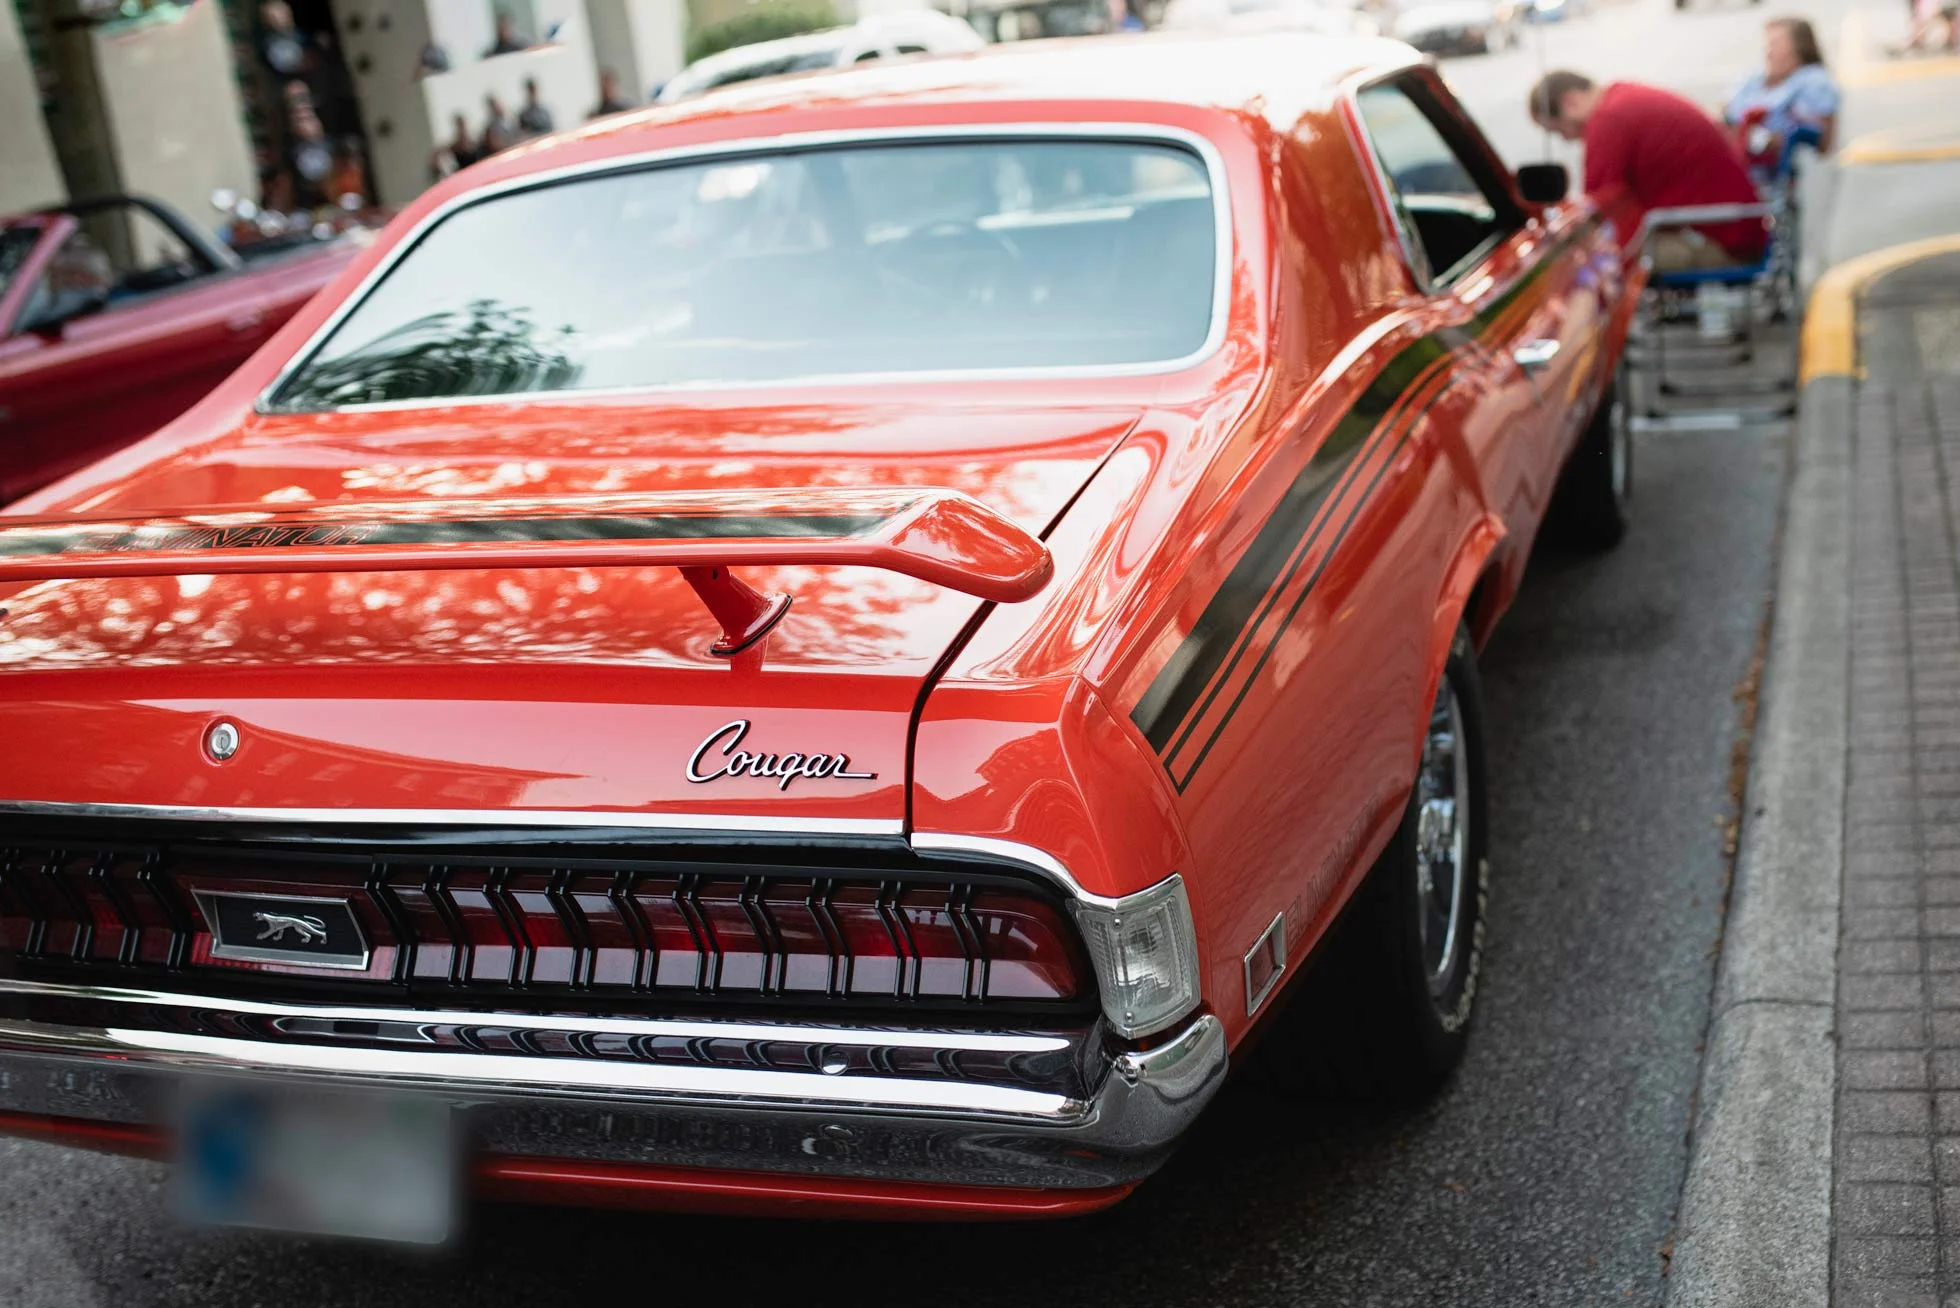
So, my husband and I went to scoop the loop in Seymour, Indiana on August 17. For those of you who do not know, it is a car show, where everyone cruises the square in downtown Seymour. Yes, just like high school (if you were in a small town)! It was packed and loud. It’s pretty fun if you’re a gear head or just enjoy the socializing. I thought I would share some of my favorite pictures from this event. There were lots of awesome cars. Find out more about this event Here for 2023
How to Photograph a Silhouette
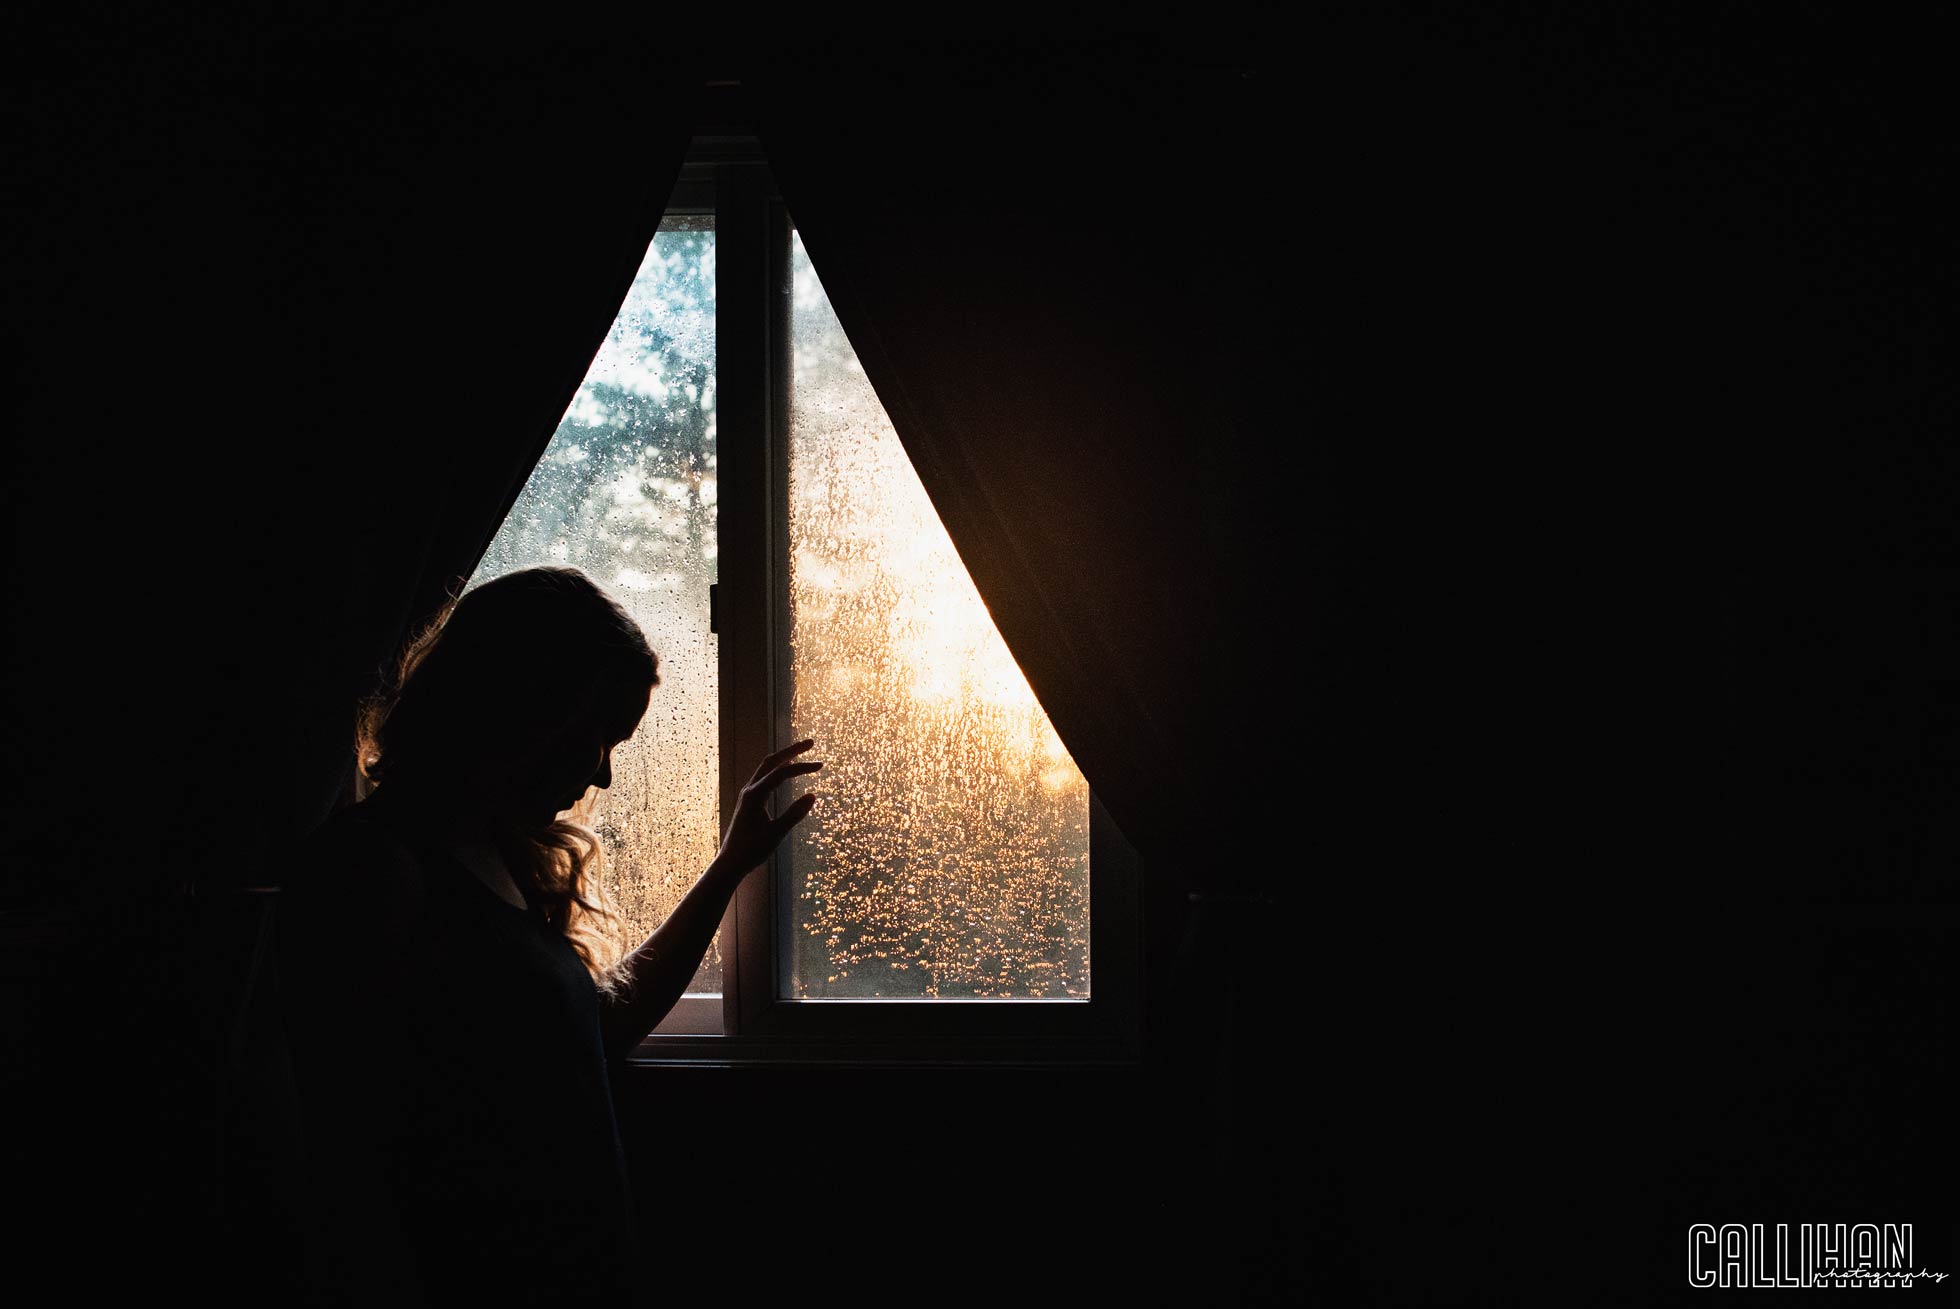
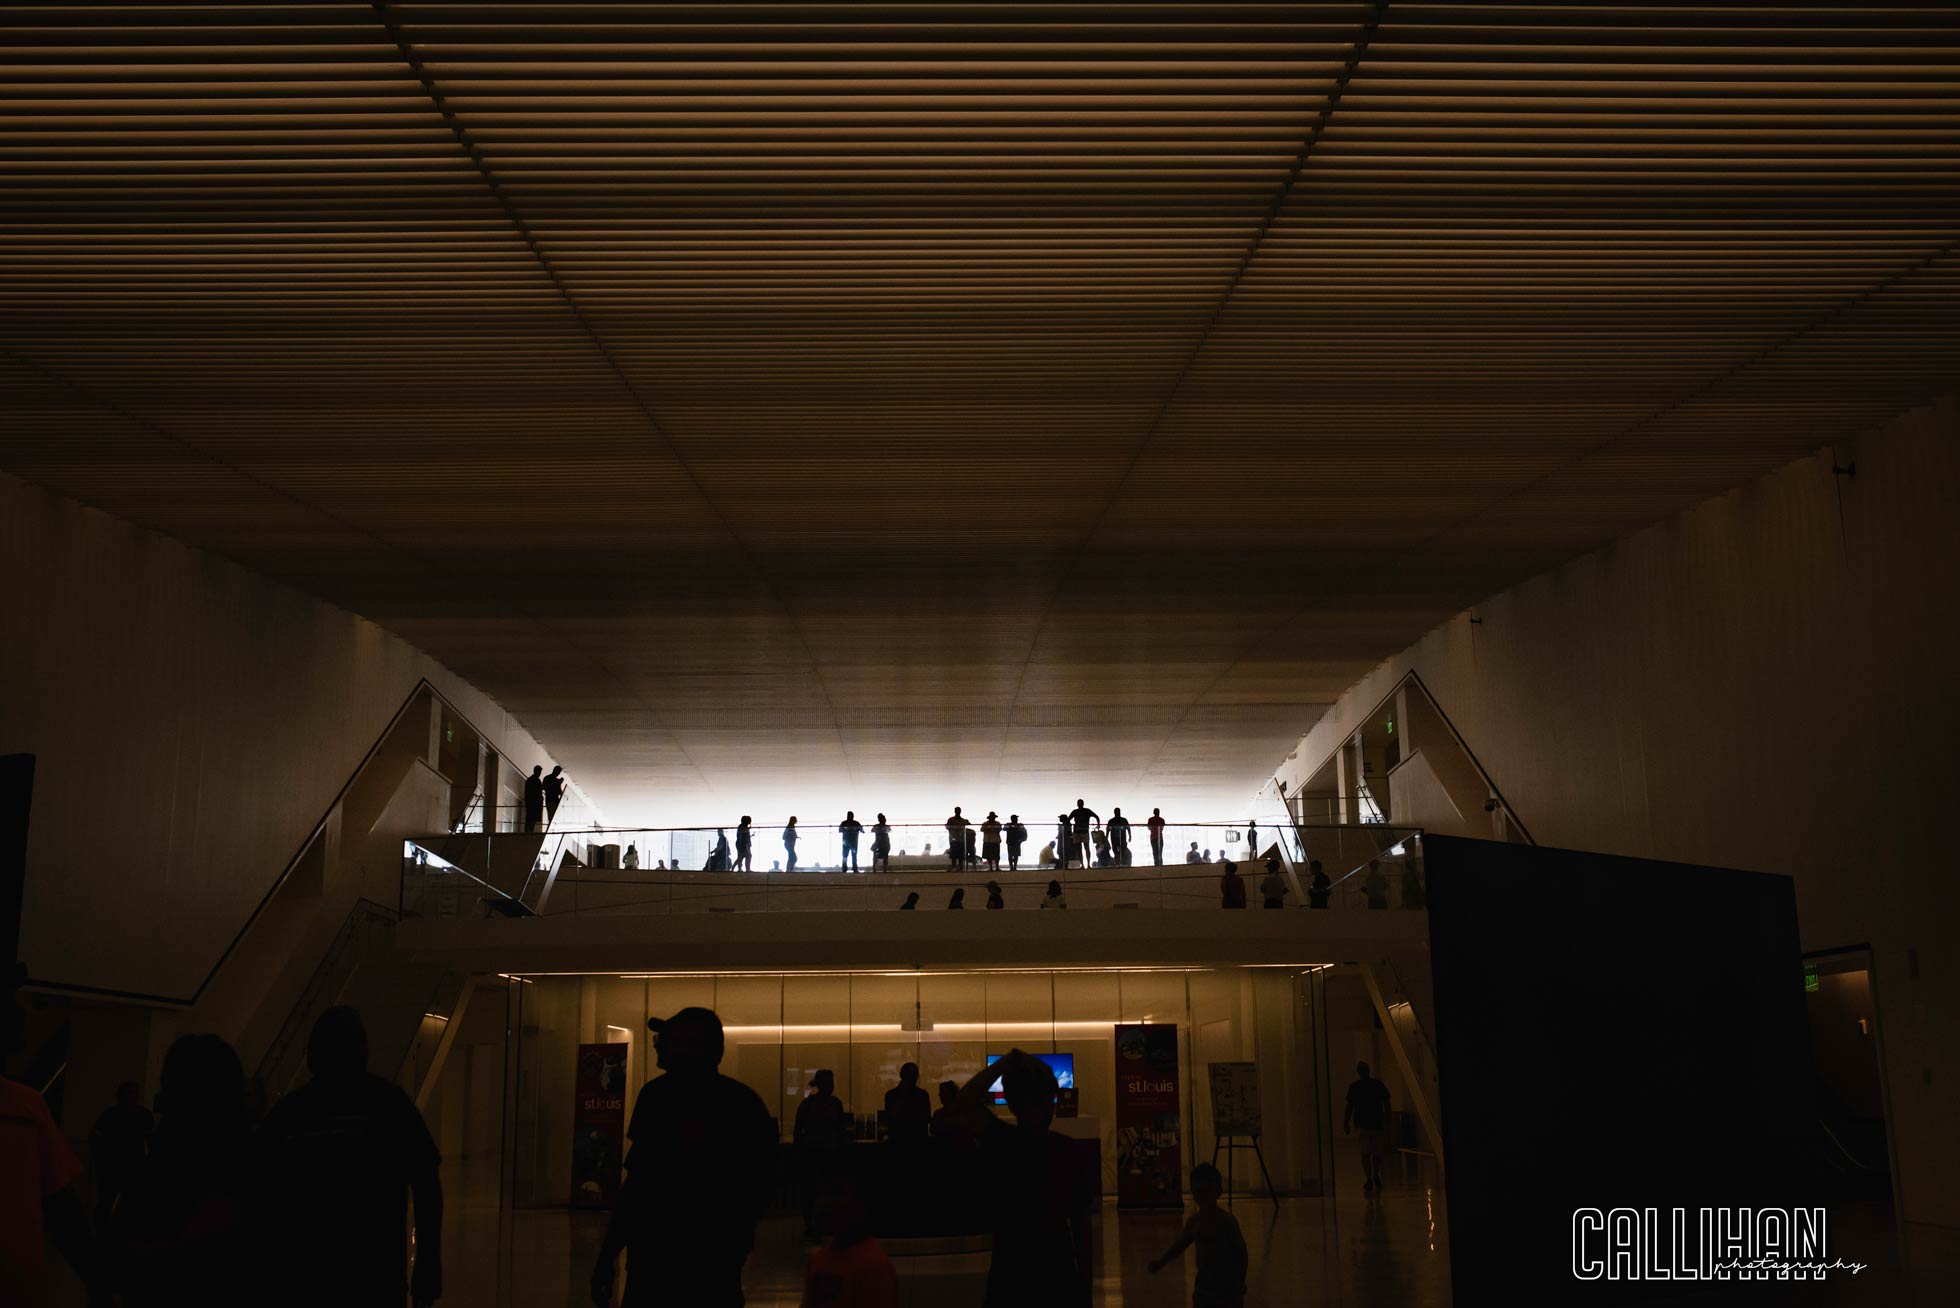
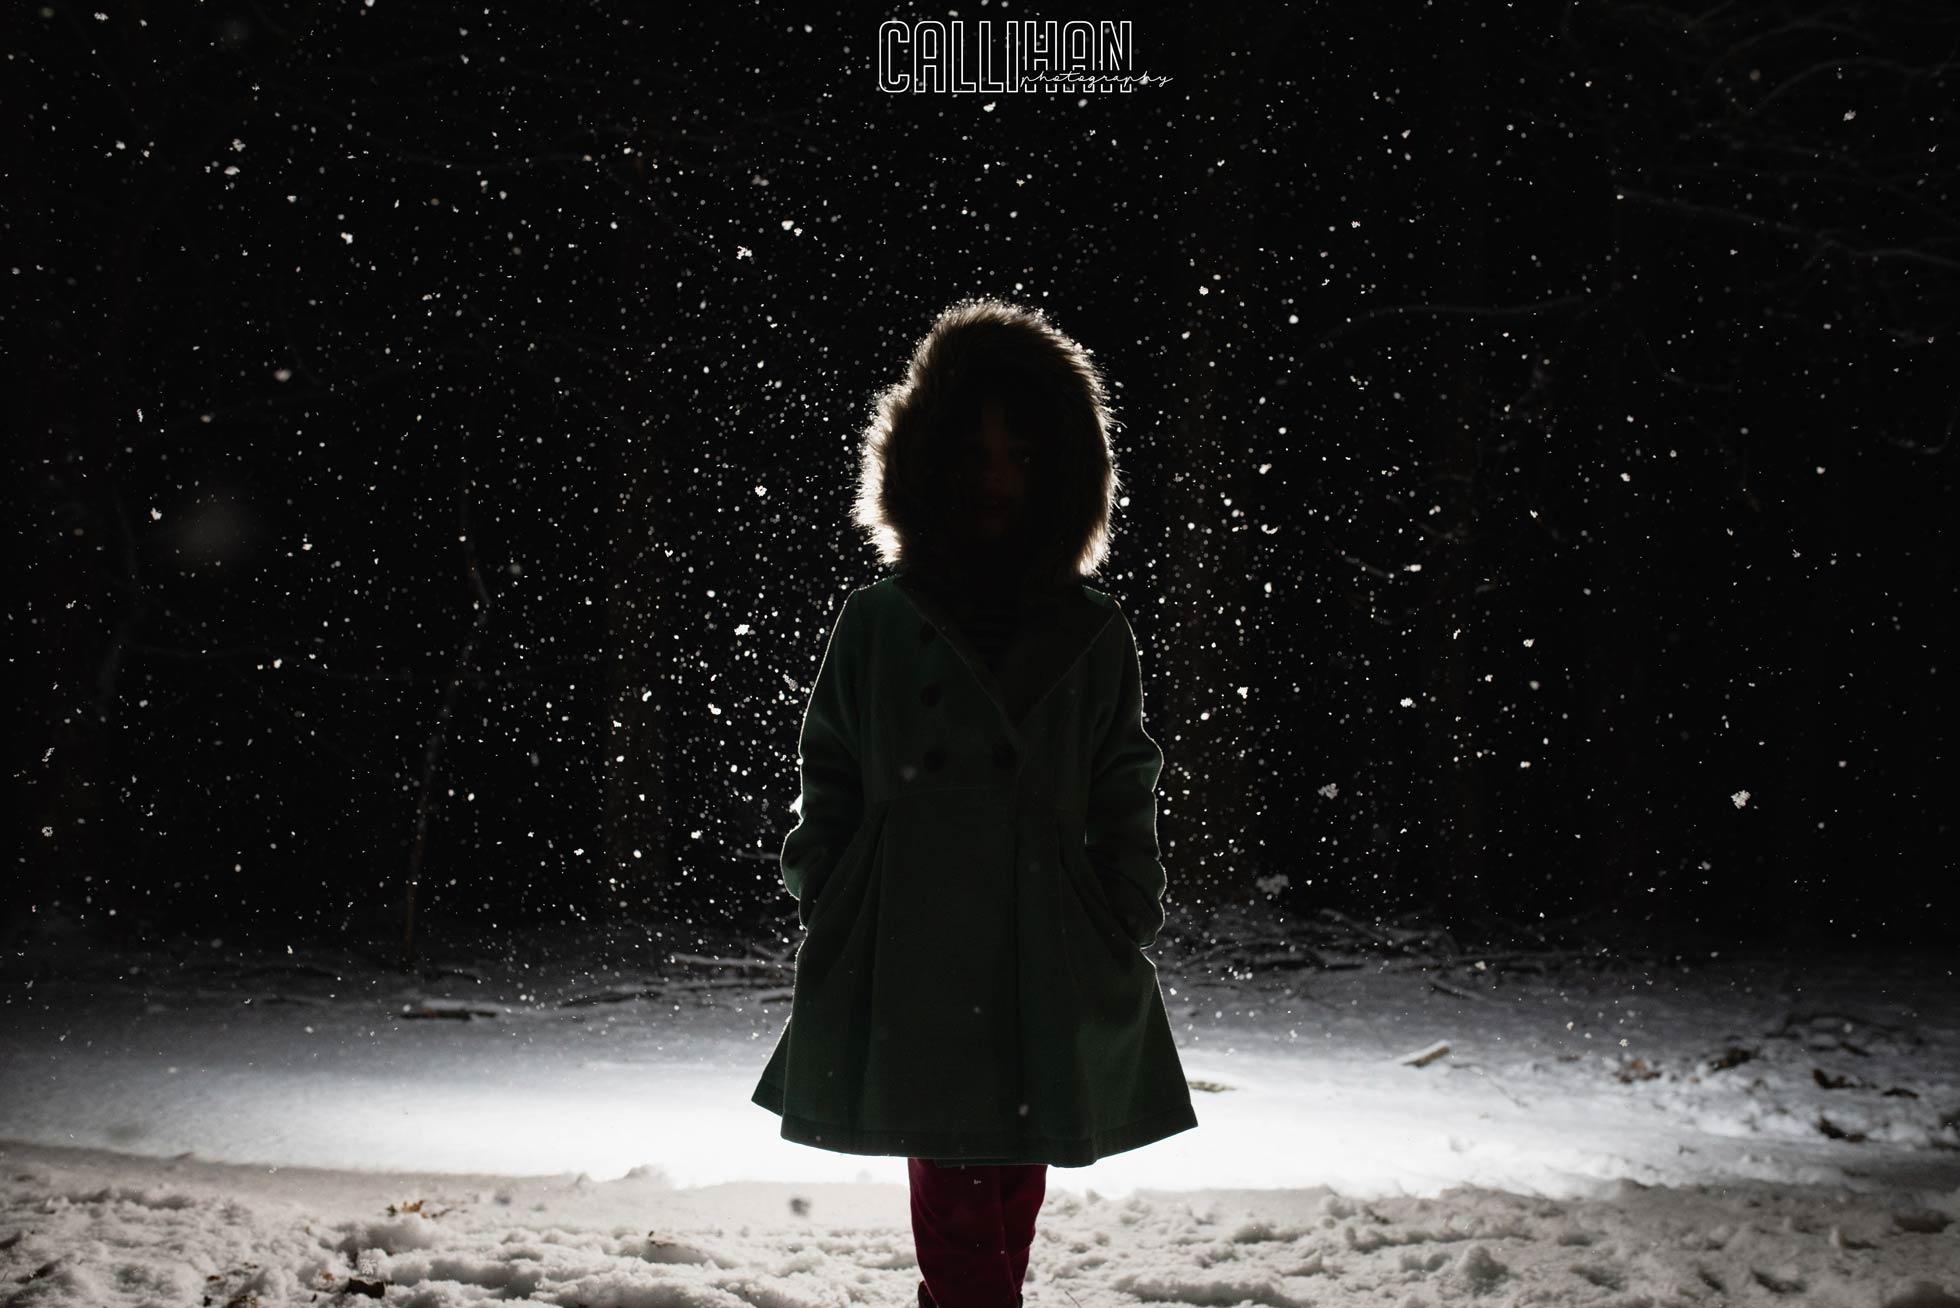
A silhouette is where your subject is mostly or completely dark and the light behind the subject is exposed correctly. Silhouettes are very easy to photograph.
First, put your camera in Manual mode if you haven’t already done so. This will help you to expose behind your subject rather than for your subject. If you are in automatic mode, make sure your flash is turned off.
Next you need to place your subject with light behind them. This can be a sky or if you are looking out from a building, cave or alleyway that will work too. You will just need light behind them. Then expose properly for the light behind them. If you are in auto mode you will want to point the camera at the brightest part of your picture, so it will meter for your light source rather than your subject. This will severely underexpose your subject. Which is exactly what you want. When looking through your viewfinder or on your screen if you are in live view mode, you will want to check your light meter. Make sure it is reading 0, and you are not blowing out the sky or light source. You can get away with underexposing quite a bit as long as you are not losing detail in your sky.
There are a few things to think about. It helps to have a recognizable shape. So, if you are photographing a person it helps if their limbs are visible. The simpler the better! Don’t be afraid to increase the contrast in post processing. You can even play around with the colors that you have captured to make your silhouettes stand out even more. It helps to shoot in raw to really bring out those details.
Try it out! This simple technique can really give you new possibilities with your photography.
Thanks for reading.
How I use Frequency Separation for Skin
I love using frequency separation for skin because you can take care of shadows or inconsistent skin tones without over smoothing or over processing. No one wants plastic skin!! This technique separates the color from the texture, allowing you to adjust the tones, and imperfections. For my example I am using a picture of my nephew. And while his sweet little baby skin is PERFECT, he does have a little stork bite right in the middle of his forehead, and some tiny tiny bumps. Using frequency separation is the perfect tool for taking care of this.
Here is my image before:
And here is the final image:
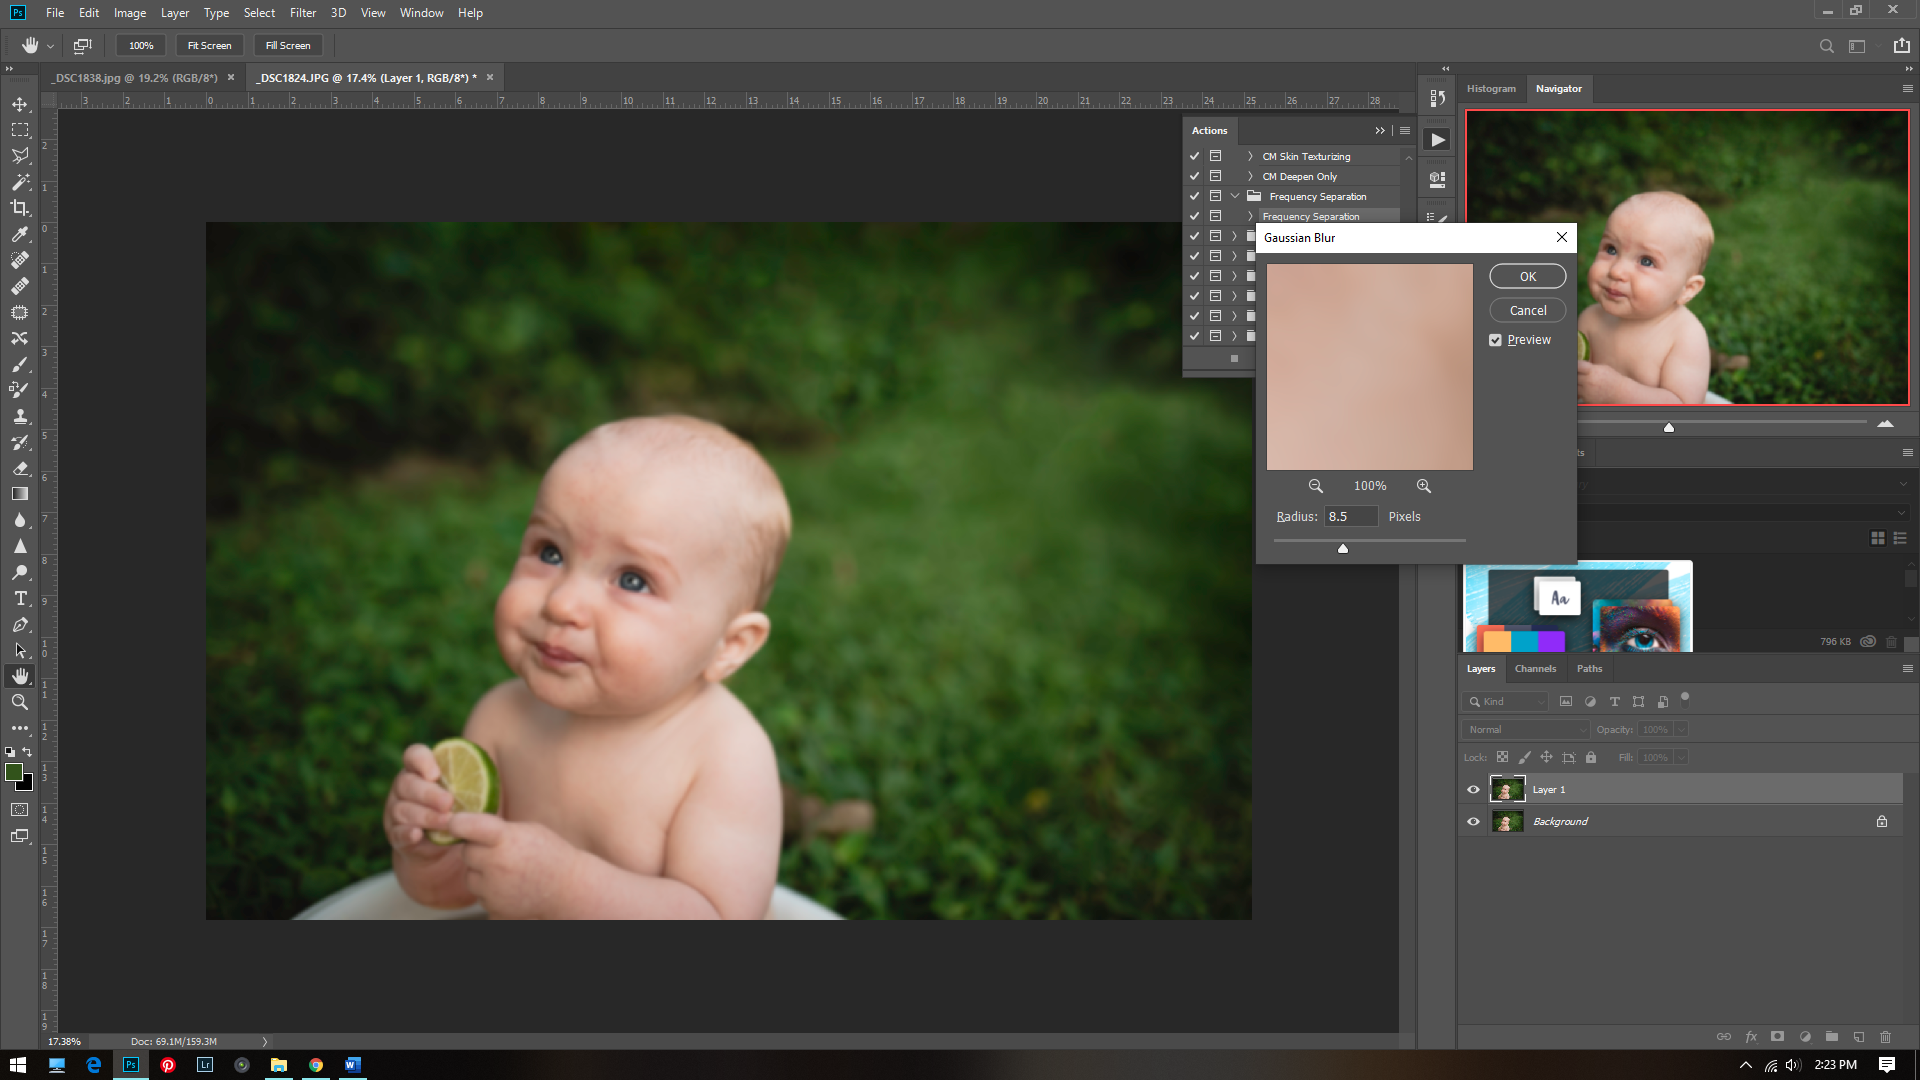
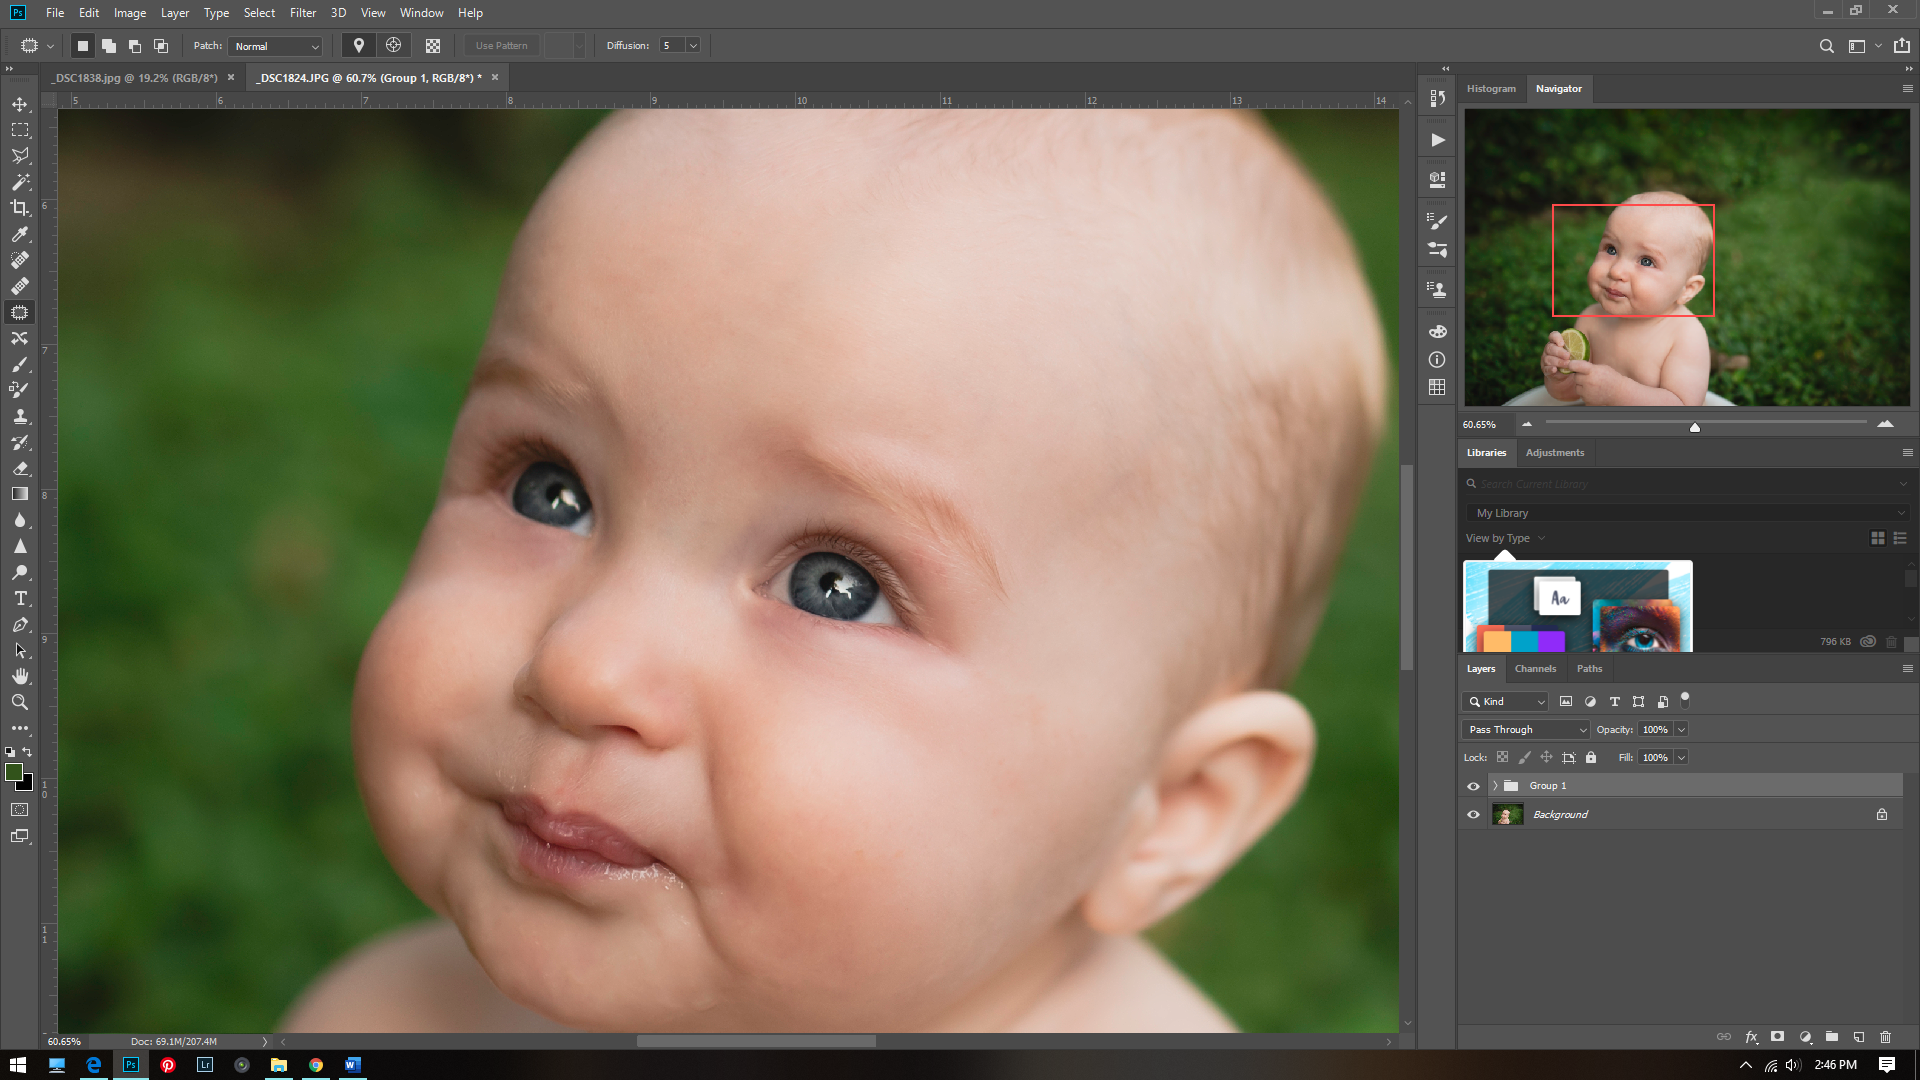
After making my normal adjustments I start by making 2 virtual copies of my image using ctrl+j. I rename one layer high and one layer low. Put them in a group folder. I then use a Gaussian blur over the lower layer and set the radius around 8. This may vary.
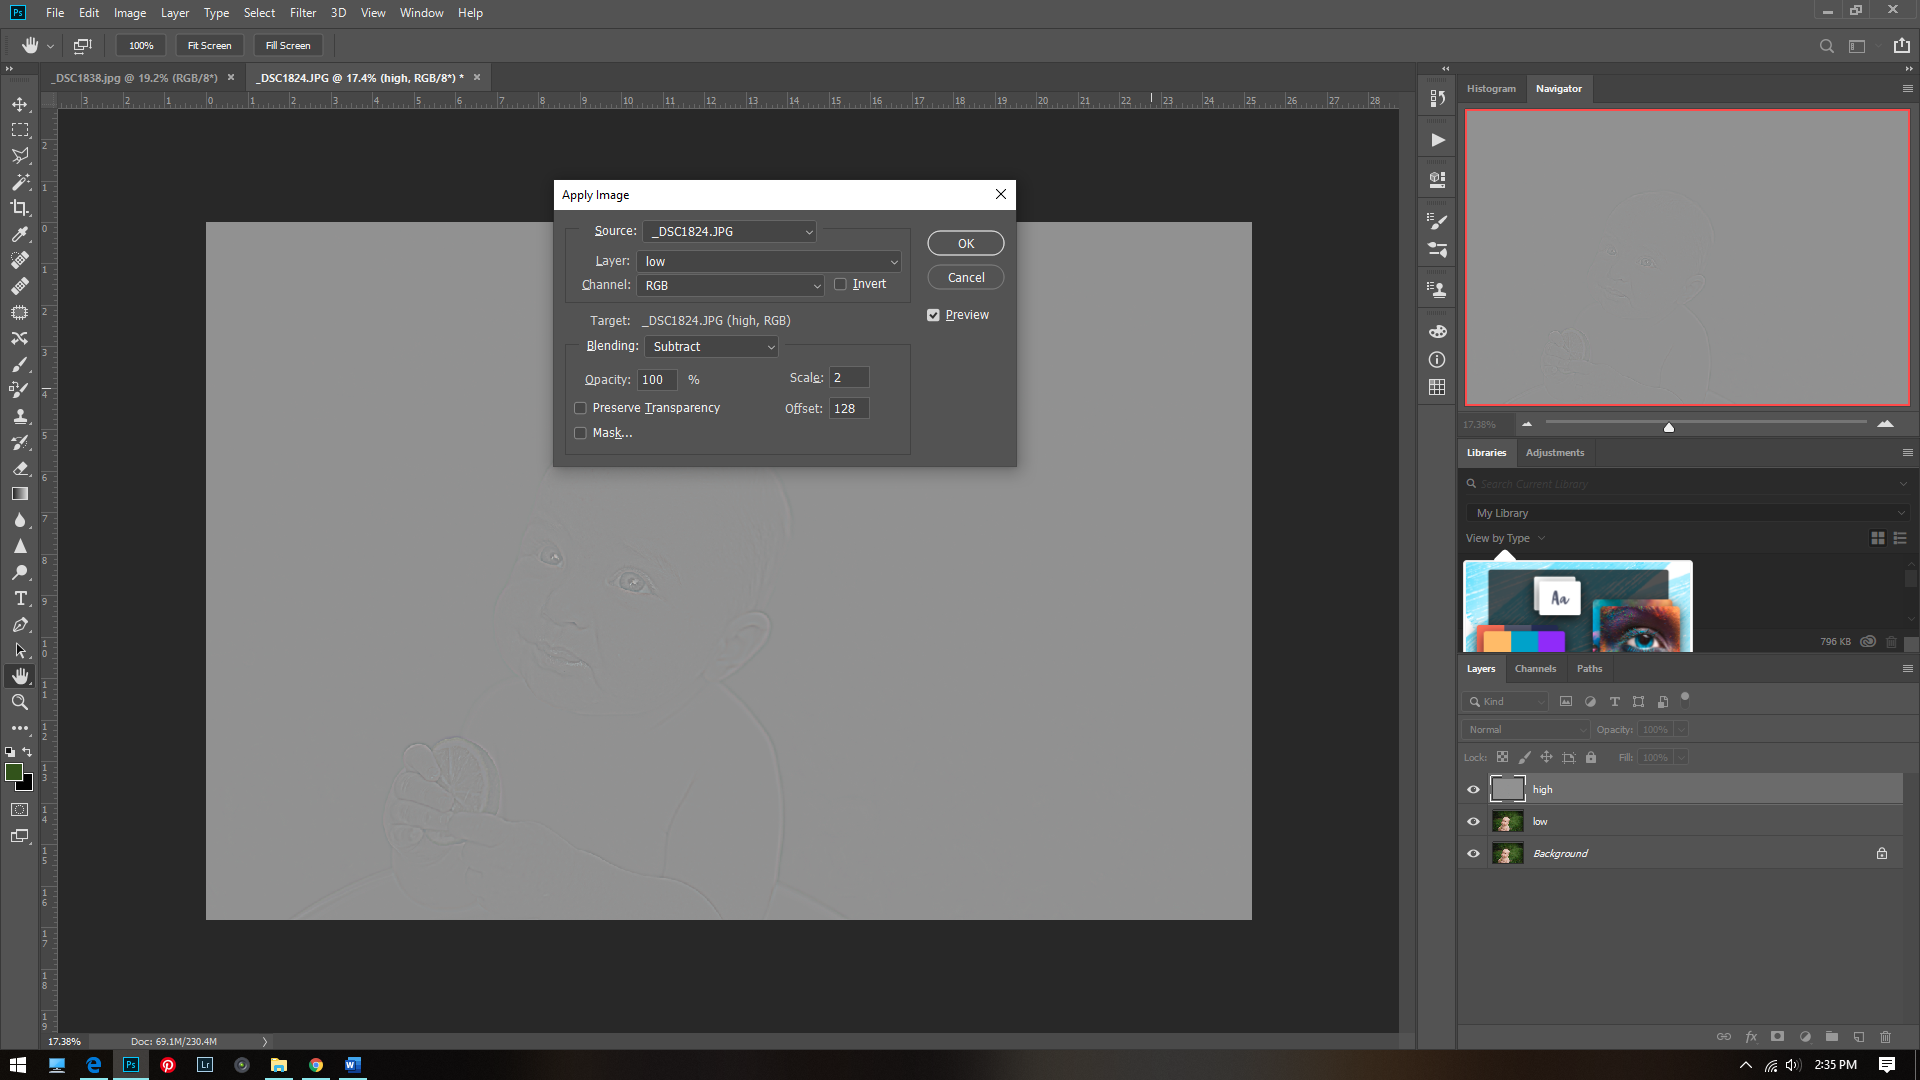
For my top layer I use Image>apply Image. Then set the layer to Low, and the channel to RGB. Set the blending to Subtract, and the scale to 2, and the offset to 128. Set this layer to linear light.
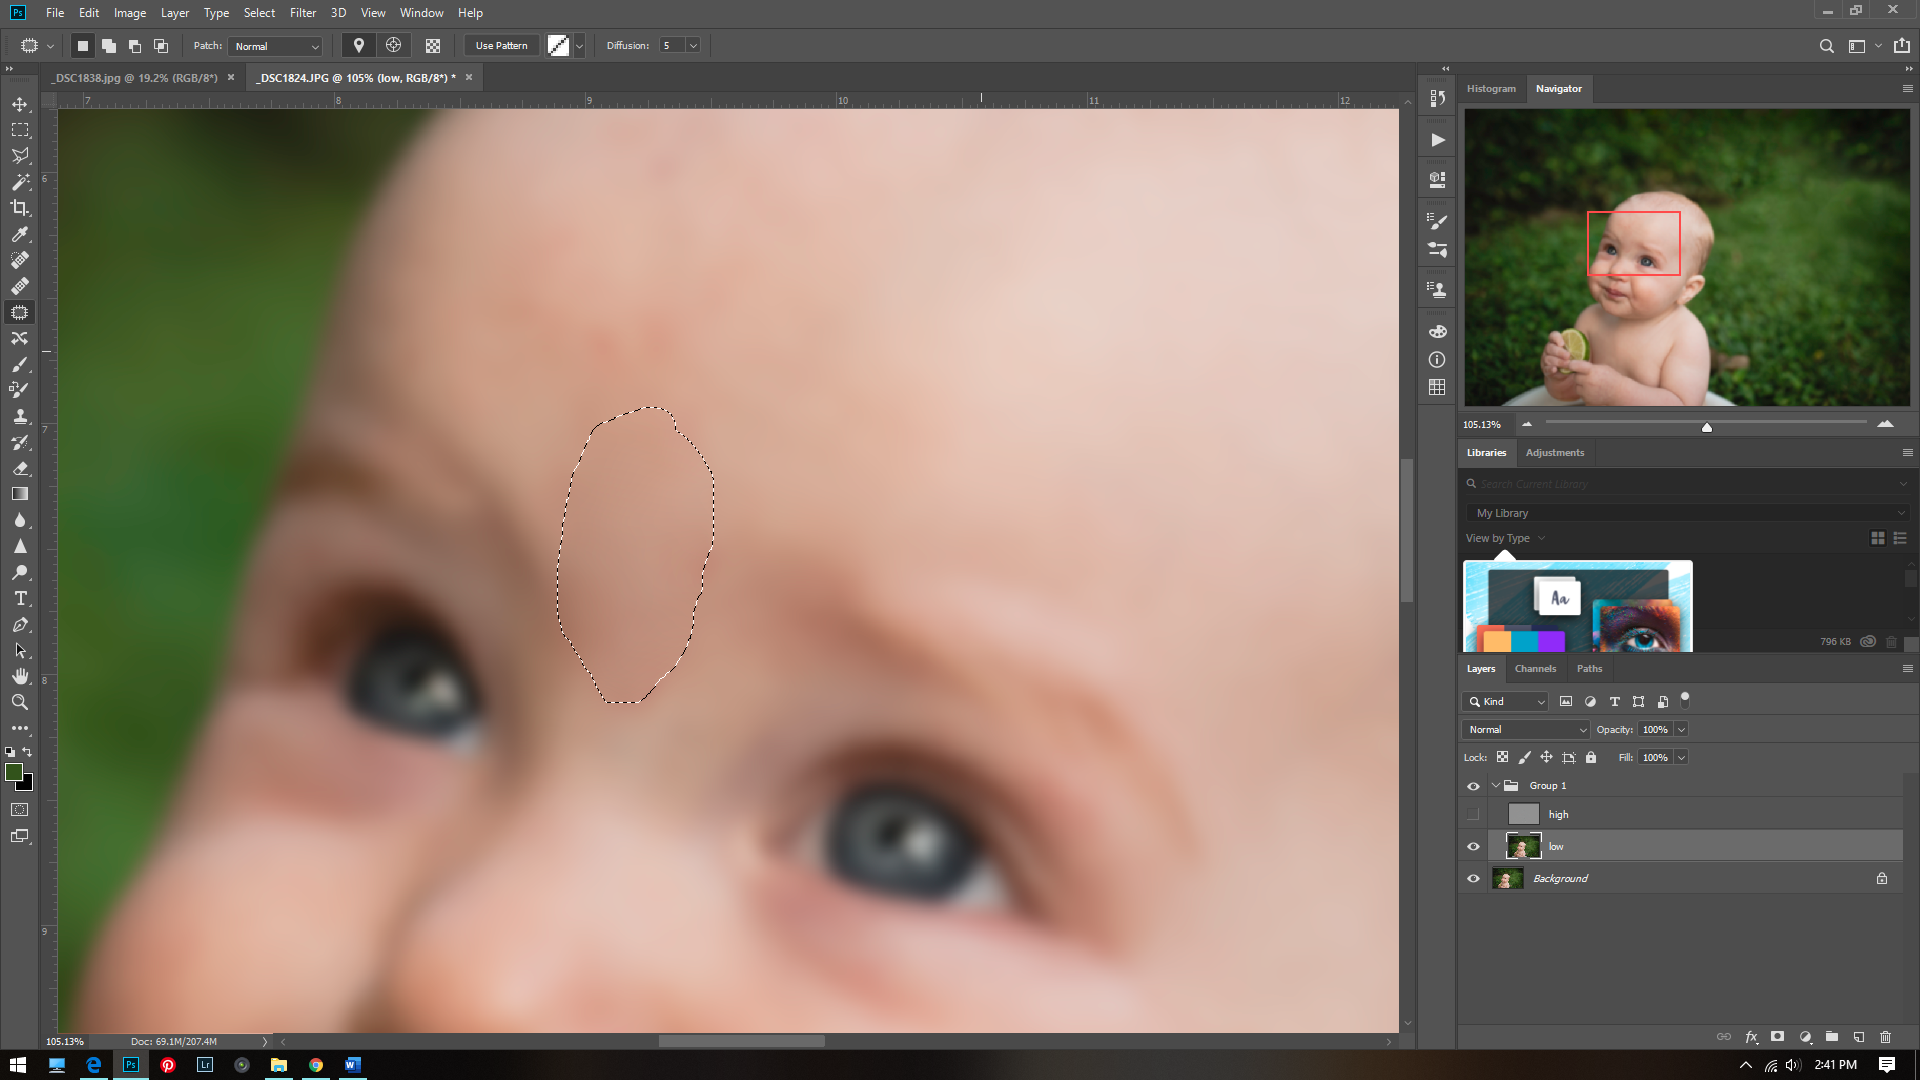
For the next part I like to turn off the high layer and look for red patches or inconsistent colors. I then use the patch tool (the shortcut is j). I then go around all the places I see inconsistencies and correct them with the patch tool.
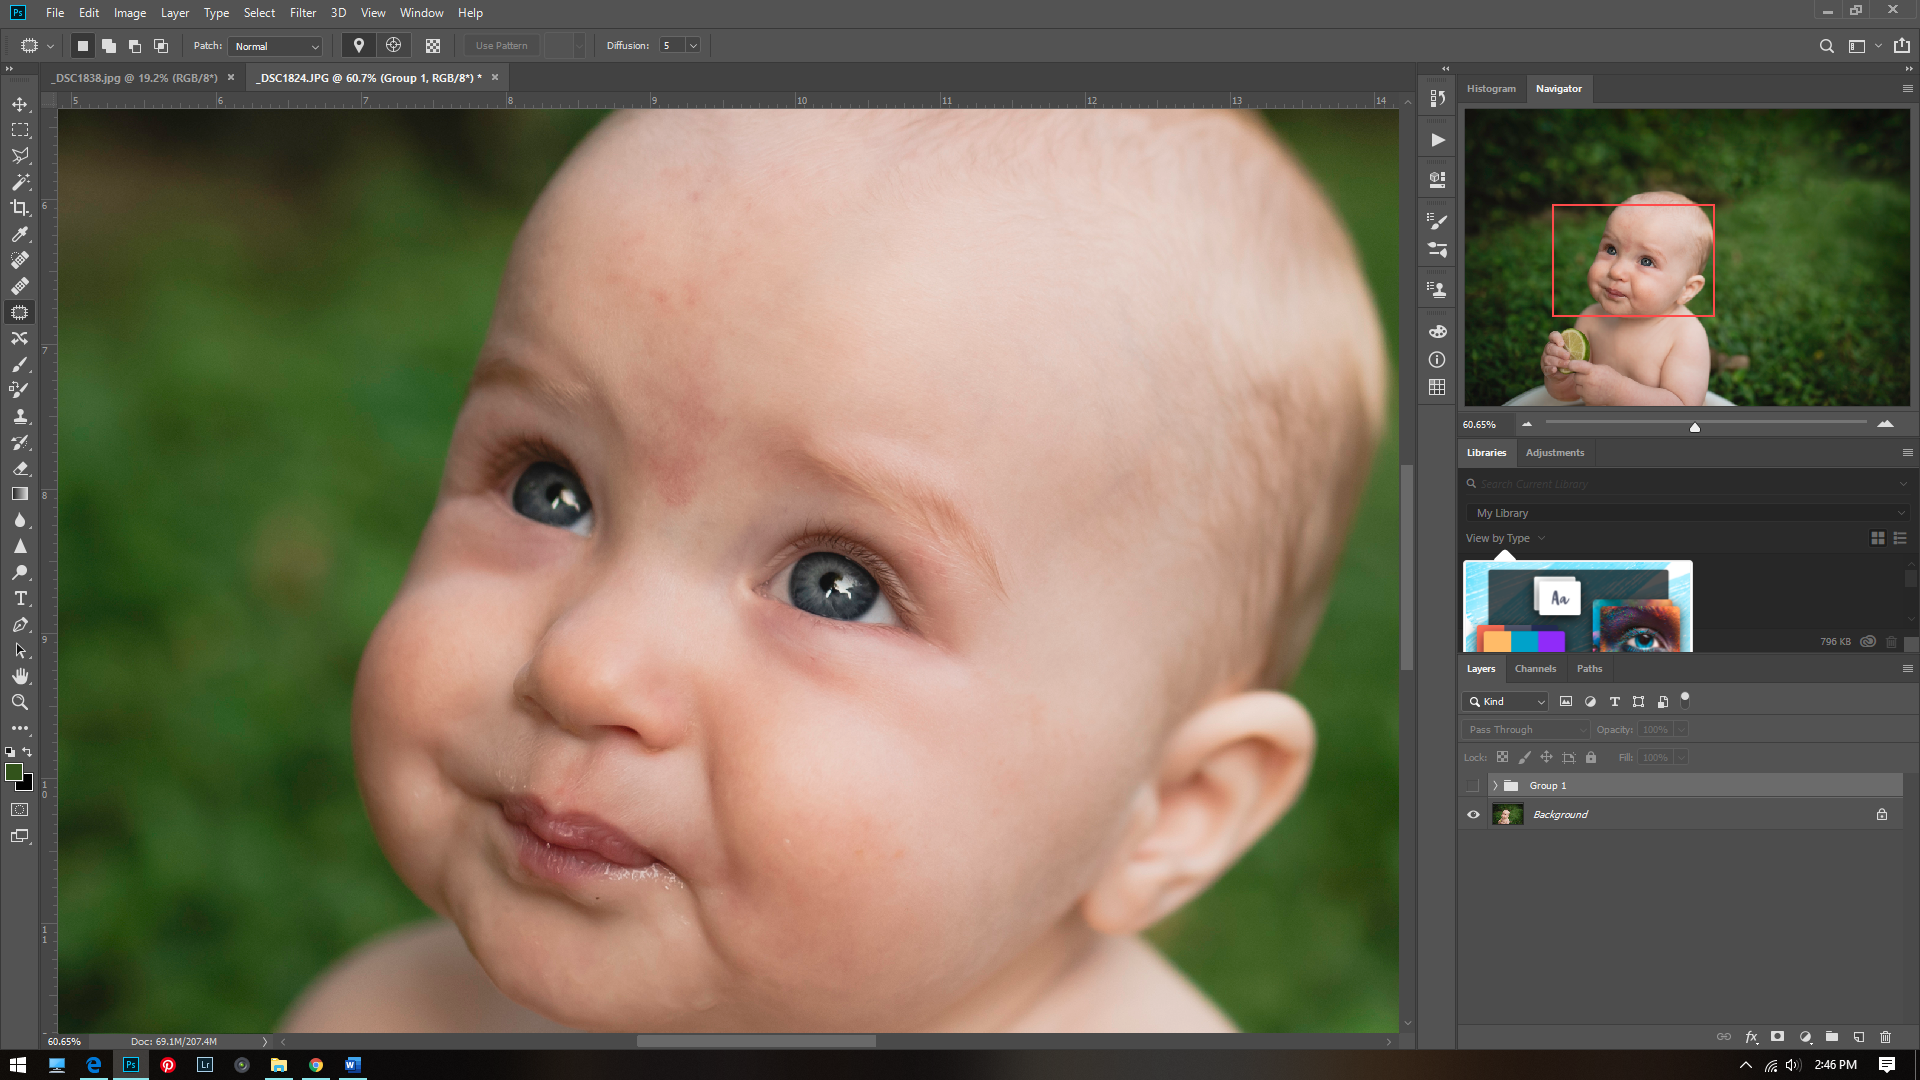
I then turn the high layer back on and use the patch tool on it to correct any tiny bumps, or rough skin.
And there you have it! Here is the before:
And the after:
It is subtle adjustments like this that can make a big difference. Frequency separation works well for acne, undereye circles, birthmarks, weird shadows, basically all skin issues!! Phlearn has an excellent Photoshop action for frequency separation you can purchase here.
Here’s just a few more from this adorable session.
Thanks for reading!!