How to Replace a Sky in Photoshop

I have often found myself thinking, “this photo is really missing something”.  I have developed my own little method of replacing skies, and you might do it this way too! Either way keep reading! You might ask, why would you bother replacing the sky? Because, there are just some pictures that look better with clouds! Some photos need a little extra punch. Whether the sky was clear that day (like in my example) or you’ve blown it out trying to expose for your subject, I will show you my own method for replacing that sky in Photoshop.  Here are some before and after pictures where I have replaced the sky:

Before

Before

After

After

Before

Before

After

After

Before

Before

After

After

Before

Before

After

After

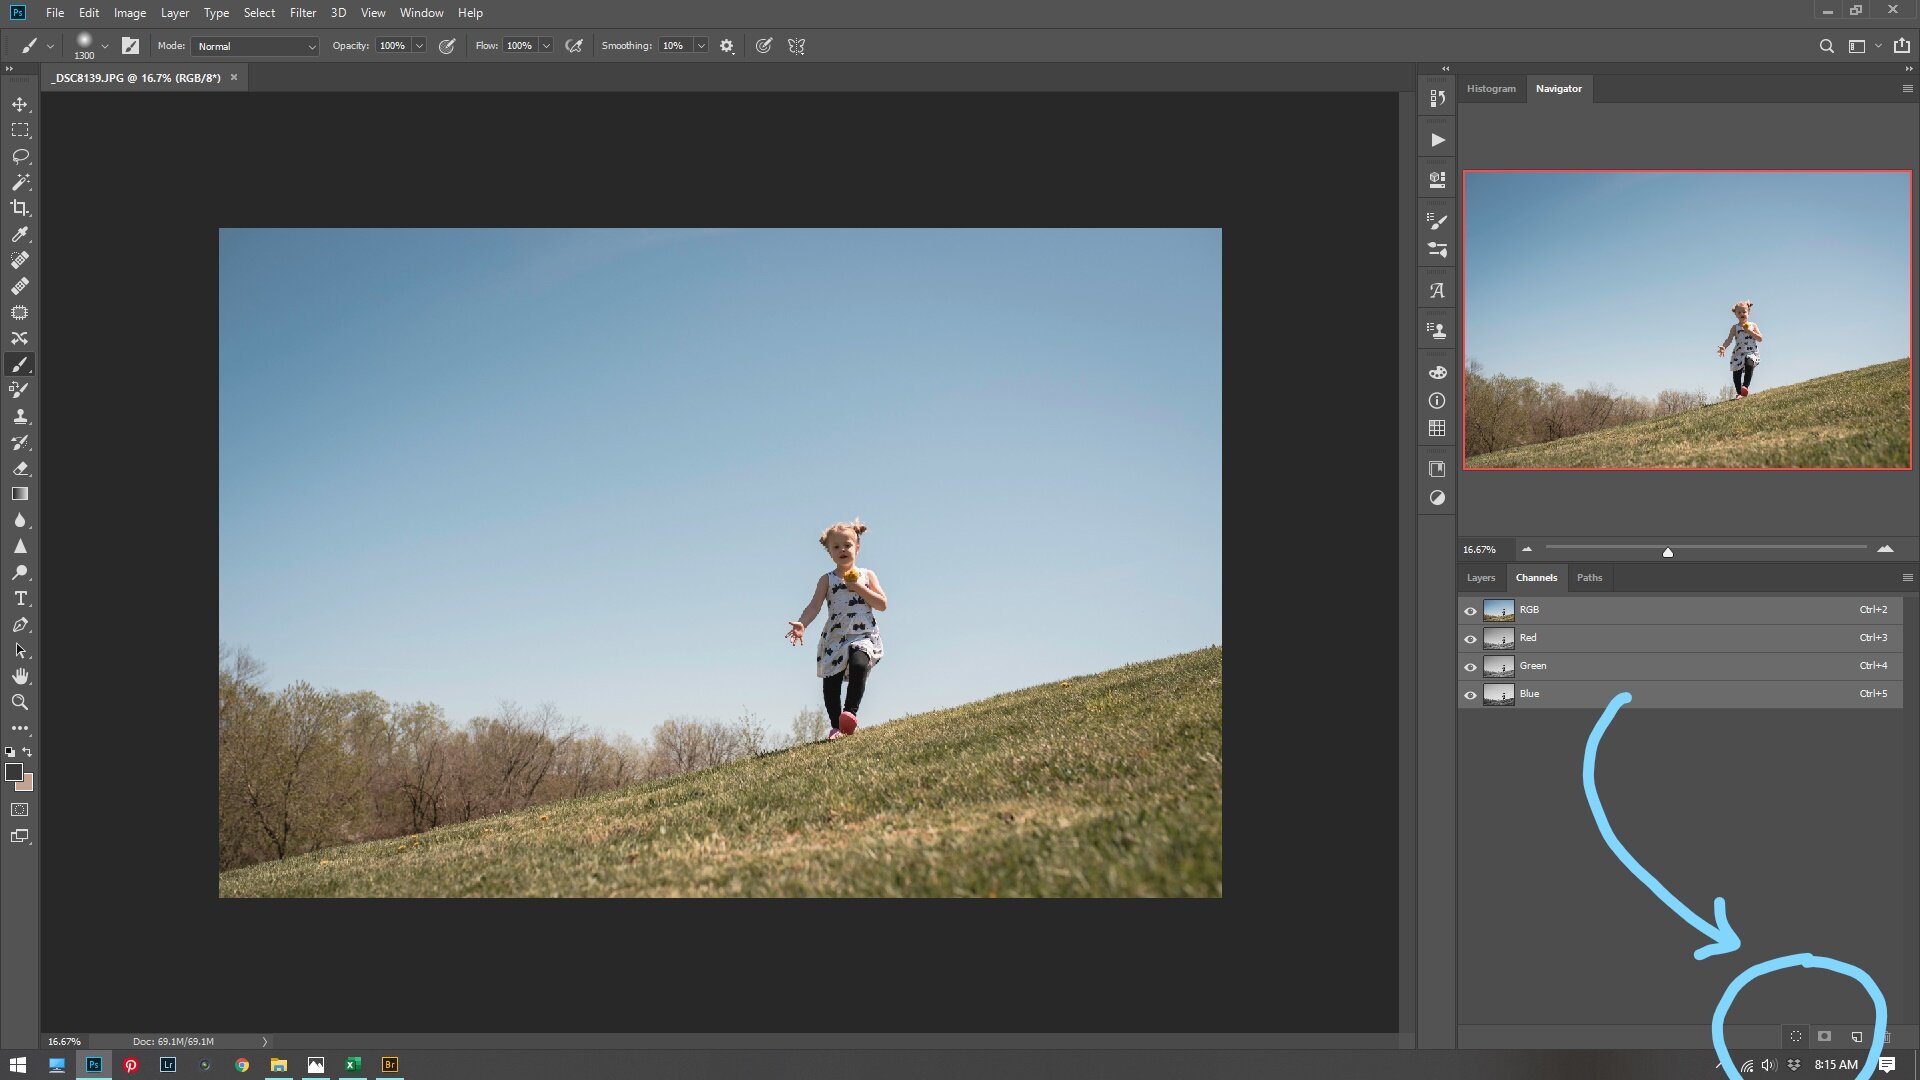
Now for my process.  First, bring your photo into Photoshop.  After making all your basic adjustments observe what kind of light is in your photo.  Is it hard light? Is it soft? Is it back light, or side light or midday light? In this photo you can see that it is midday and very hard light.  So obviously a back light sunset is not going to work for this photo.  I chose a cloud overlay from Jessica Drossin, but you can even use your own if you want!  Go ahead and bring the overlay into your work space on Photoshop. Place the clouds where you think they would look the best.  Then turn off your new cloud overlay layer by clicking the eyeball next to the layer.  Then go to channels.  Select all your channels by clicking the RGB channel.  Now drag your RGB channel to the little marching ants circle at the bottom right of your screen.  Like this:

Callihan Photography in Columbus Indiana
Columbus, Indiana

Now go back to your layers and turn back on your cloud overlay.  Then click the masking tool to add a mask, seen here:

Callihan Photography in Columbus, Indiana

After that it should look something like this:

Columbus, Indiana

Now this is the part where you panic and say, “WHAT HAVE I DONE!!!!” It’s OK.  Do not panic.  It’s going to look a little weird.  At this point, by masking the channels it has given you a good start.  The rest is going to be by hand.  Paint in your masking layer with a soft black brush at 100%.  Make sure to cover all your subject’s skin and hair and the ground.  Make sure there are no hard edges where your overlay ends. Use different opacity brushes to get around your subject if needed.  

Columbus, Indiana photographer

Next is just fine tuning.  Sometimes the sky needs lightened. So, I usually lower the opacity to make it blend better.  Sometimes, it will need more contrast.  Sometimes you will need to darken your subject to make it look right. I usually use a curves adjustment layer to do this. In this example I felt like it needed more contrast. So, I added a contrast and vibrance layer (as I felt it was getting a little desaturated).  

Columbus, Indiana local photographer

Here is the before and after of my example image:

Before

Before

After

After

This WILL NOT WORK EVERY TIME.  Sometimes you have a picture that you just can’t make this kind of selection.  Or sometimes it just looks weird.  Sometimes you need to try out a few different skies.  Whatever the case is, this is the best way I know how to select around your subject and blend the sky into all those tree branches.  Please give this a try!! And if you do, please share it with me!! I’d love to see what you’ve done! Thanks for reading!

5 Must Have Photos for Fall

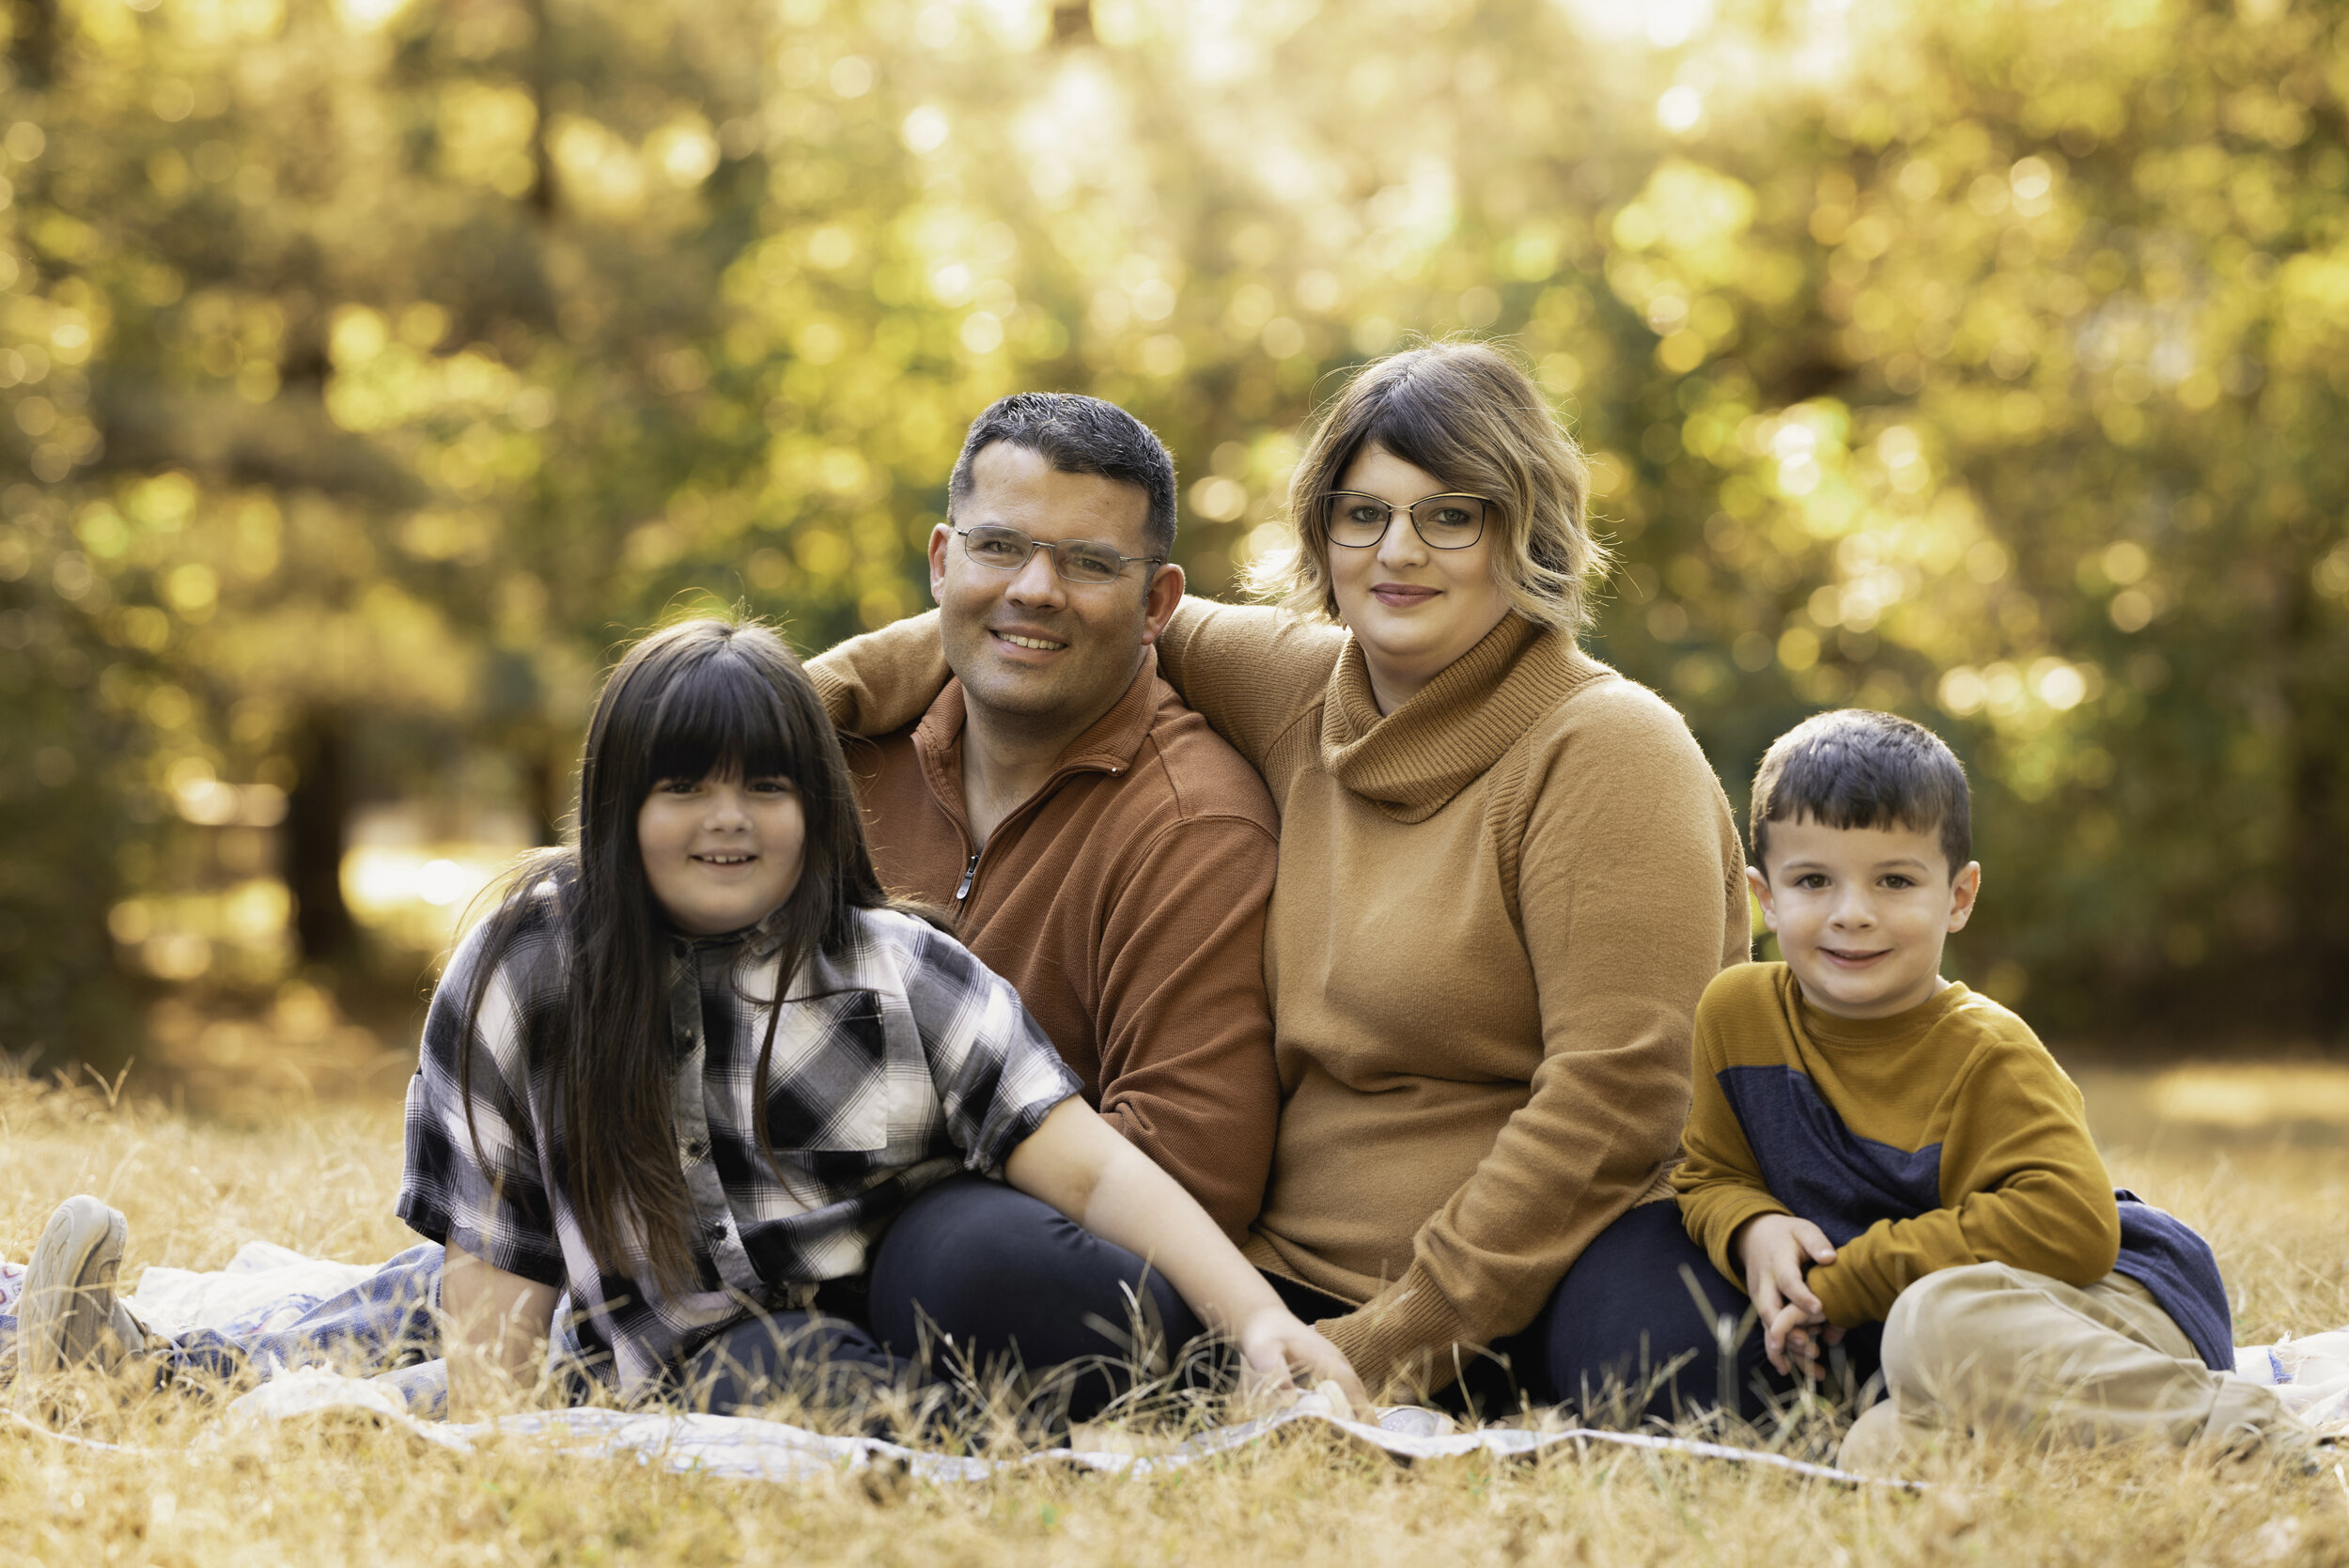
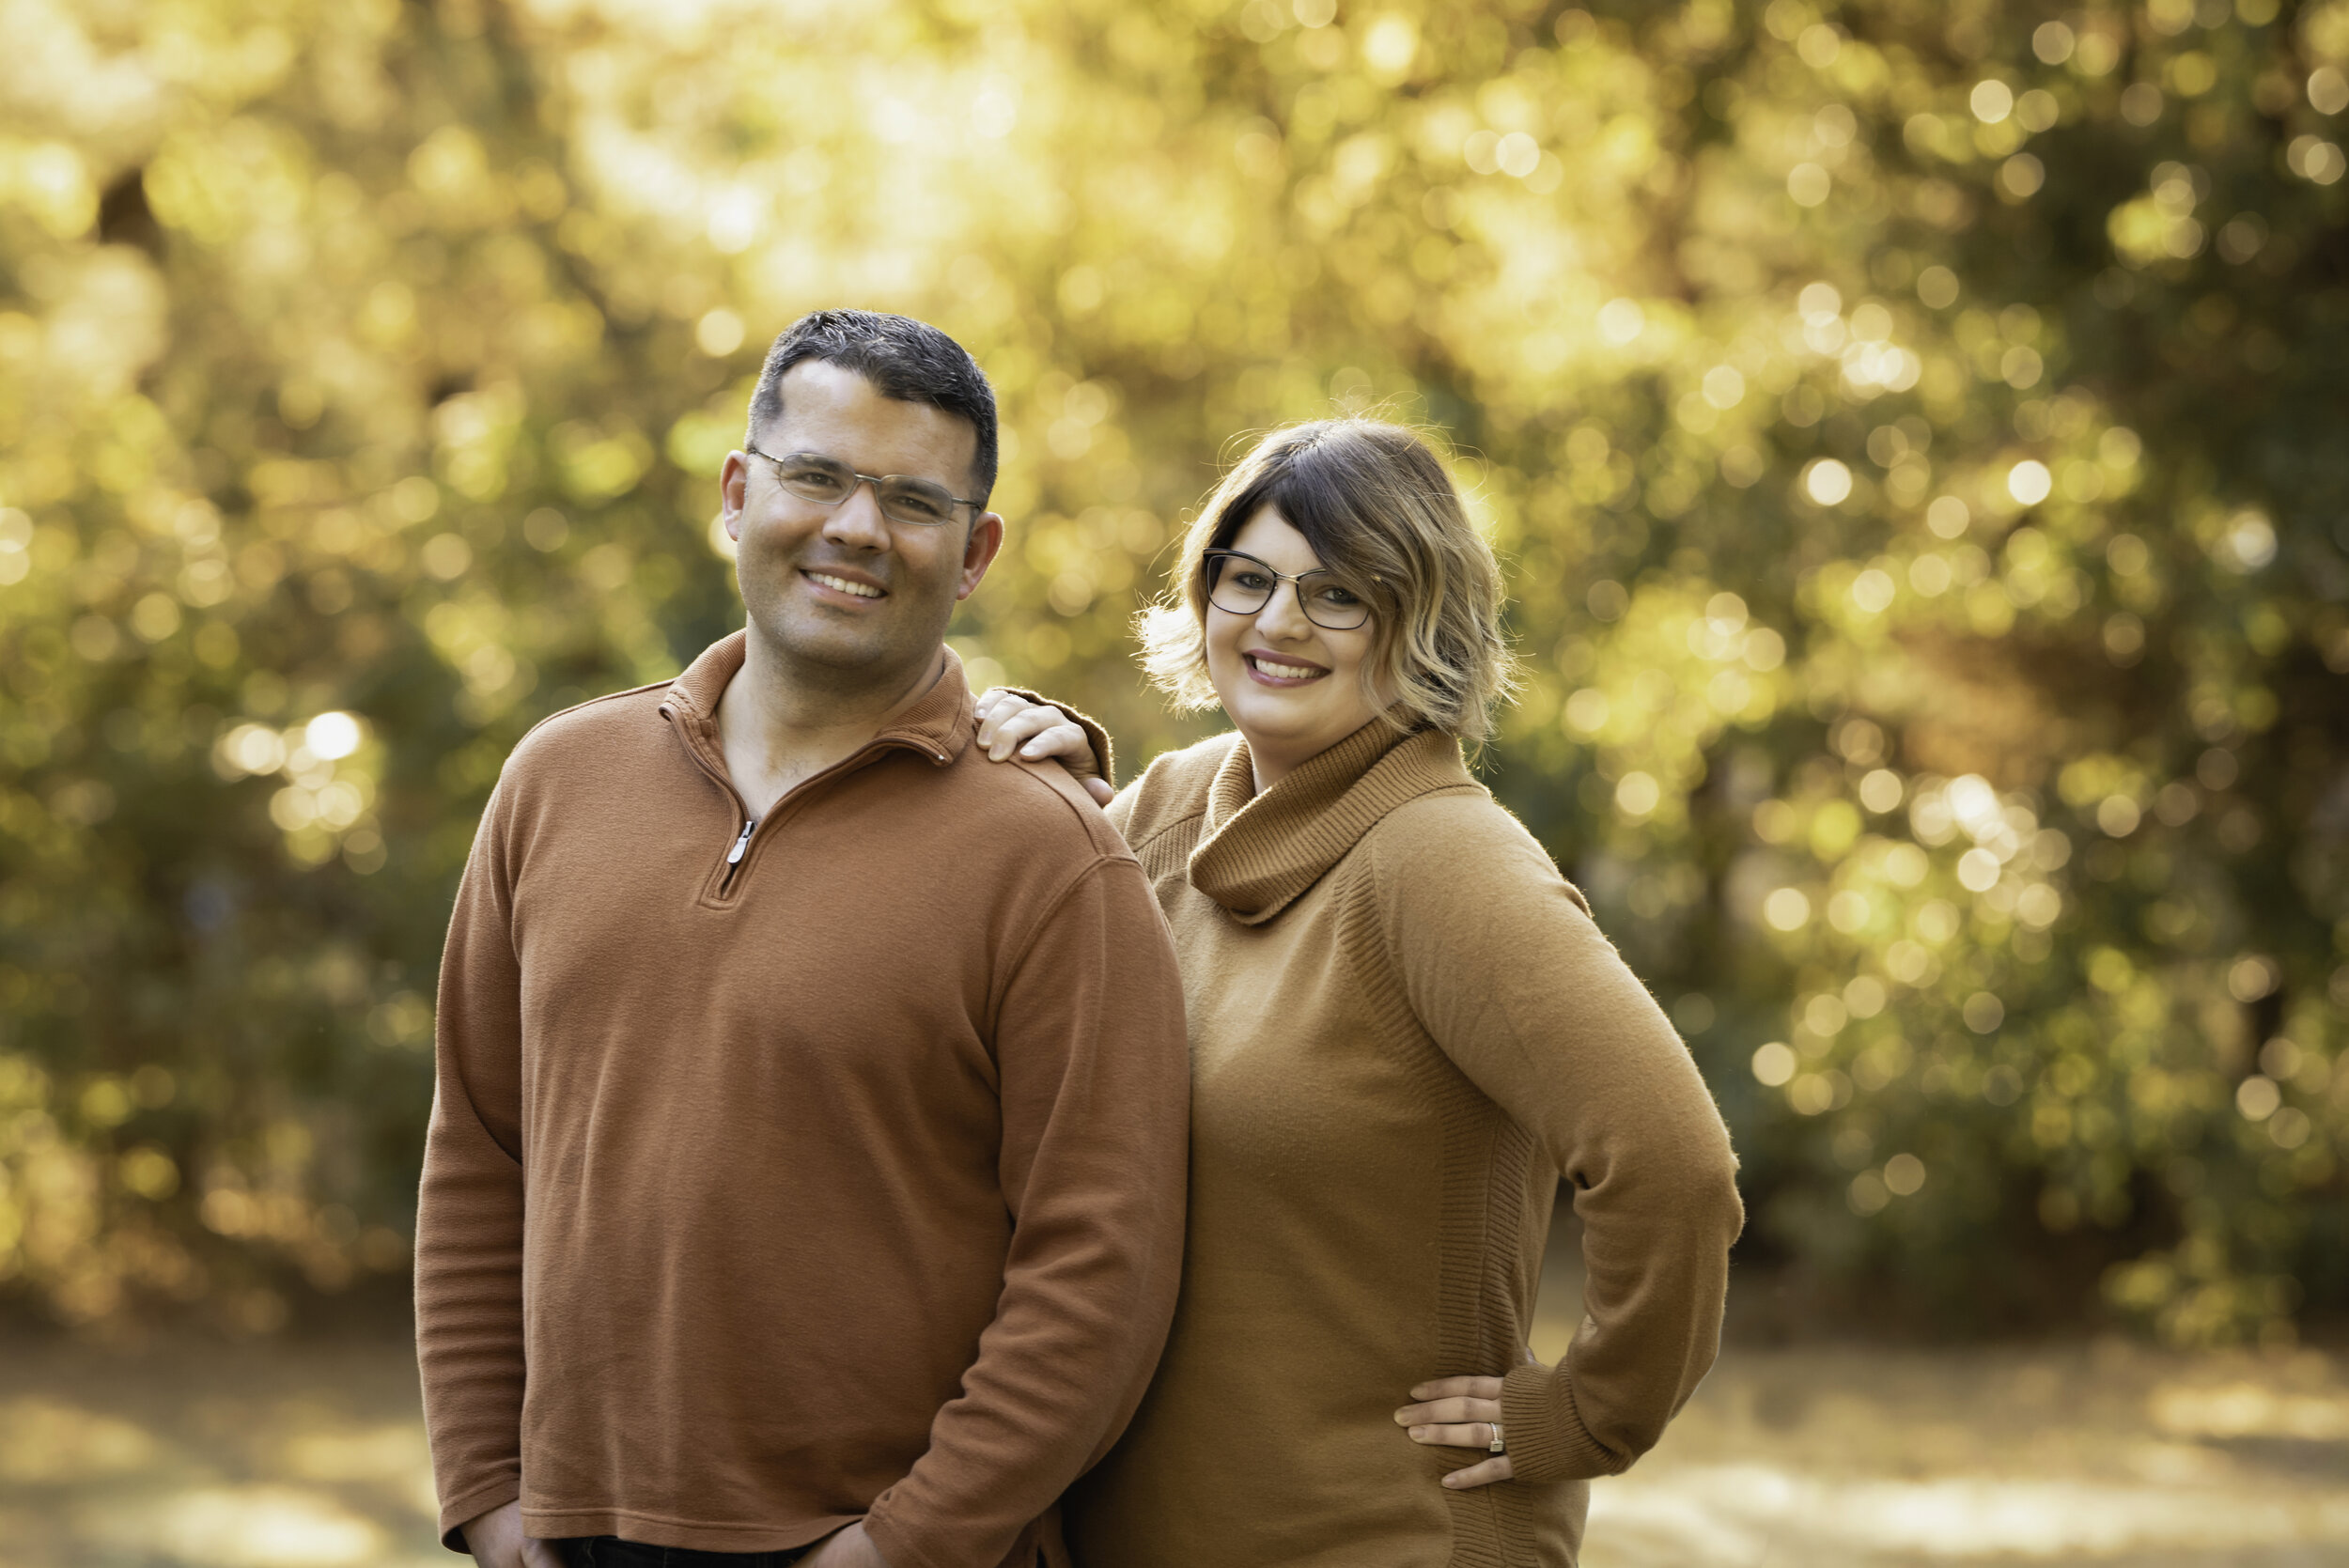
Fall is by far my favorite season! The chill in the air, the leaves changing colors, that smell of wood fires and coffee, not to mention boots and flannel! Oh, and I’m also obsessed with fall fashion colors.  Like the teal and mustard and deep raspberry colors. You know, kind of like the bold set of Crayola Markers.  I am in love with these colors.  They are my favorite, and they always seem to come out in the fall. You can tell by my family photo seen here:

Columbus, Indiana family photographer, Callihan Photography

Which brings me to my first must have photo for fall.

1. The Family Portrait:

Fall is the perfect time for family photos and here is why.  The temperature is cooler so you’re not sweating to death during your photo session.  Plus, layering clothing can create visual interest that just isn’t reasonable in the summertime. The fall foliage provides a beautiful backdrop, which lets all admit here, that sometimes a beautiful backdrop is hard to come by in the Midwest.  We don’t have gorgeous mountain backdrops or cloudy sunset skies at the beach. I love the Midwest and I do think it’s beautiful!  It’s just sometimes tougher to stay inspired (especially during those brown parts of winter).  But fall provides that gorgeous color that compliments any picture.  You know what comes right after fall- Christmas! You need that beautiful family portrait to show off to all your friends and family on those Christmas cards! I try to document our family at least once a year.  I think getting in front of the camera is important. I am way more comfortable behind the camera, but I still feel it is essential for my children and family that I try to get in the picture with them.

Callihan Photography, family session, Columbus, Indiana

2. The Fall Colors:

This is the time of year where everything bursts into color, and it is usually for such a short time. Consider the colors of the leaves in relation to your subjects clothing.  Blue pairs beautifully with orange autumn leaves.  Think fall colors, mustard, warm neutrals, and maroons.

callihan photography of columbus, Indiana
Callihan Photography, serving Columbus, Indiana and surrounding areas

3. Halloween Costumes:

Cute, fun, or scary, Halloween costumes are something you must document.  Especially if you have children!  Consider the scenery their costumes belong in. Get that front door trick or treat scene. Add mystery to your photos by using elements to make your viewer uncomfortable. Such as slightly tilting the frame, underexposing to enhance shadows, and blocking the eyes.  For more ideas visit this article here.     

Columbus, Indiana family and child photographer
Ghost by Callihan Photography in Columbus, Indiana
Haunted by callihan photography in columbus Indiana

4. Fall Detail:

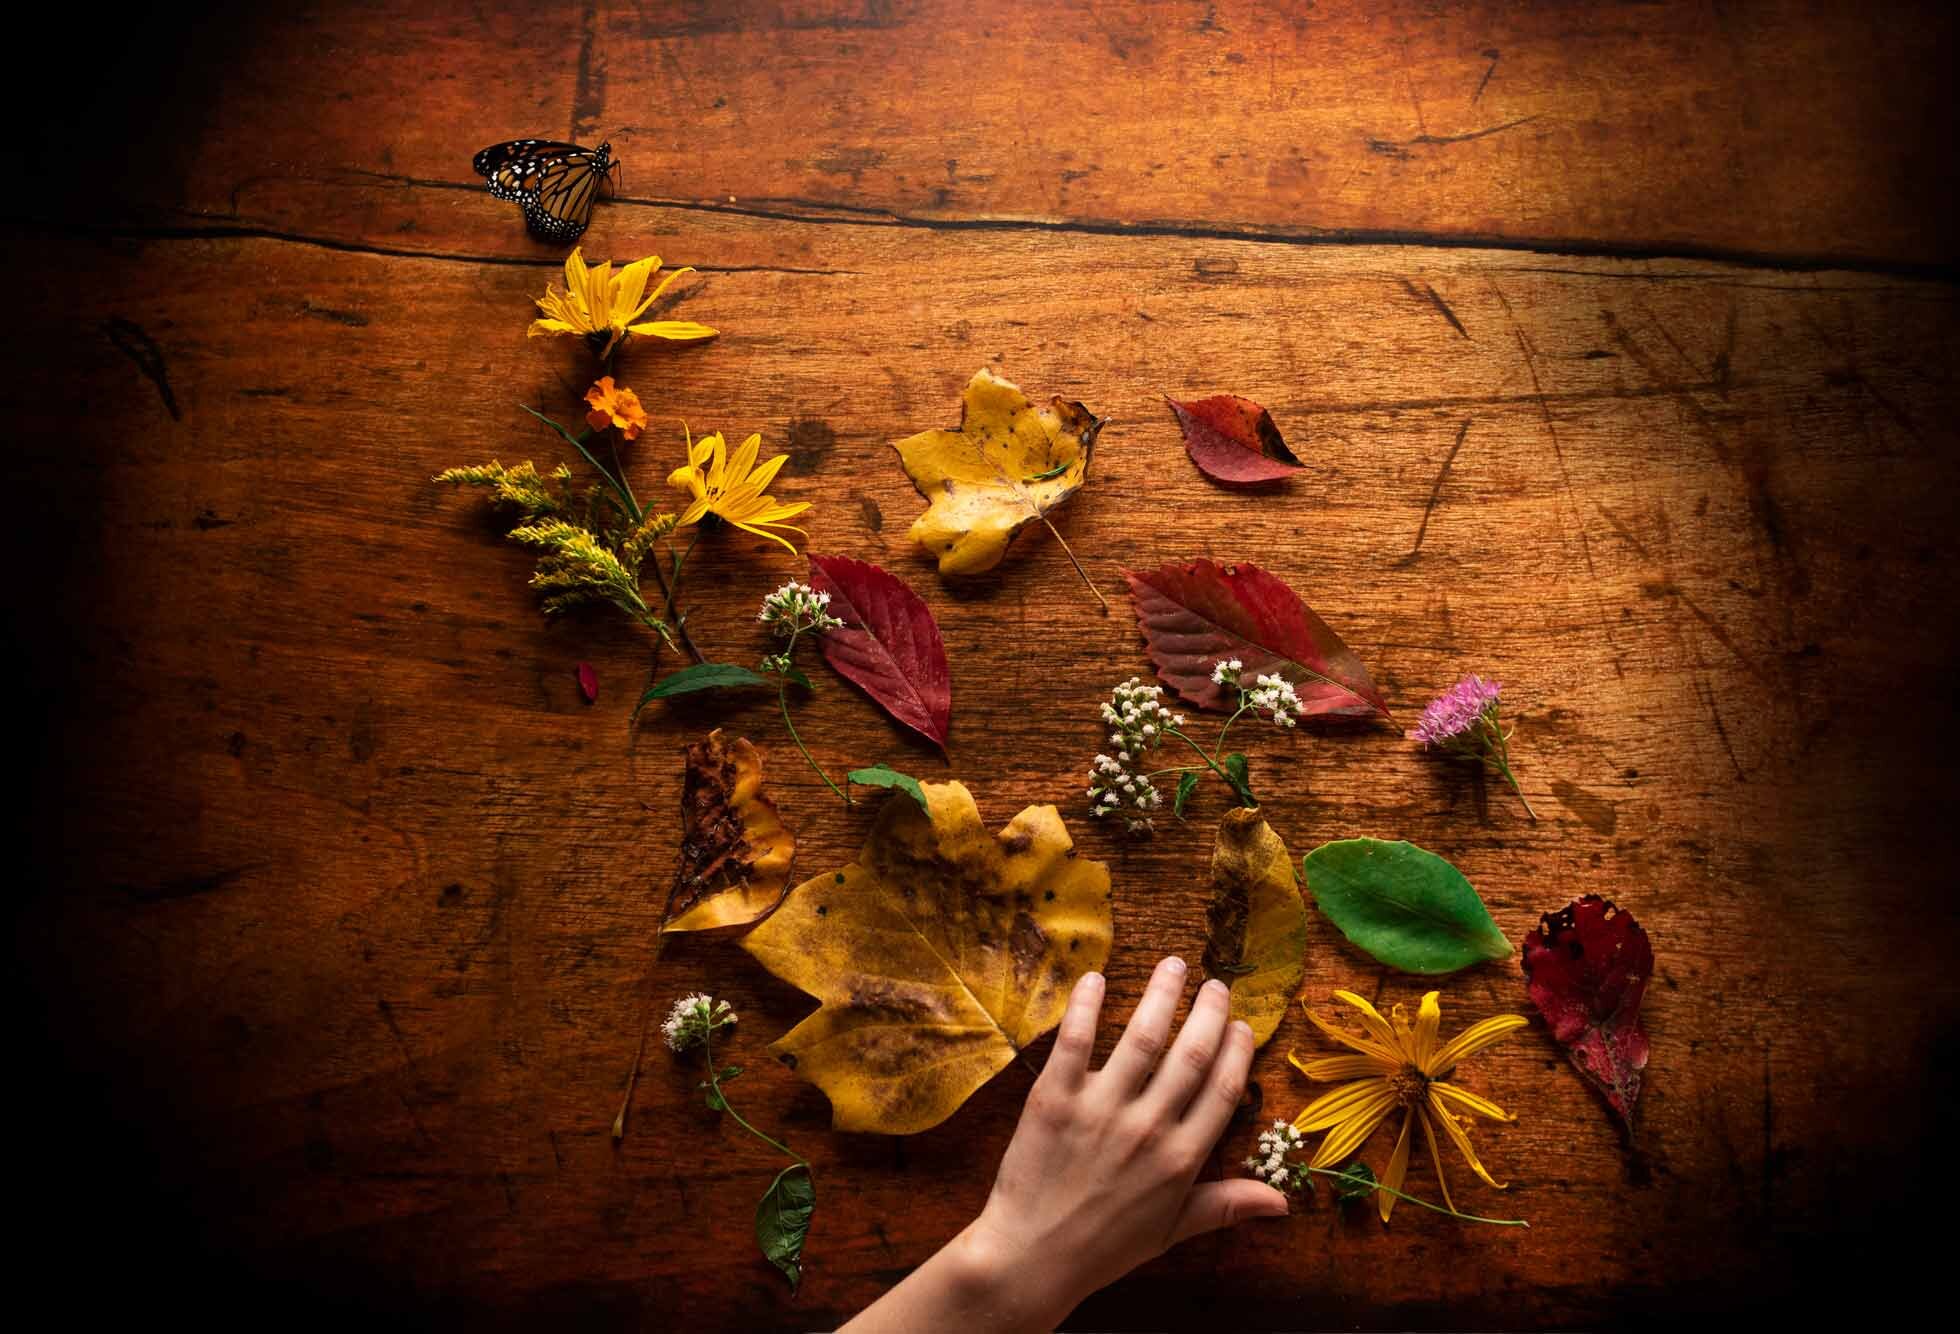
Think of what makes it fall for you.  Is it the change of weather? Perhaps you can capture the raindrops on the windows.  Is it the foggy mornings? Get up early and capture the sunlight lifting the fog.  Is it cozy blankets and warm drinks and soups?  Capture your loved ones wrapped up in soft blankets and enjoying that first sip of morning coffee. Is it the changing leaves? Think of ways to capture the leaves on the trees maybe with light behind them or covered in cobwebs. Pumpkins, tall dying grass, black cats, clear blue skies and dried corn.  There are so many fall details that need to be captured and documented!

Callihan Photography in Columbus Indiana
Columbus, Indiana Fall details

5. Fall Traditions:

This would include but is not limited to, Halloween, Thanksgiving, Pumpkin carving, Trick or treating, sorting candy, decorating, cooking, family get togethers, raking leaves, hay rides, corn mazes, apple picking, and the list goes on and on! Capture and document all of these iconic traditions!

pumpkin patch by child and family photographer in columbus indiana callihan photography

Fall is the perfect time of year to get pictures professionally taken or at least capture some on your own! Thanks for reading!         

Fun Fall Family Mini Session

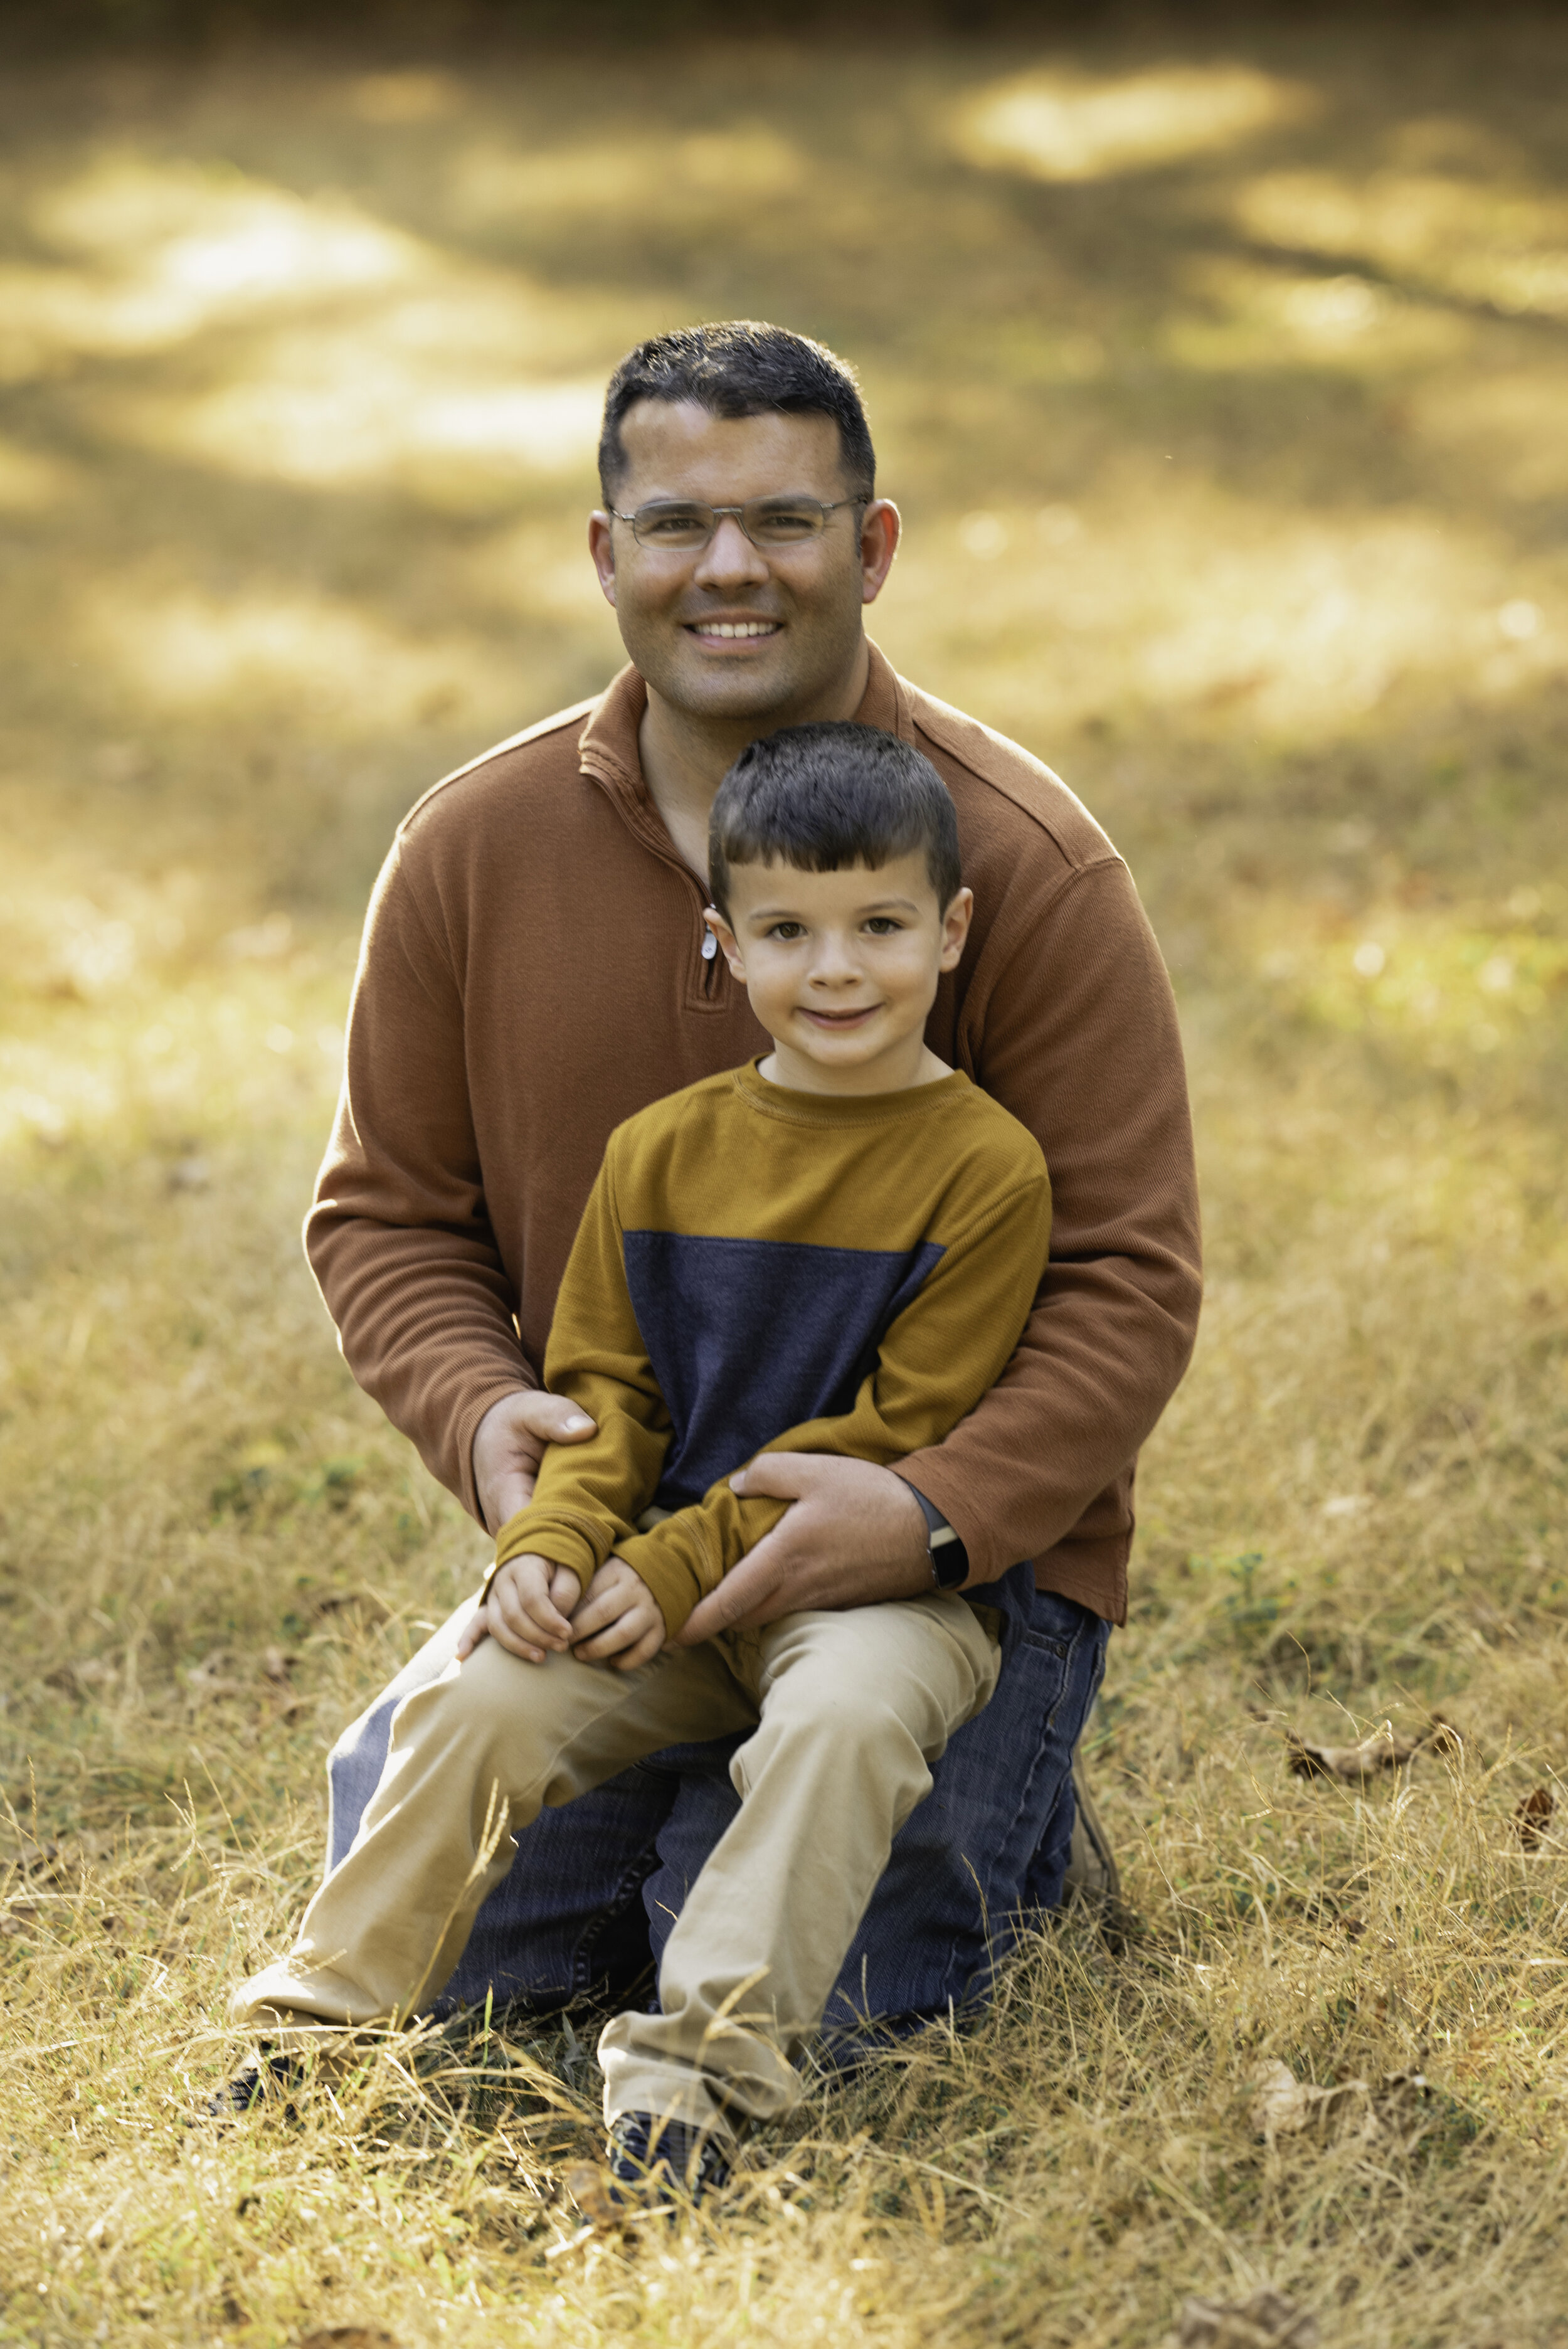
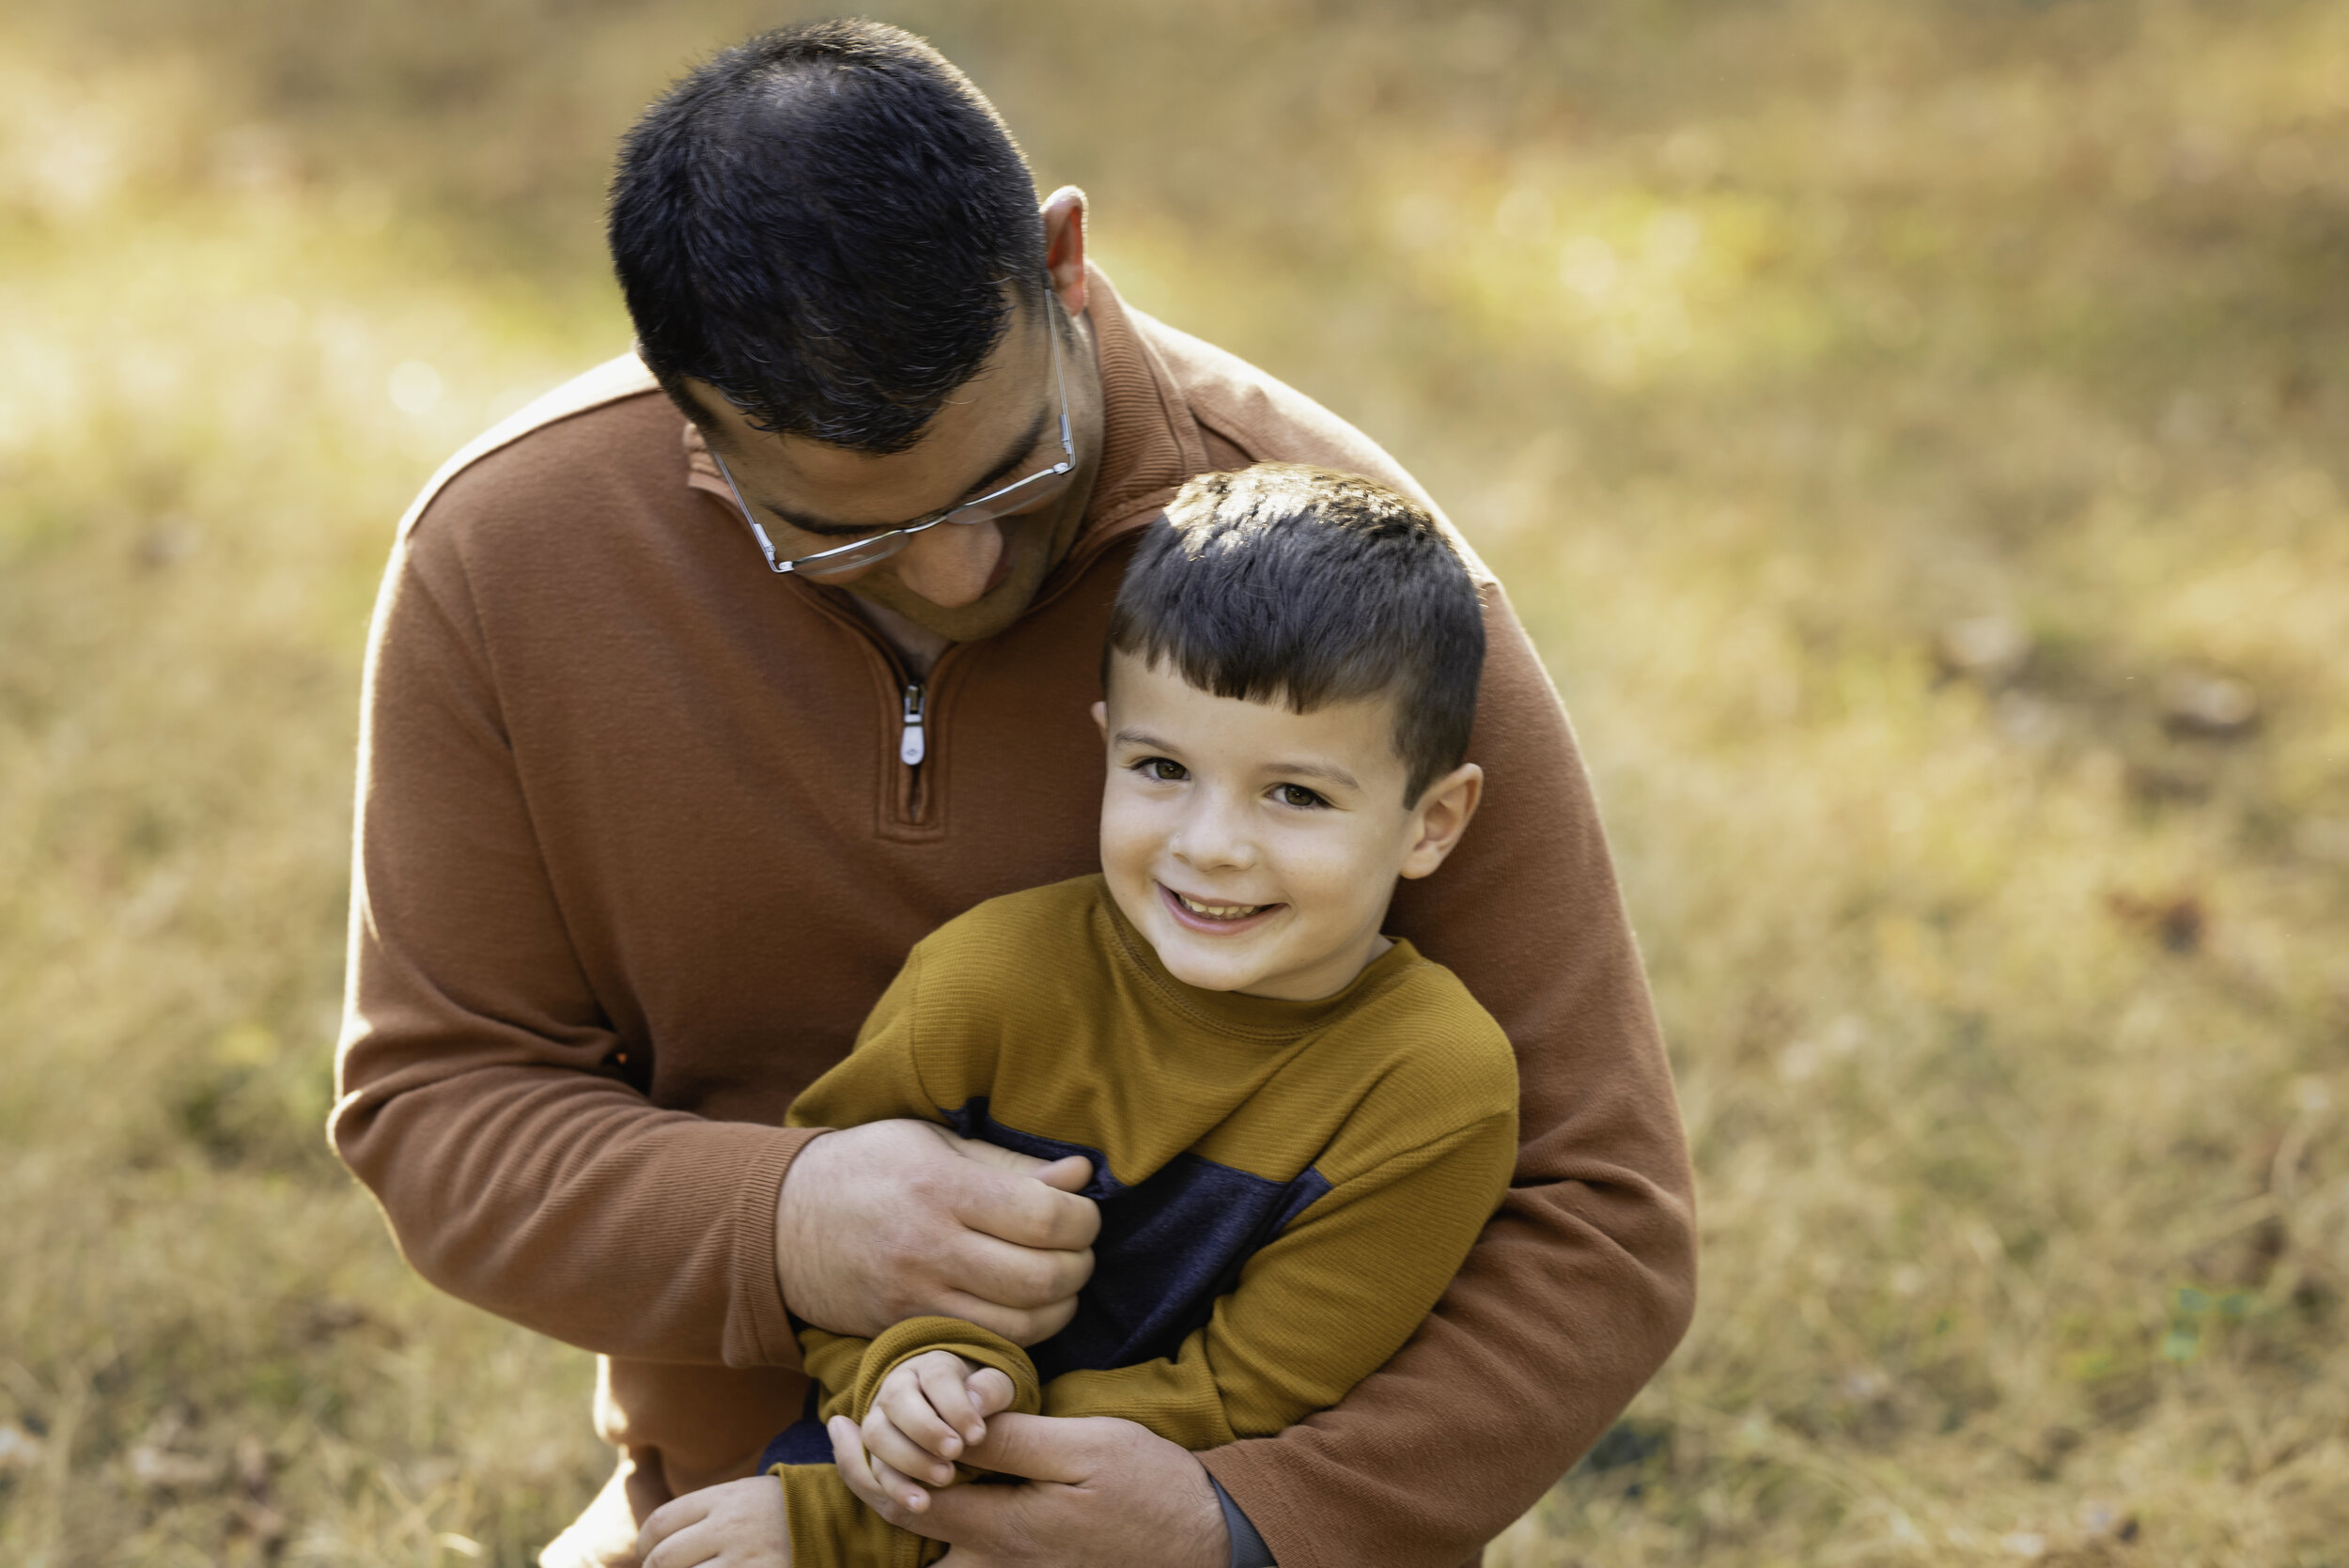
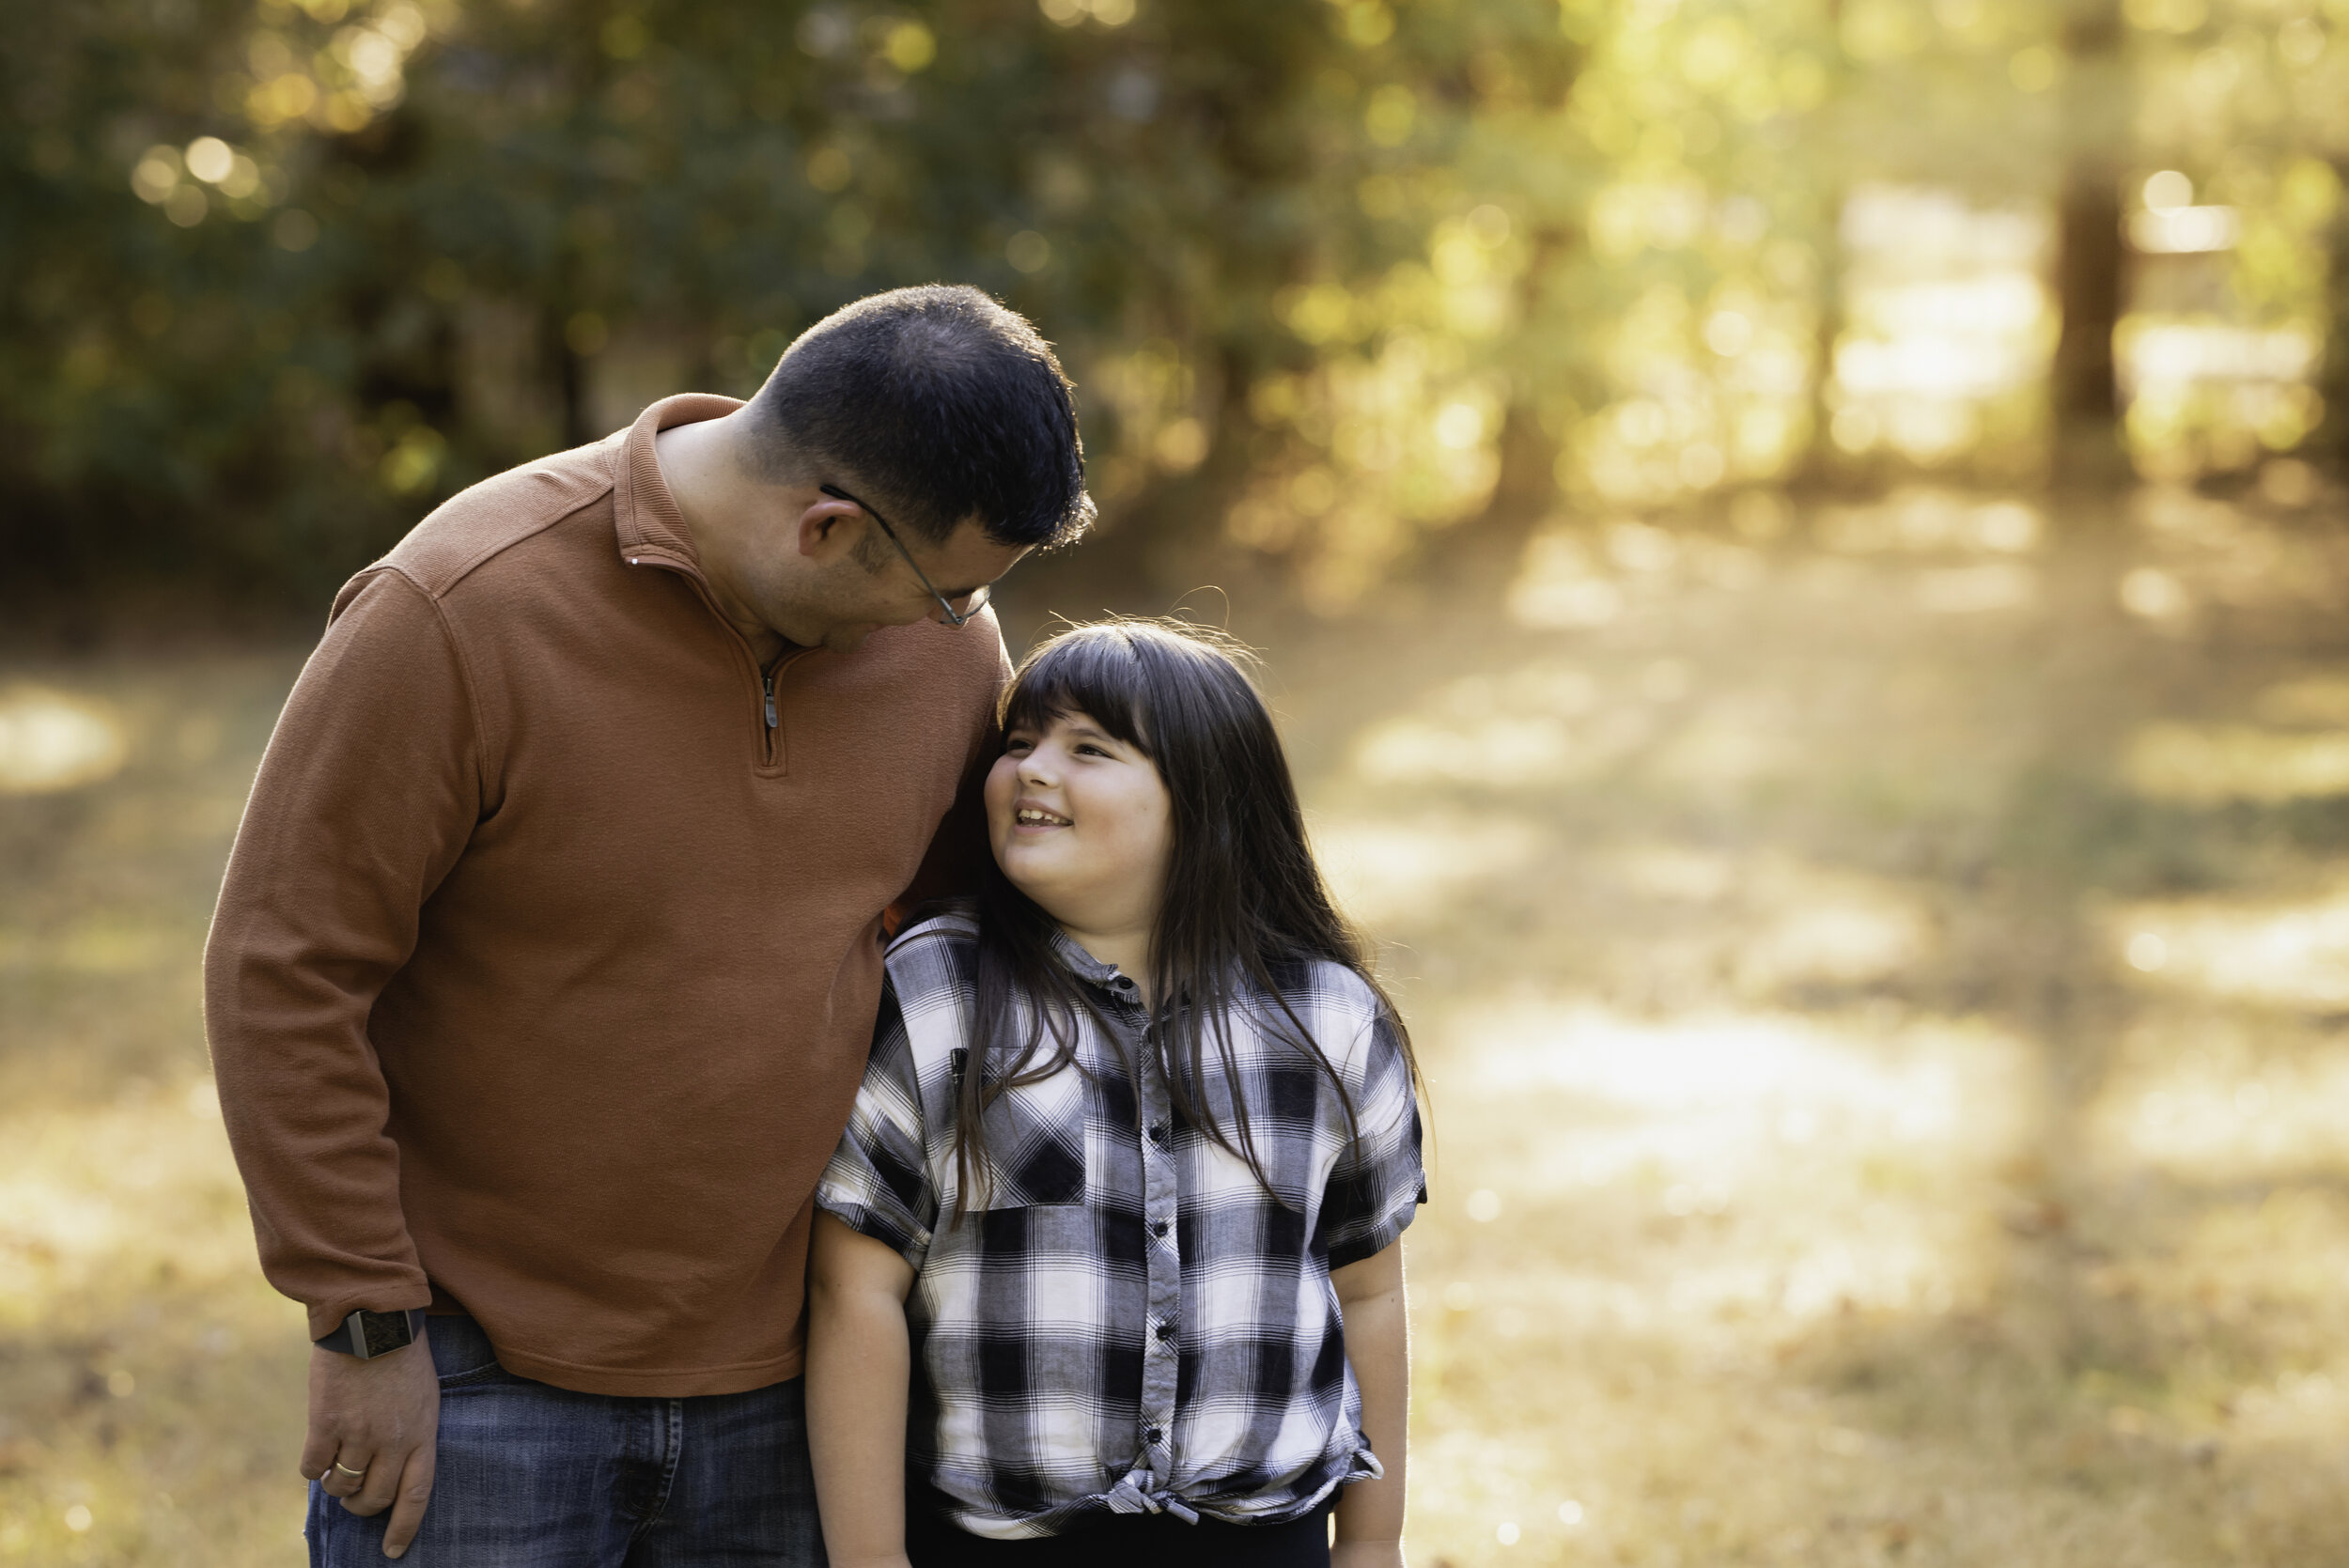
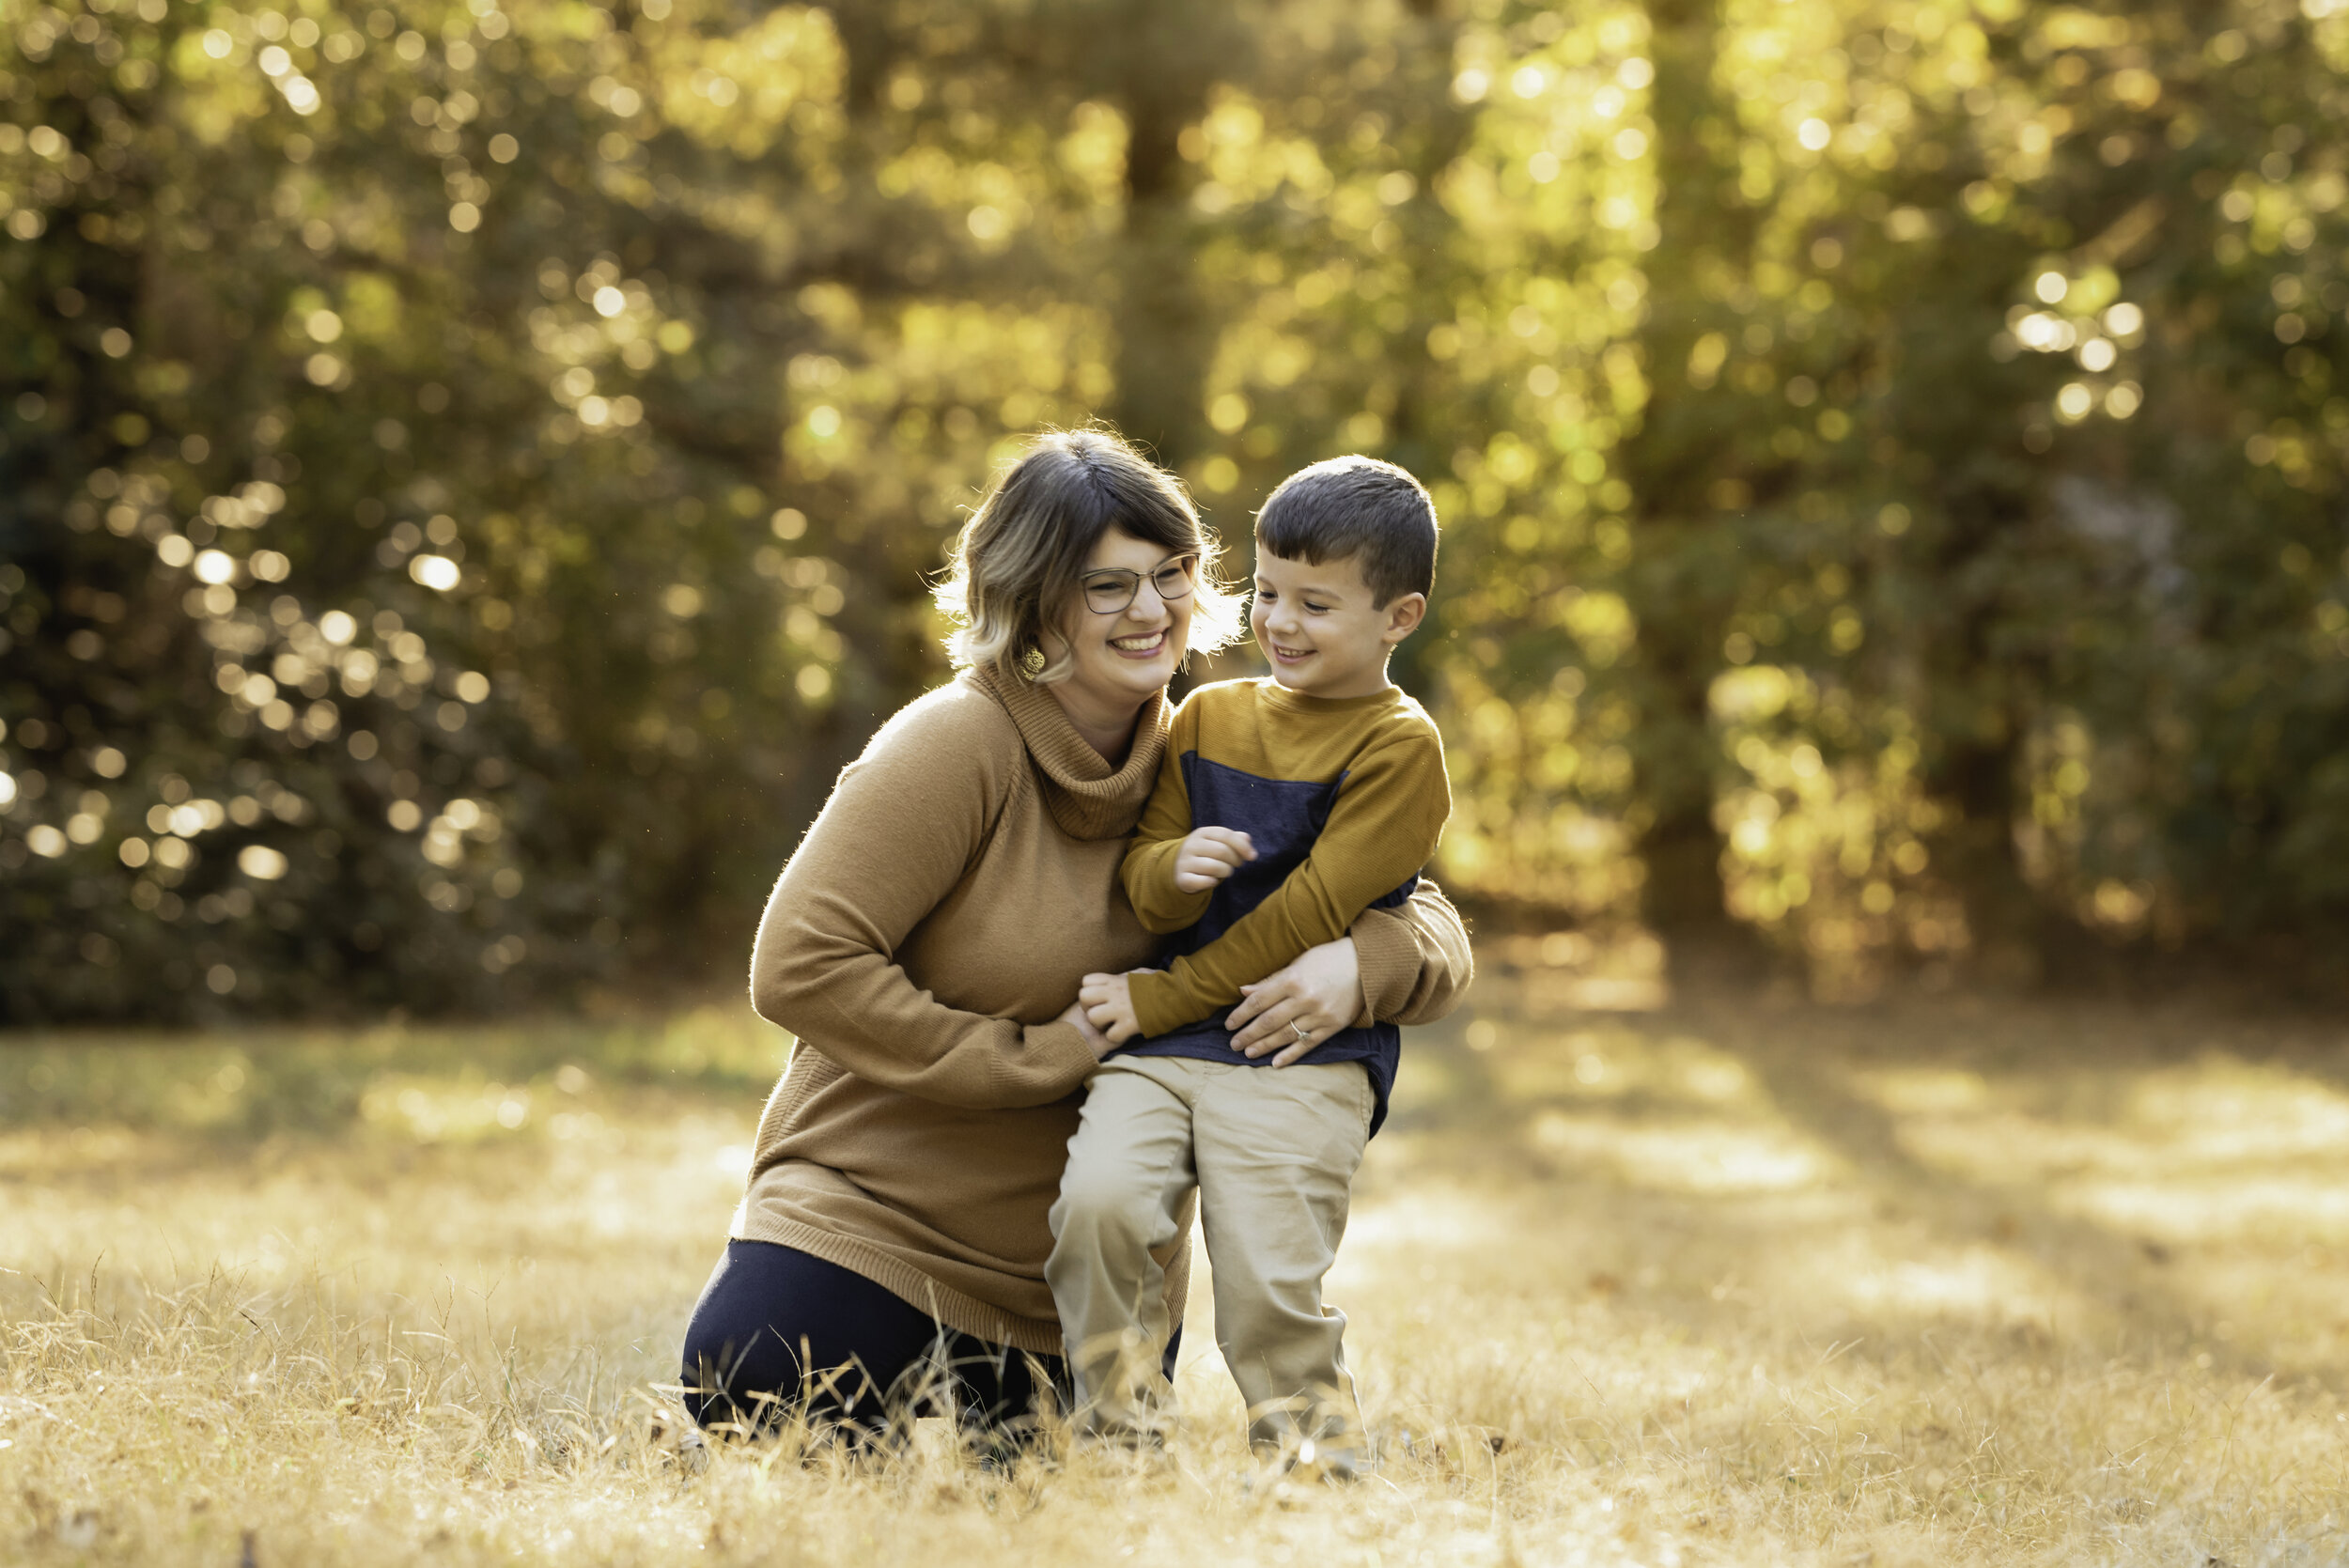
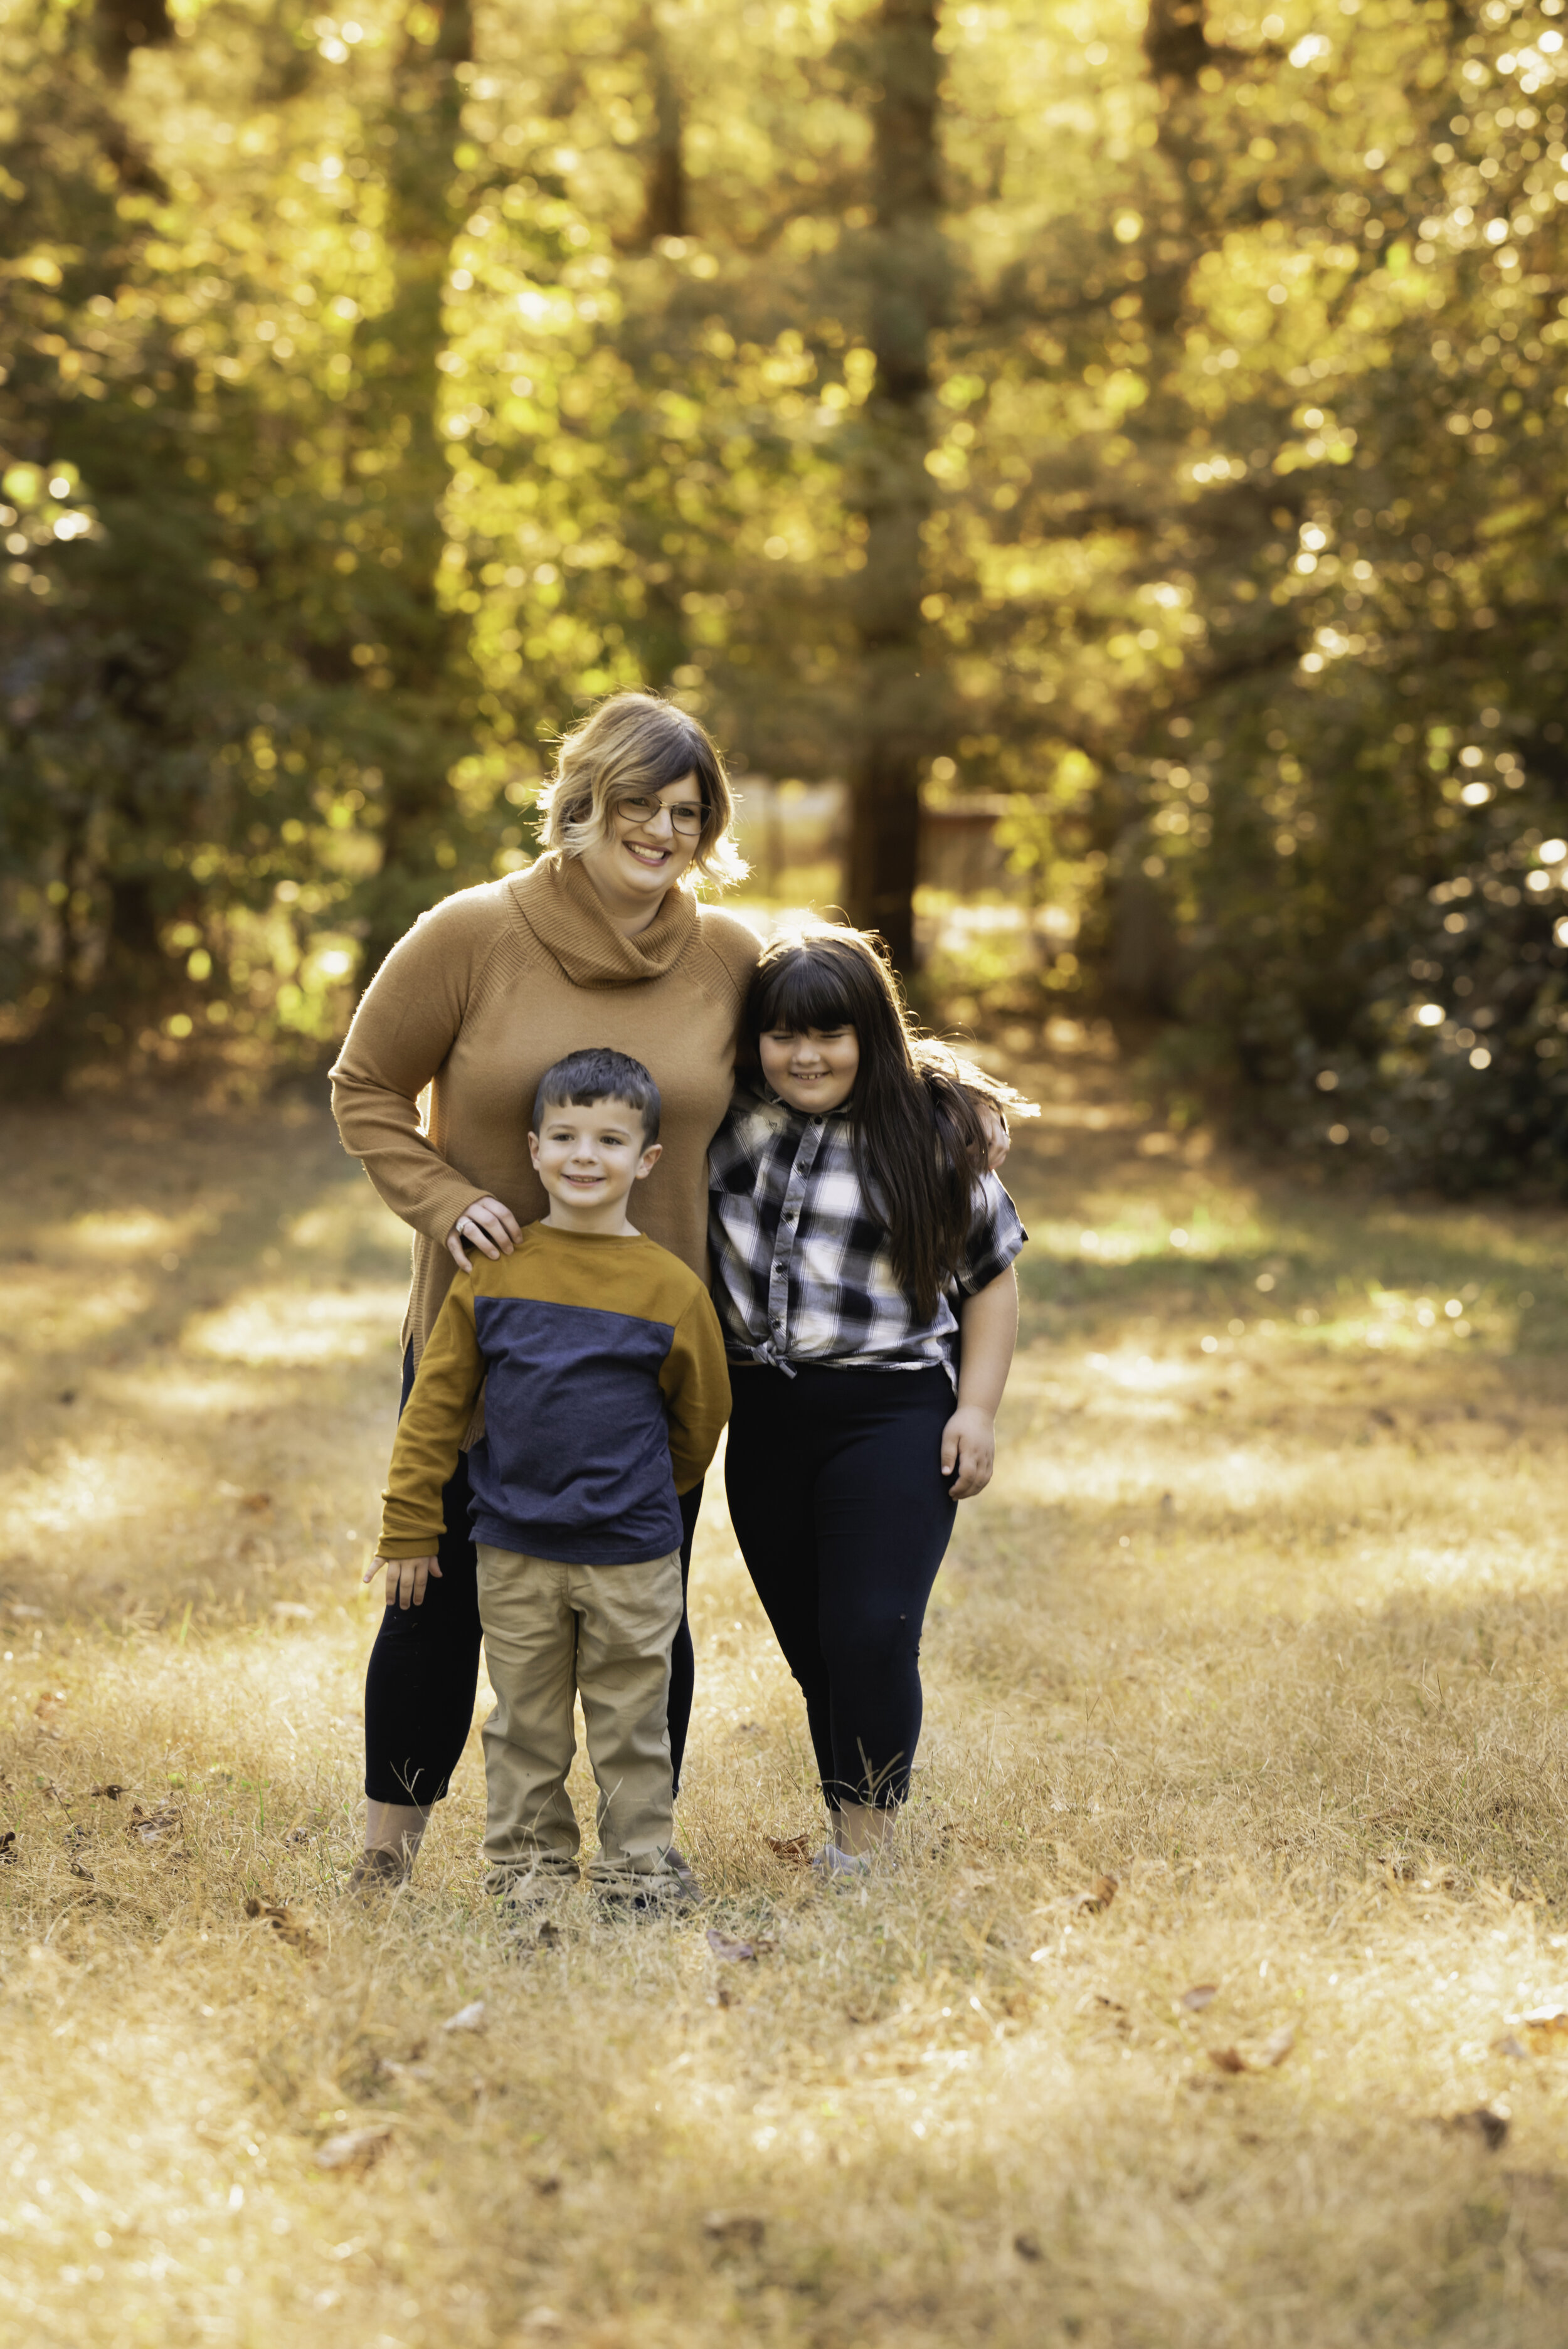
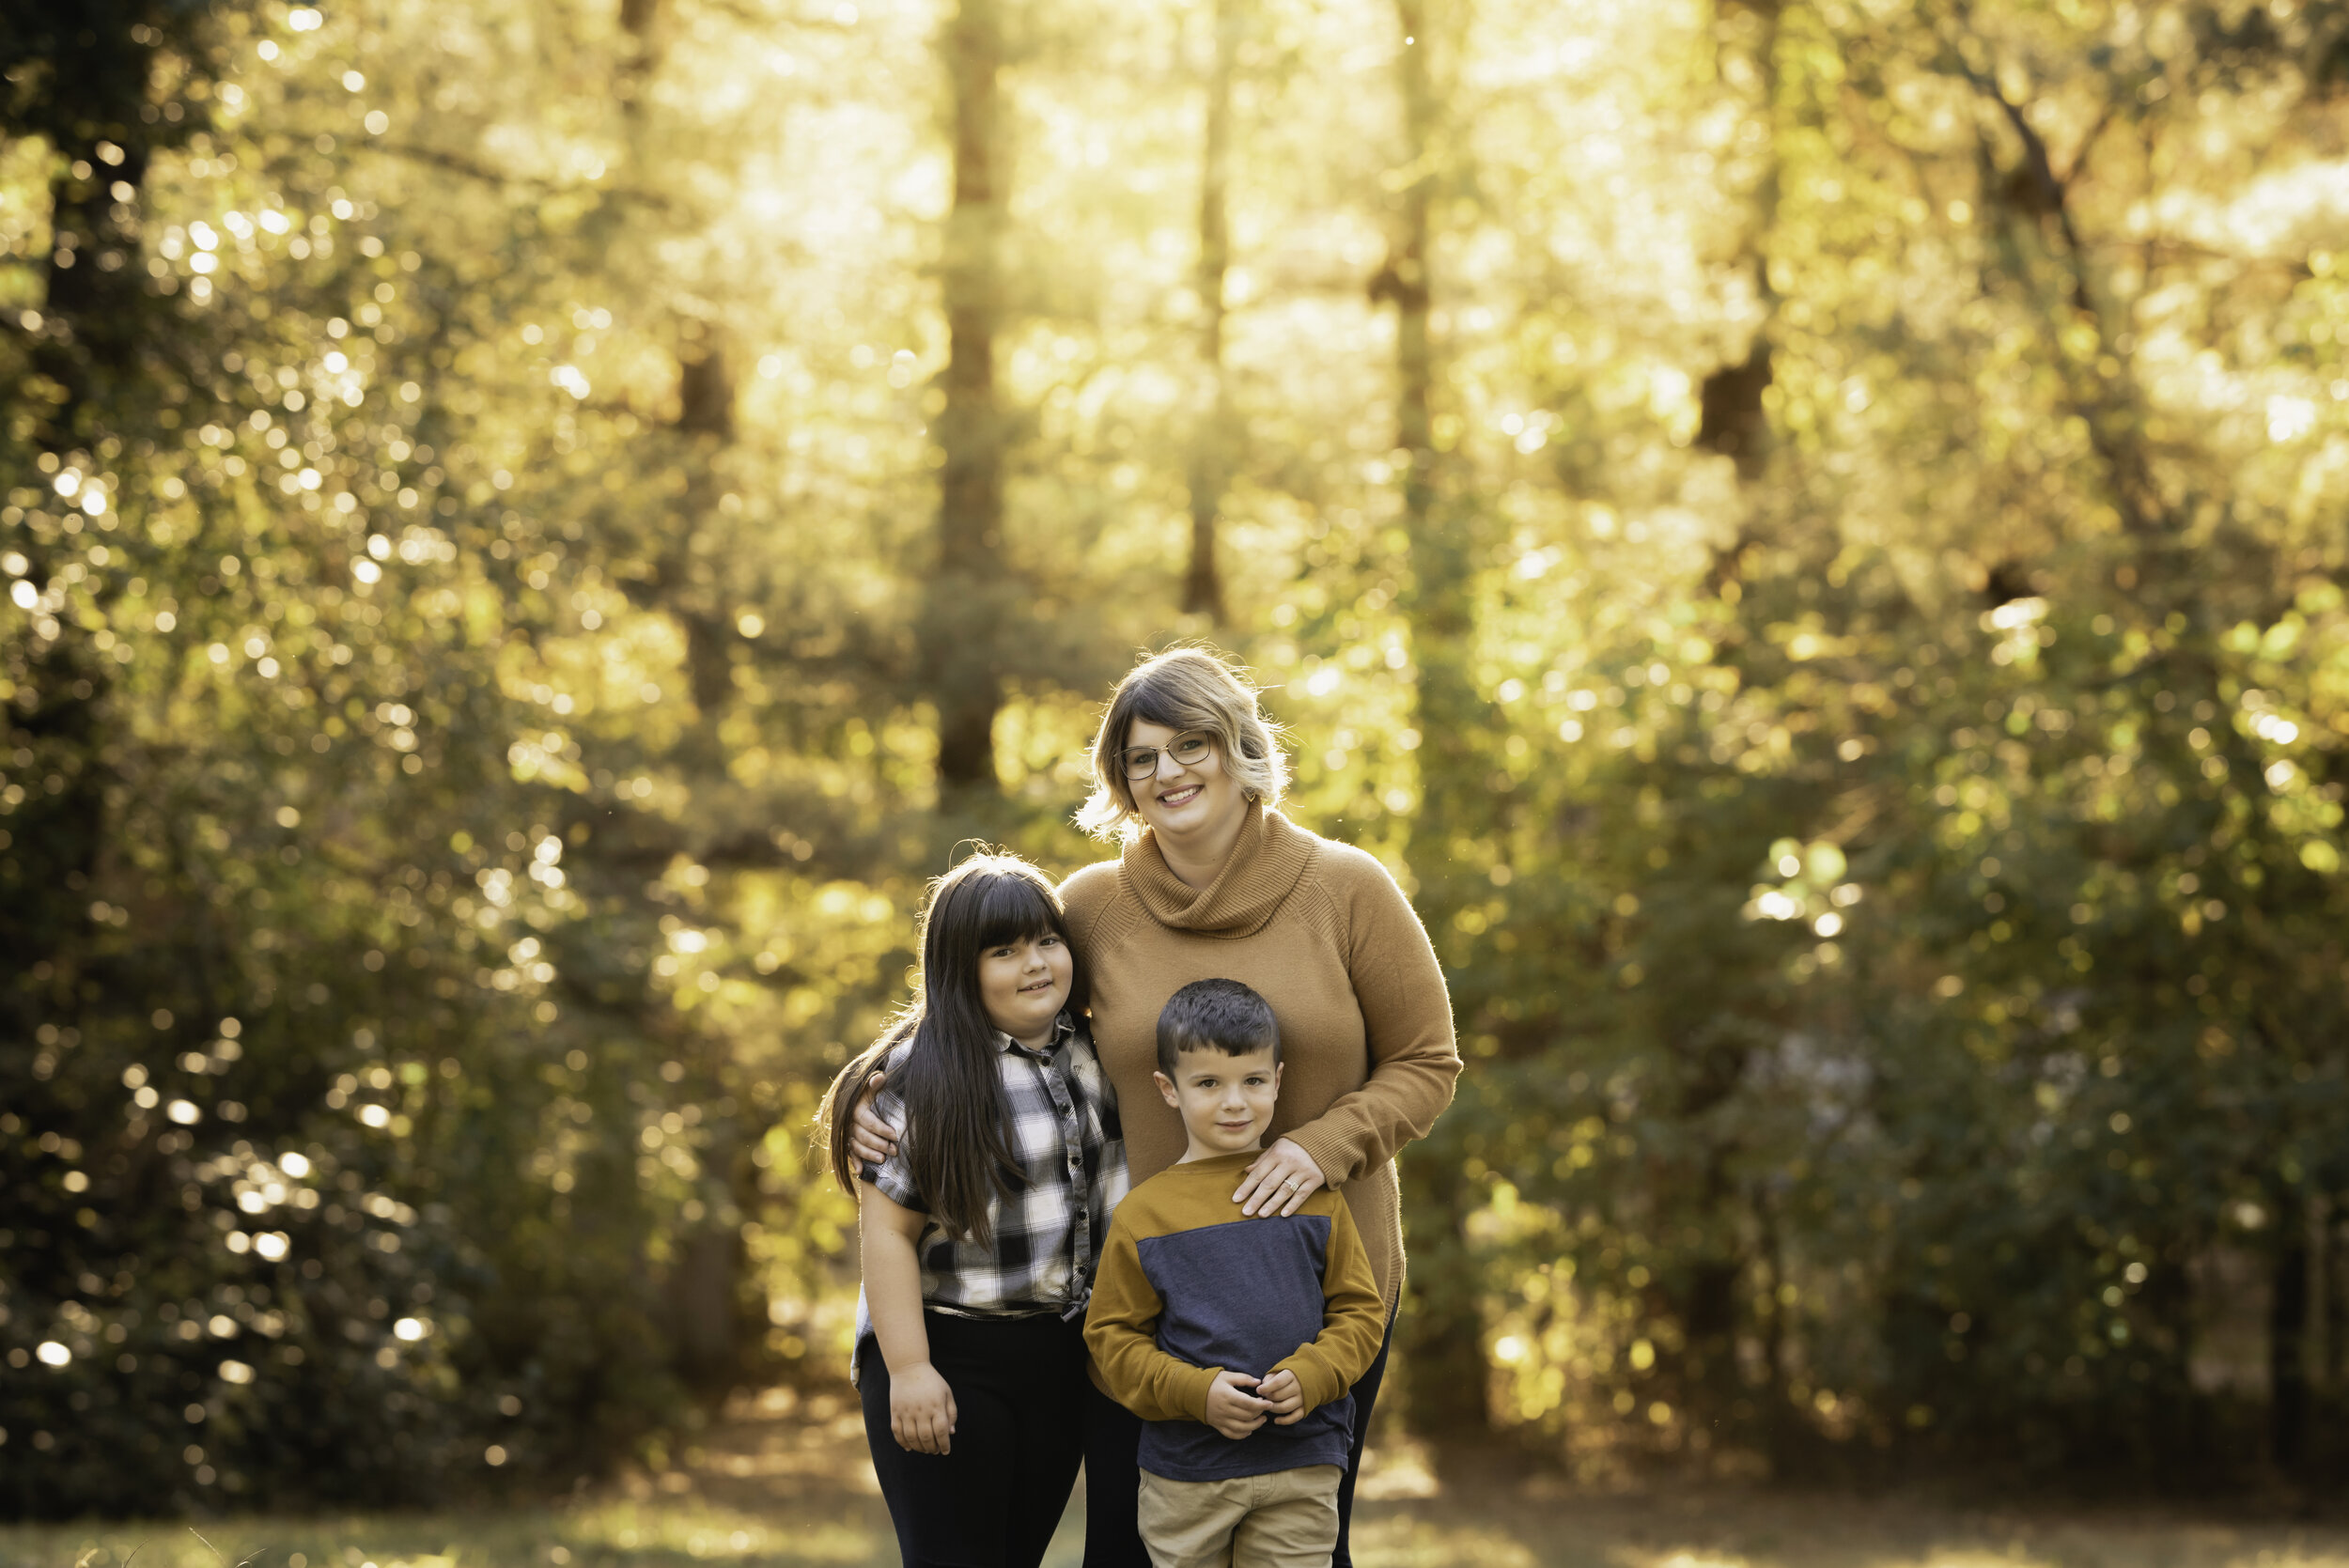
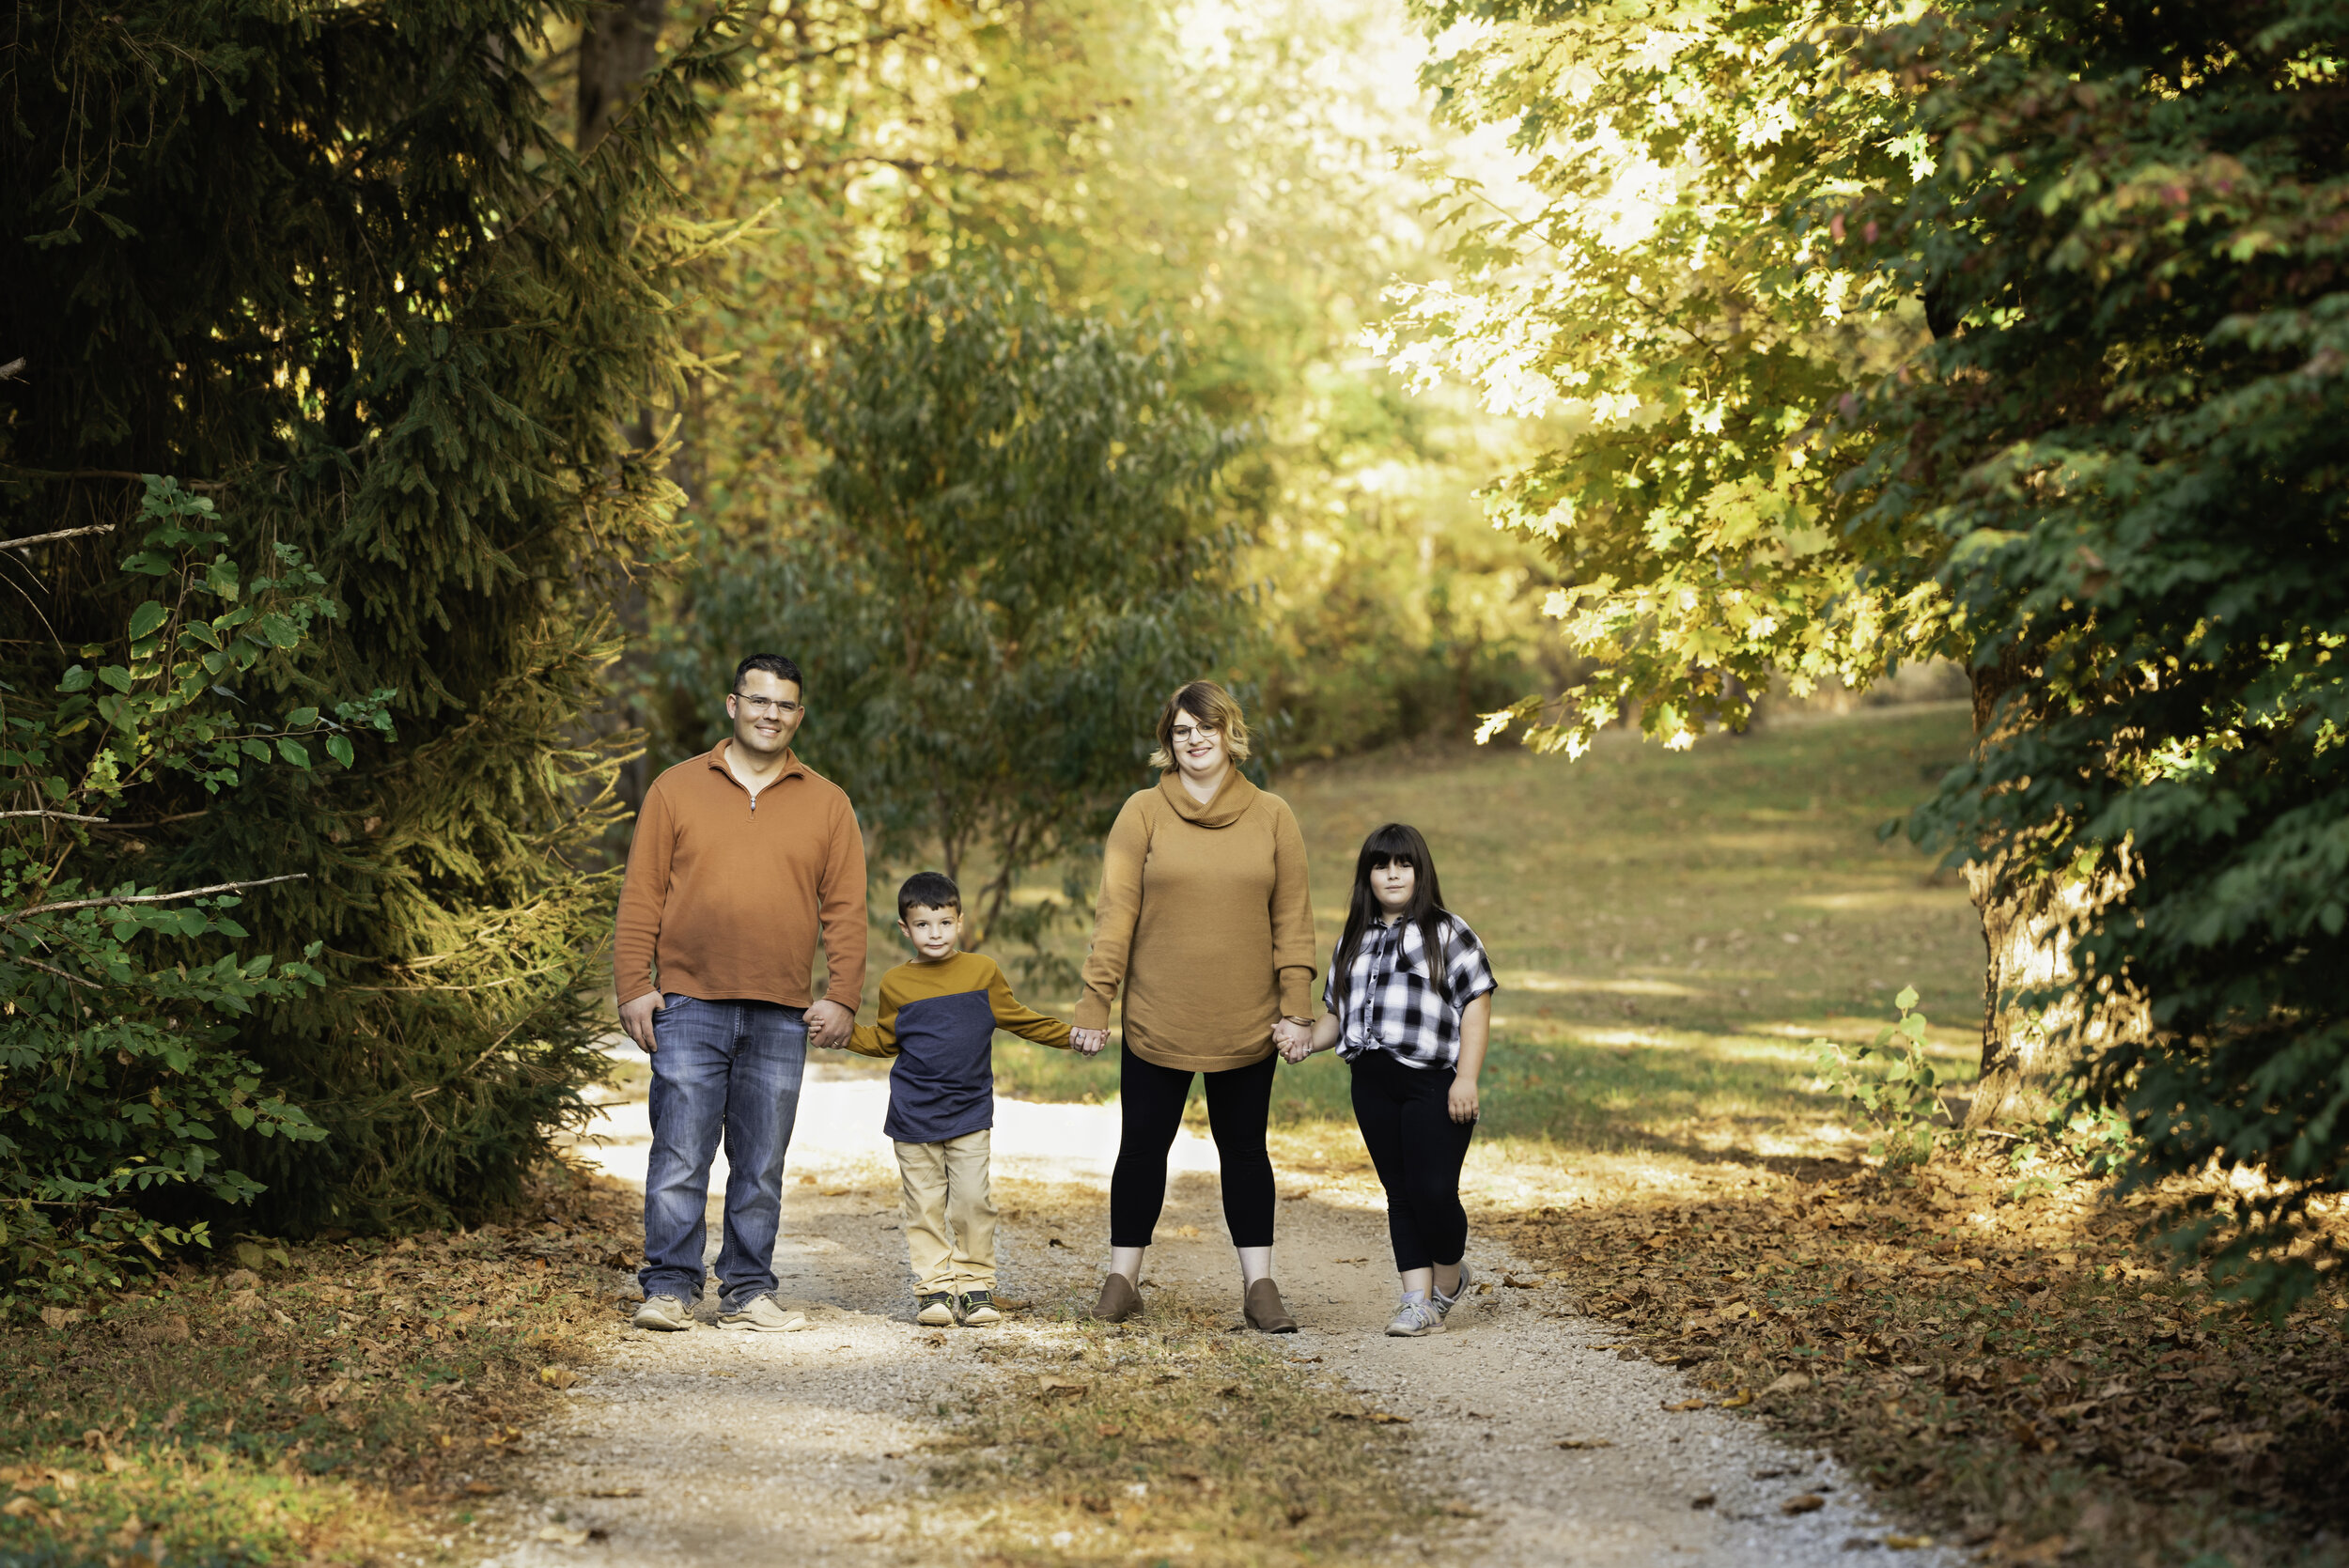
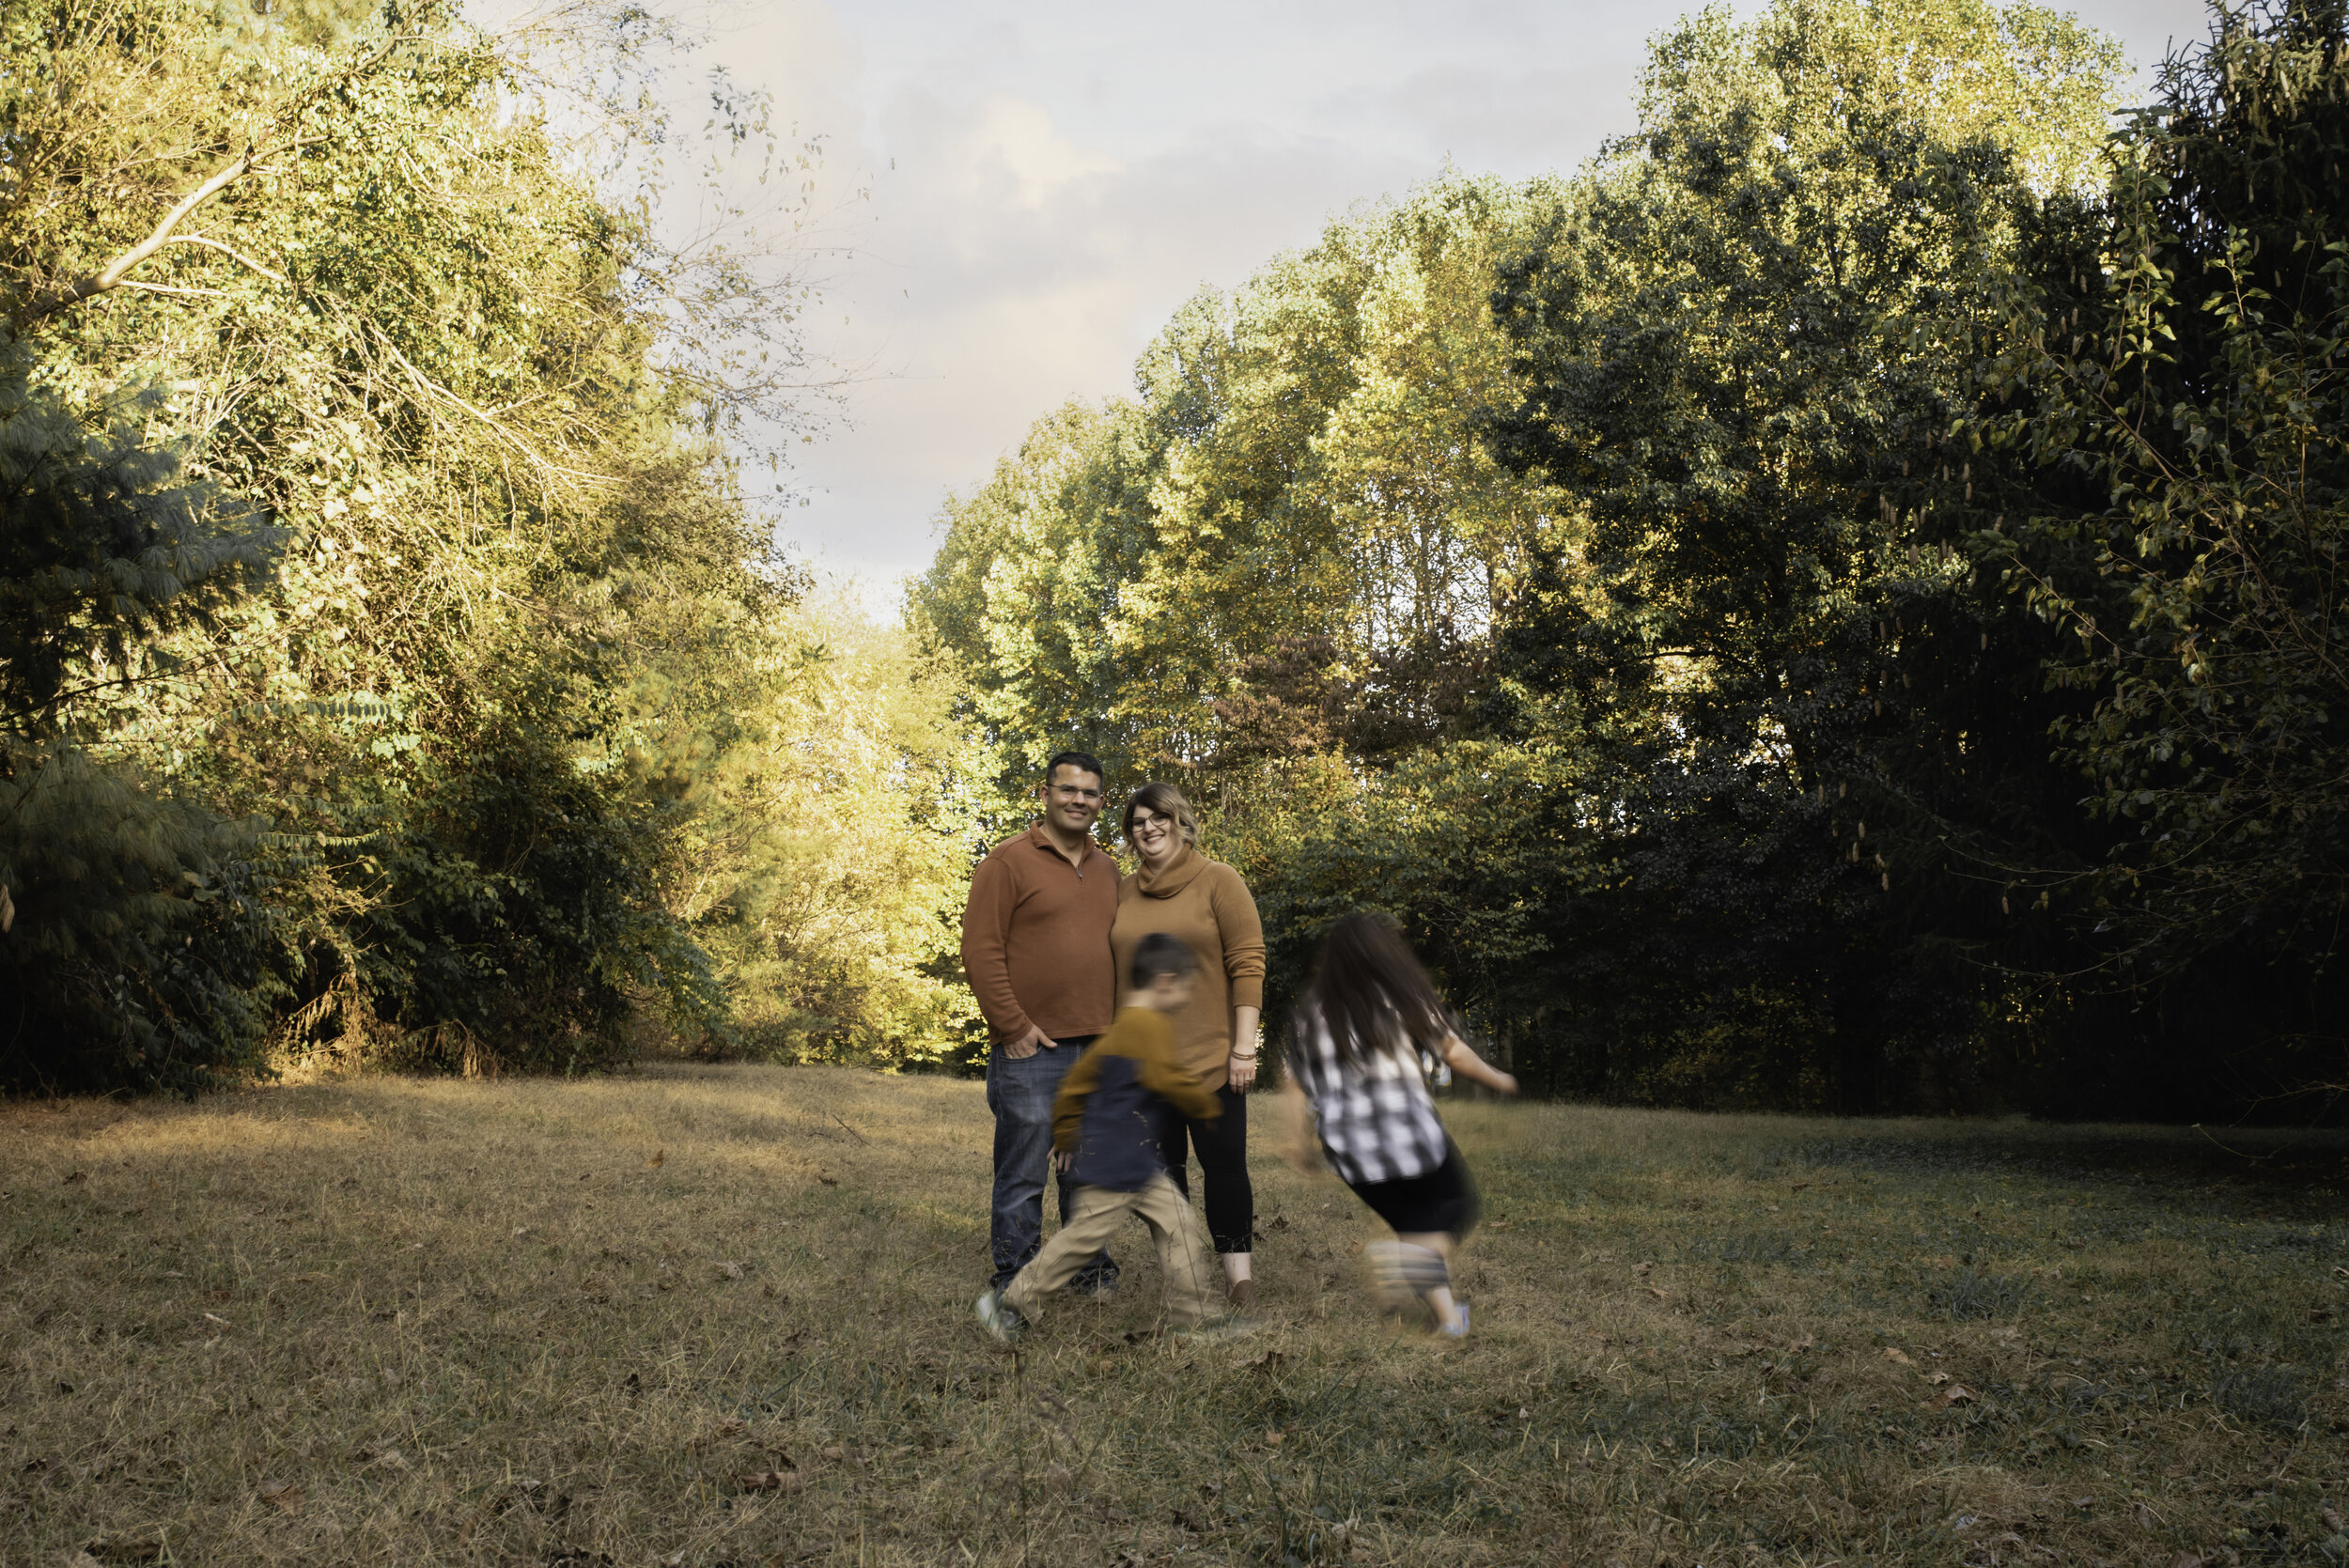
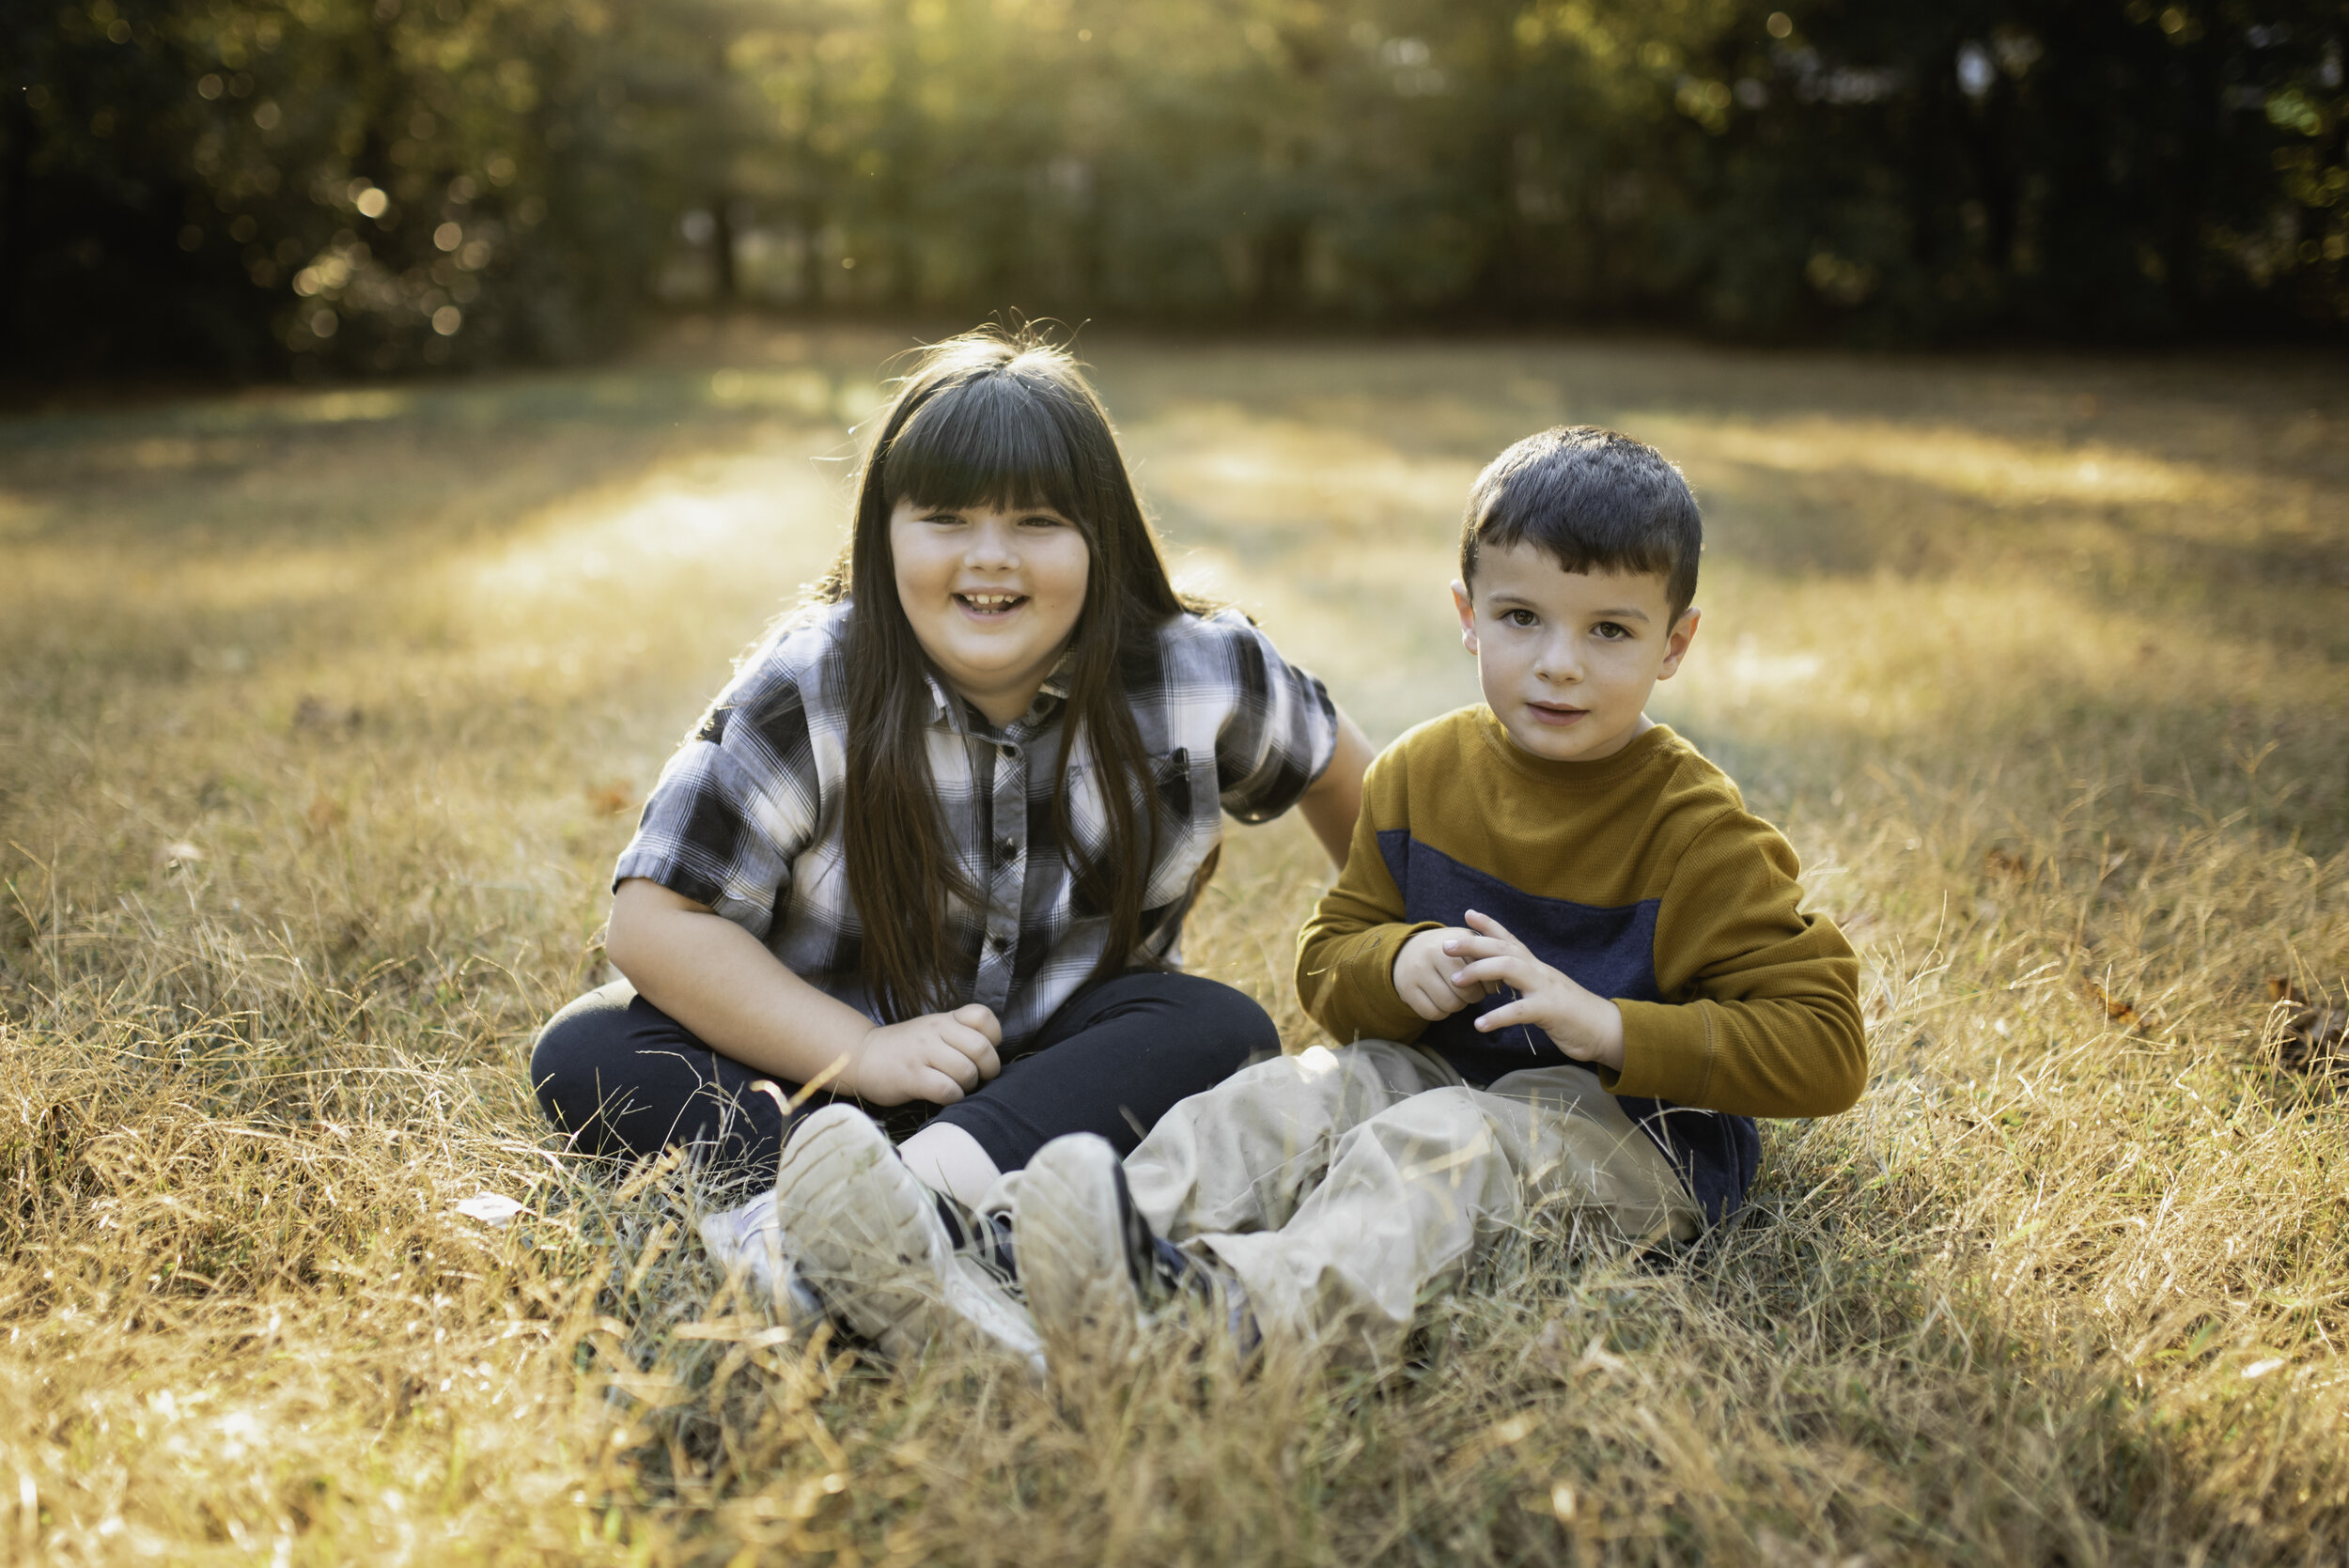
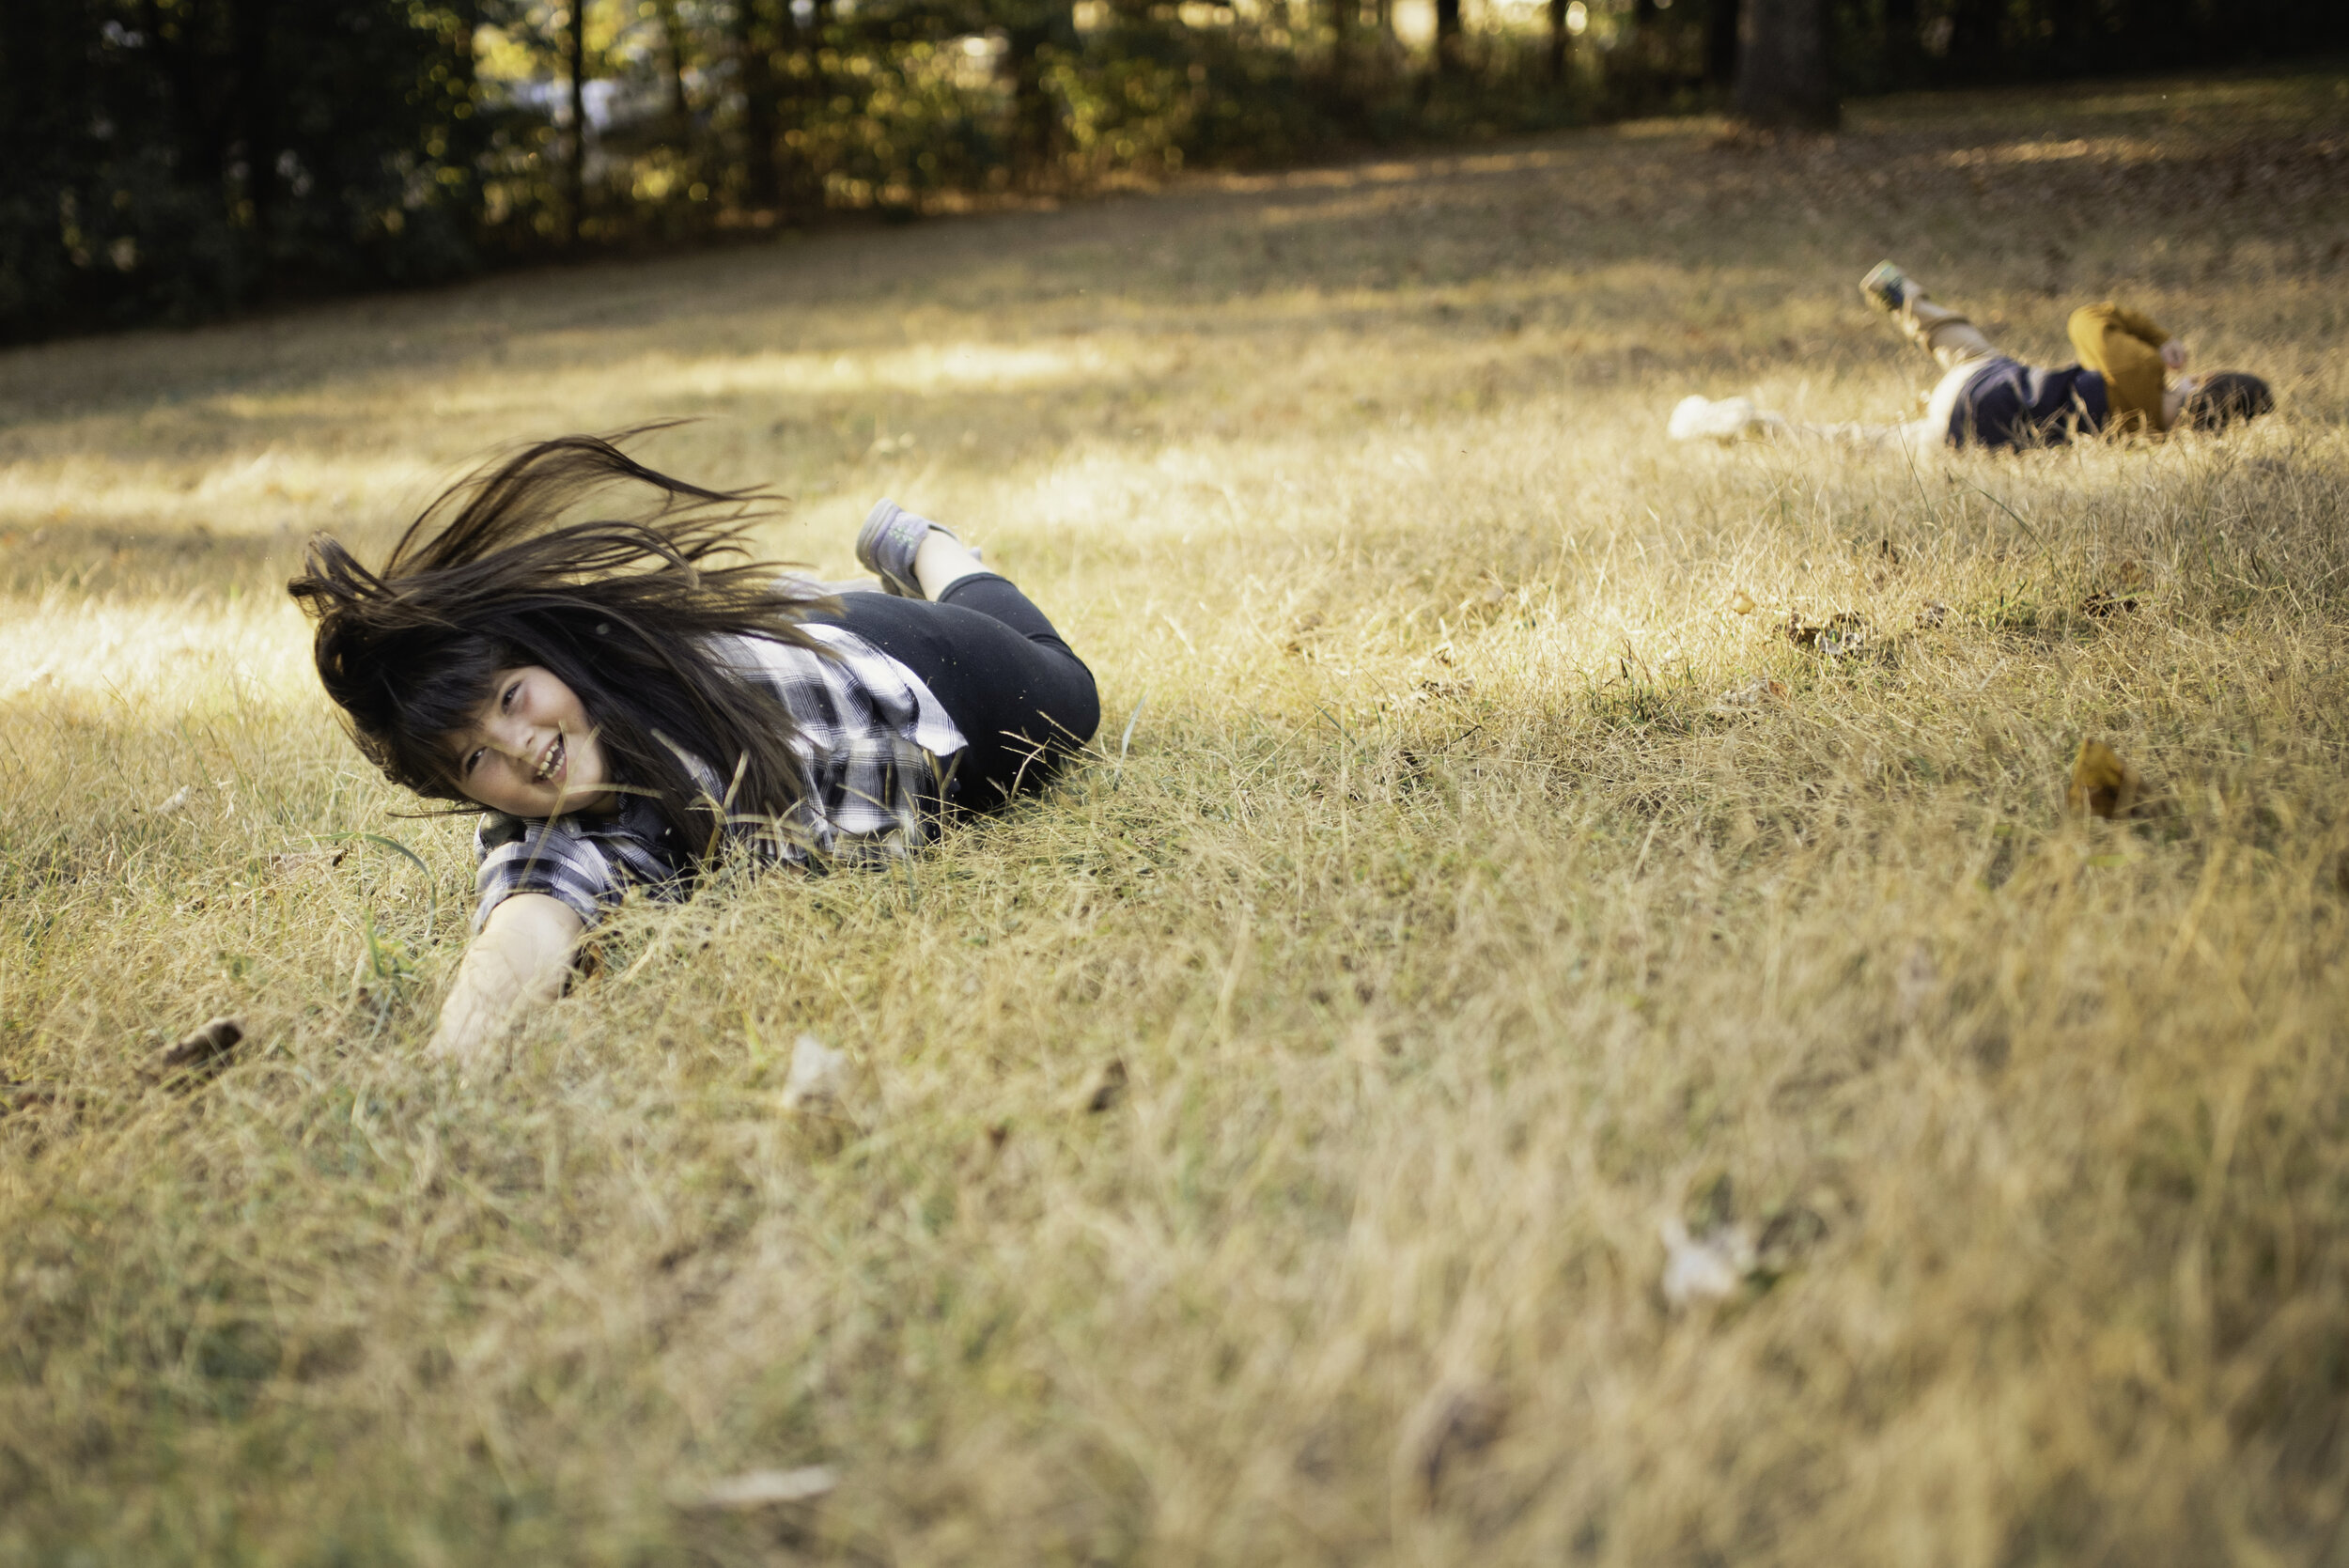
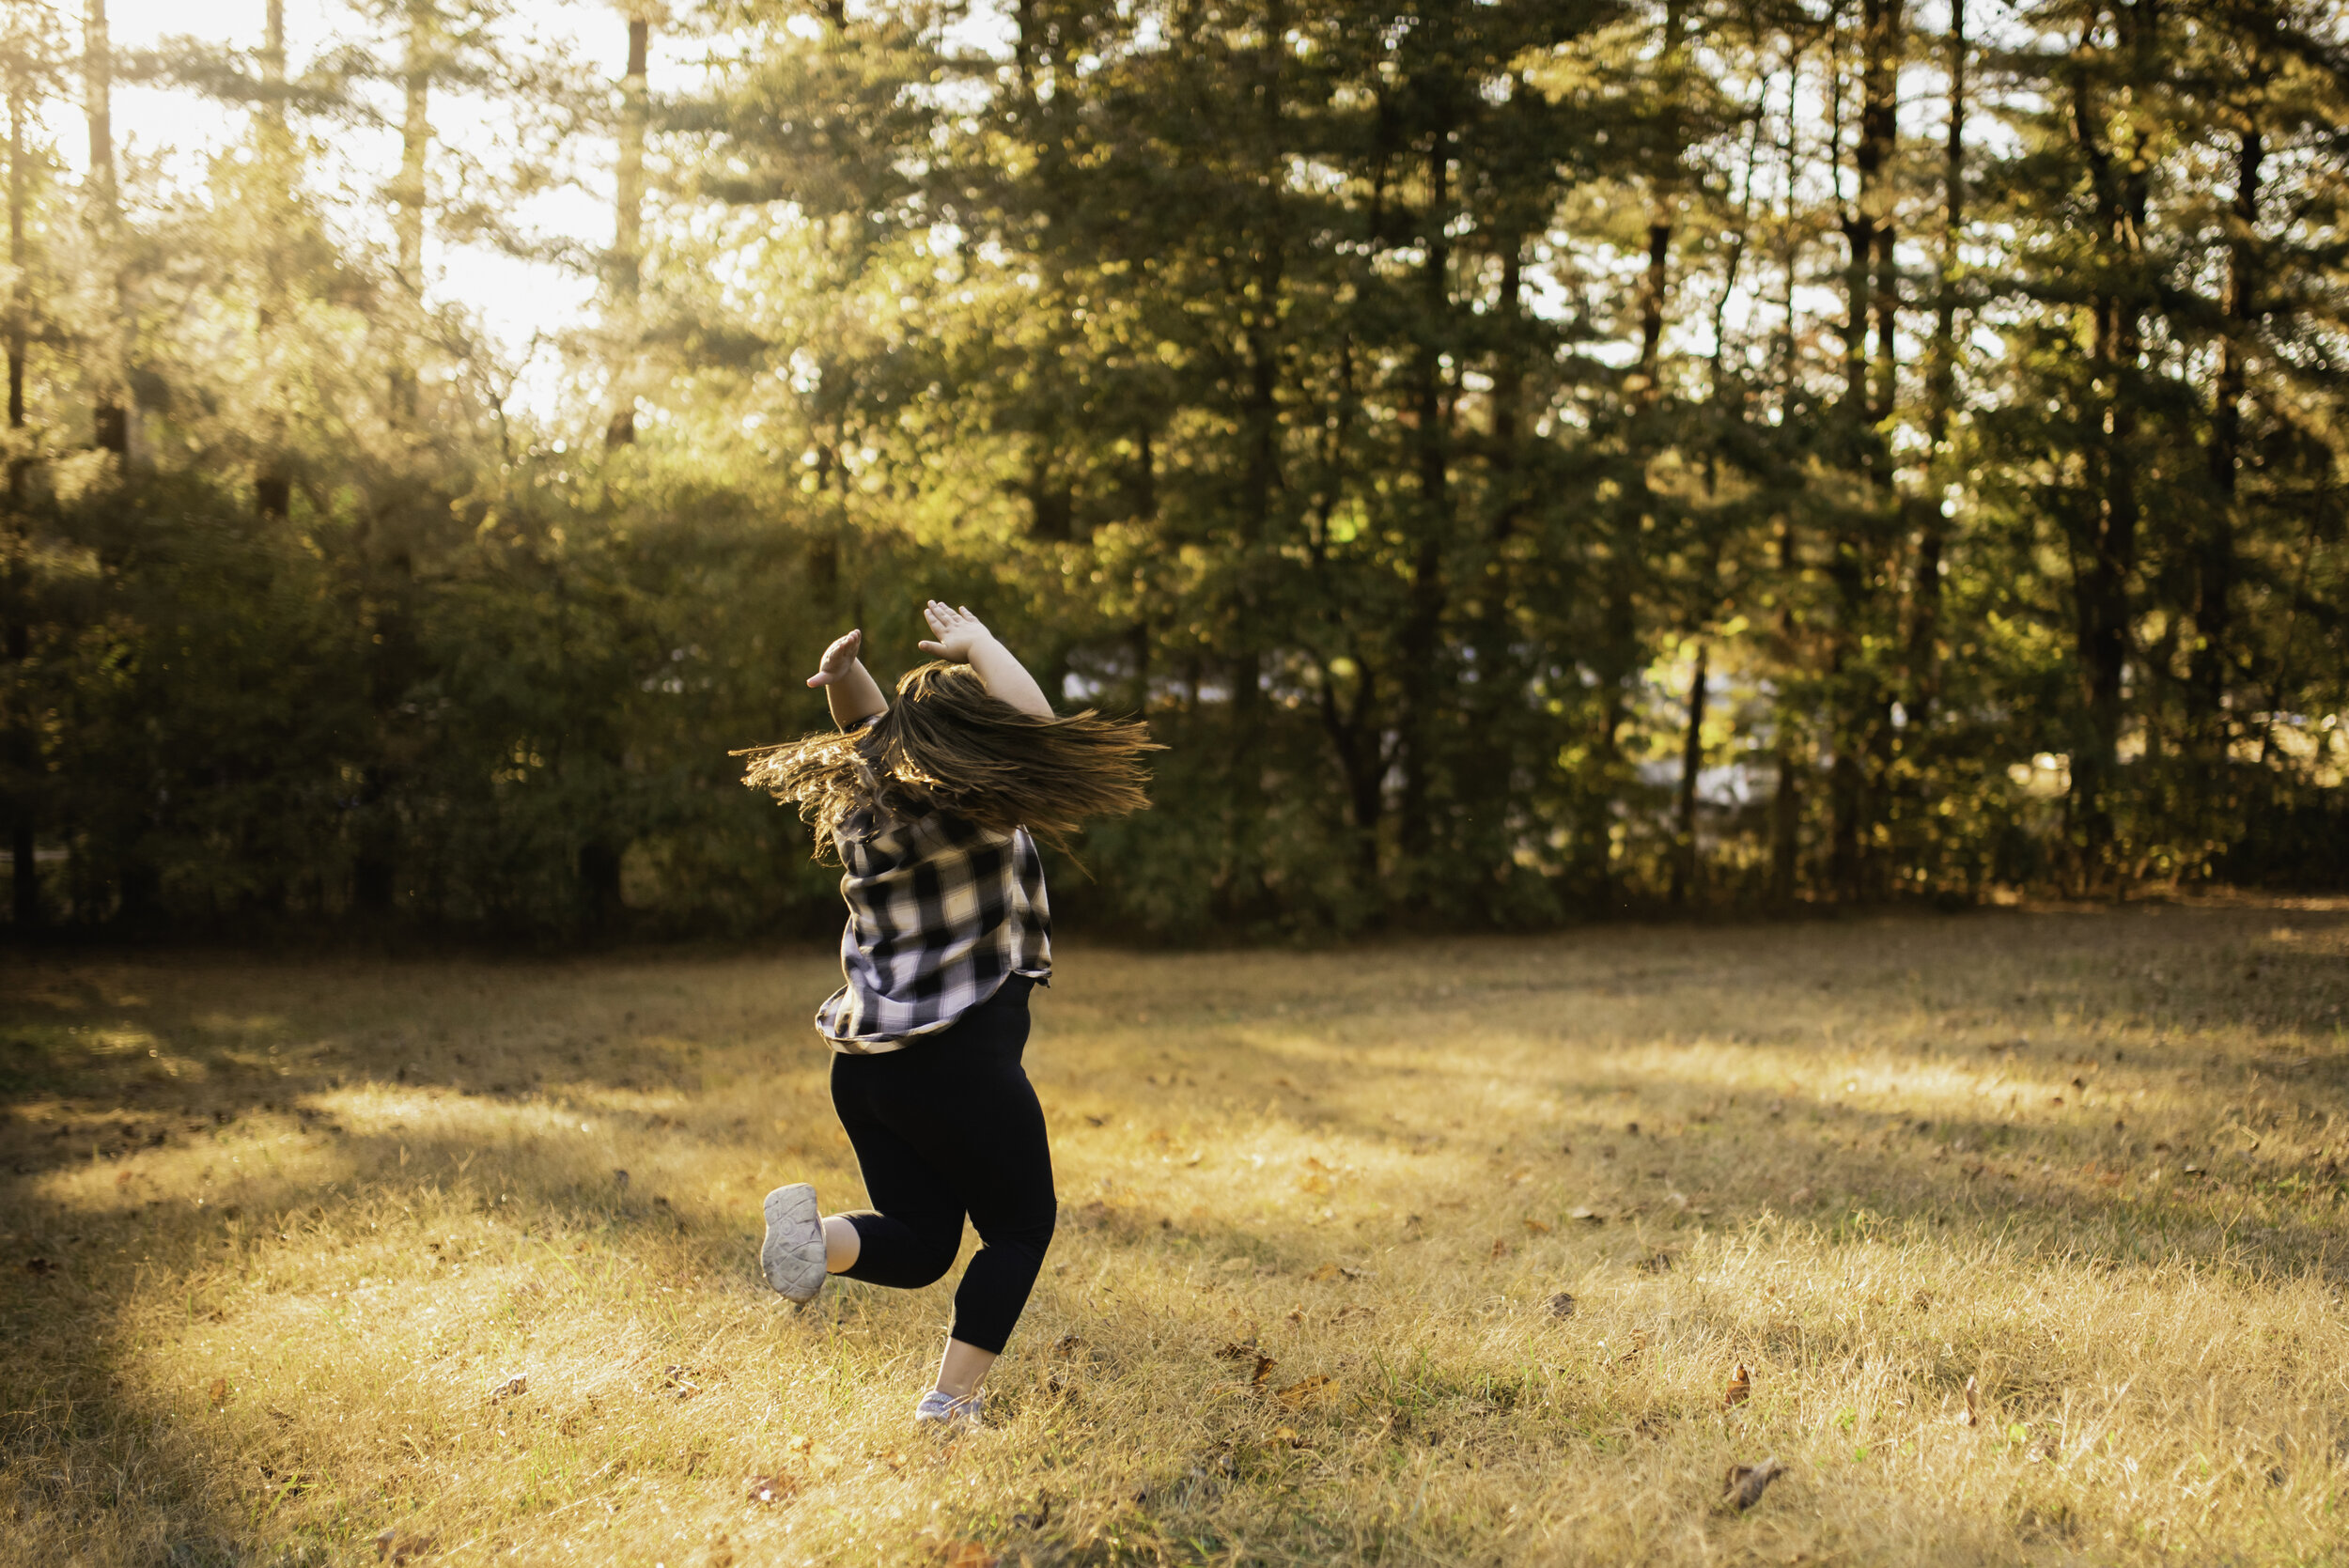
Woah, that is kind of a tongue twister. This is just the sweetest little family. It is so evident that they are joyful and love and care for one another. Here’s some images from their mini session. It was so much fun to shoot and such a privilege to photograph this family! Enjoy!
Thanks for reading!