
Find out some key concepts to consider when doing flat lay photography. I have my top 5 listed here.
Read MoreWhy are Family Photos Important?
I know what you are thinking. “Why should I even consider hiring a photographer? I have this phone right here in my hand that does a pretty darn good job of documenting my family’s lives.” And you’d be kind of right! I love using my phone to capture all those little moments with my own family, it is just so darn convenient. But you know what, my phone doesn’t take great pictures. My phone doesn’t consider the rules of design or take into consideration skin tones and light. My phone doesn’t include me in the pictures at all, unless I flip the camera and get that awkward selfie. My phone doesn’t allow me to be fully present with my loved ones. I am the one working and filming and trying to get my kid’s attention and focusing more on the light than on the time with others. Hiring a photographer does put you at complete ease. Finding a photographer you trust can help you to relax and enjoy the experience with your family and actually be included in the photos! Your children will want to remember you too. Not just see themselves in pictures.

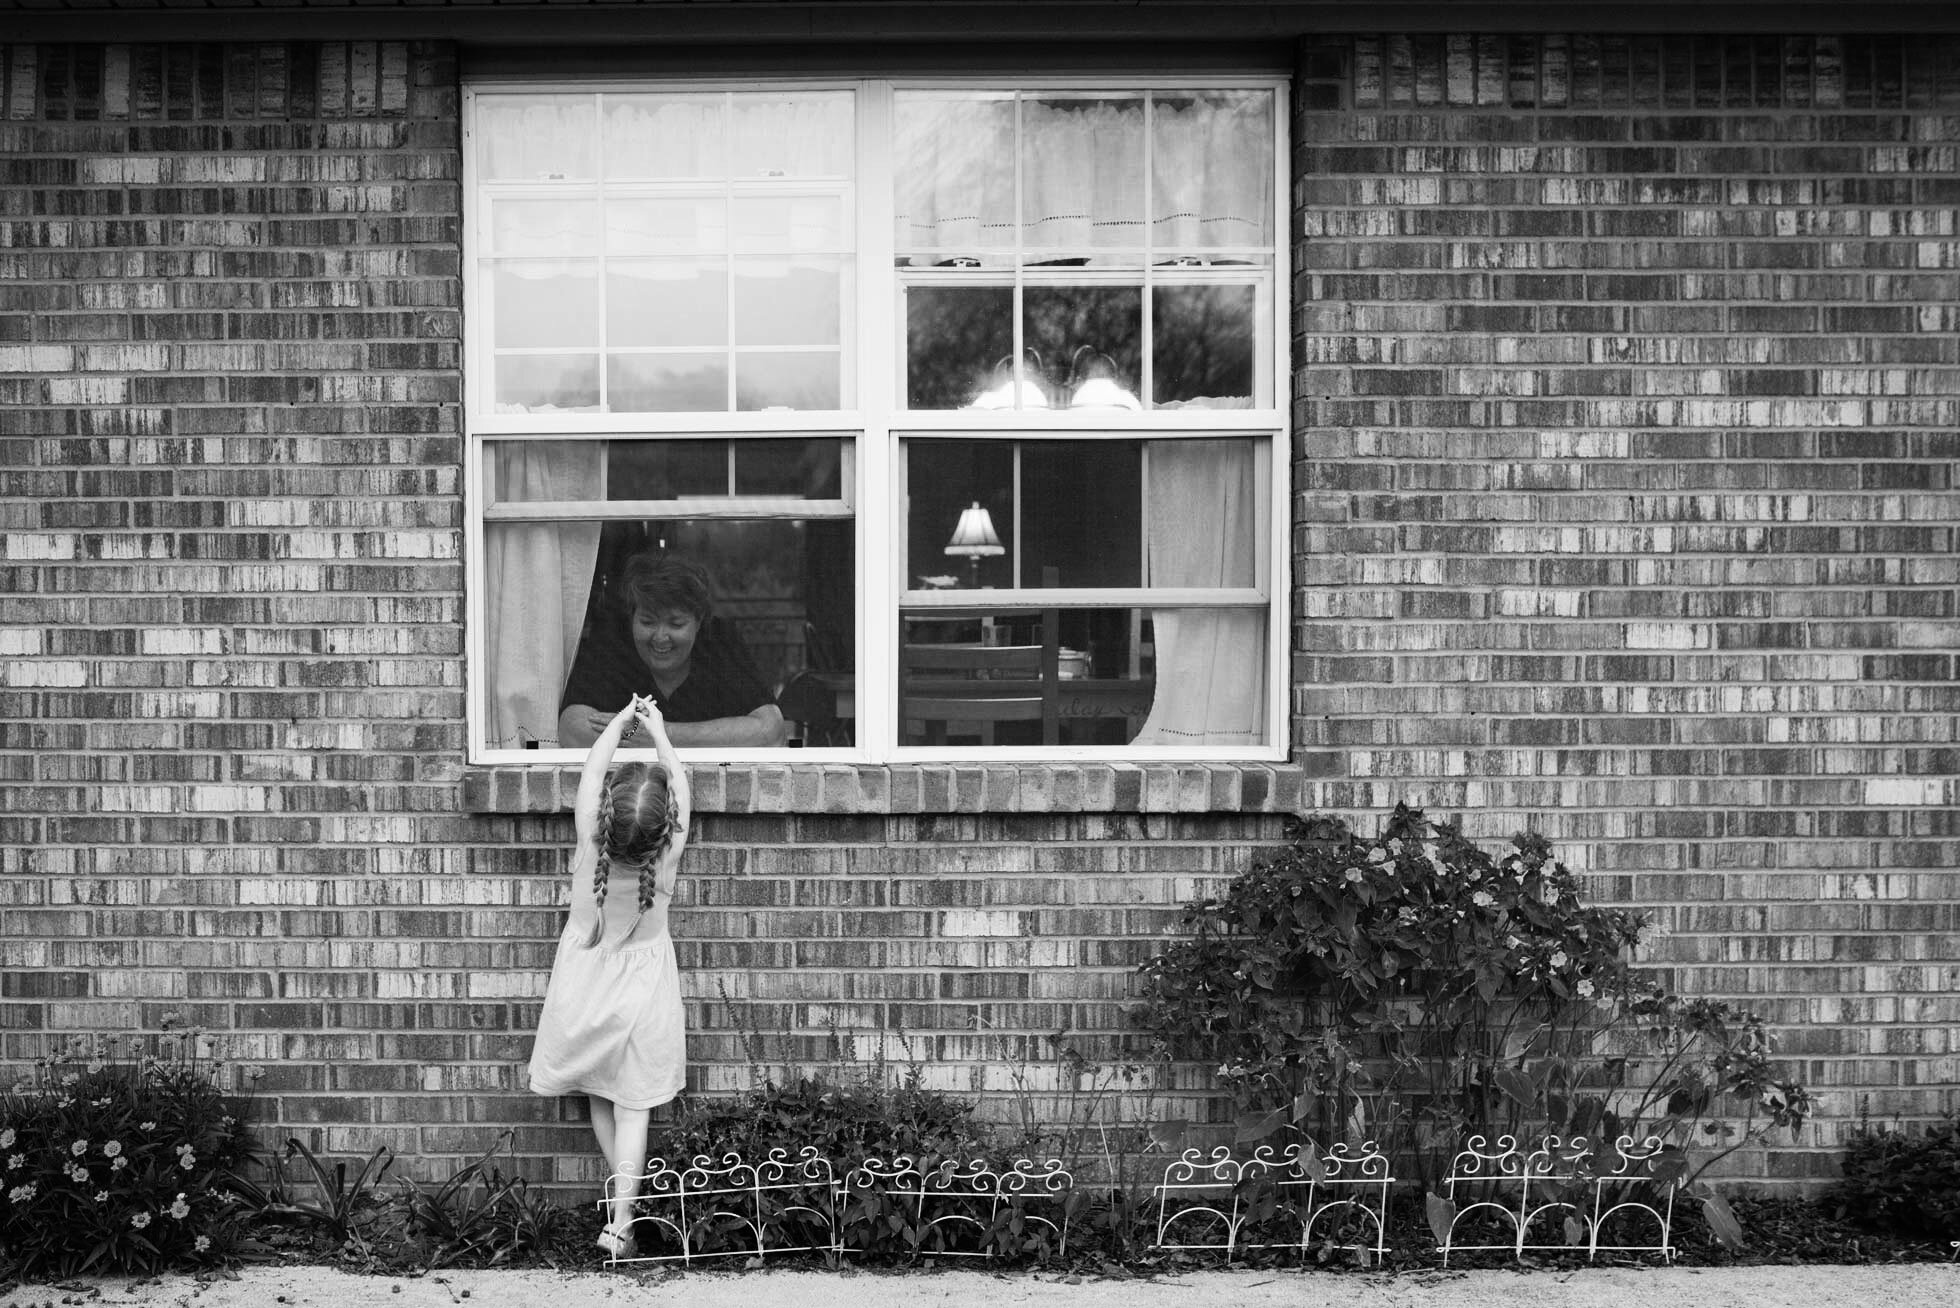
Maybe you’re thinking “Uh, why are family photos even important?” Well, if you have children you know how quickly time goes by! It’s like you blink and those babies who were just born are already smashing a cake for their first birthday. Then they get into school and extra curricular activities and time speeds up even quicker! Photography will help you to slow down and savor the moment. Photography also gives you something to look back on in later years so you can reflect on those precious moments with your family. Photography can also make you cringe later, so find a good photographer that will give you those timeless photos. And these are things worth investing in! Photography is art, but it is also personally special to each person and family member who love and adore those people in the images.

Maybe your thinking “I don’t have the time for family photos!” Well, I know from experience that if you plan it, it will happen! Just commit! Think of all the things you make time for that you plan in your own life. Doctor appointments, getting your hair and nails done, vacations, church meetings, meals, there are countless things you plan in your day to day life! Photography is just another one of those. Christmas comes every year, and you will know you need photos for those Christmas cards. Big life events, like getting married or having a baby, all require documentation! Make it easy by booking a photographer ahead of time.

In summary, the photos and videos and memories that you want to hand down aren’t going to be the blurry crazy millions of digital and phone photos. They are going to be the ones you value enough to print. The ones that capture your family in an artful and beautiful way. They are the ones that you will want to look back on and remember and show your children.

Thanks for reading!
How to Light Paint in Photography
Light painting is something I have begun to experiment with lately! I just think it is so fun and unique. Light painting is fairly simple, and just requires some trial and error.
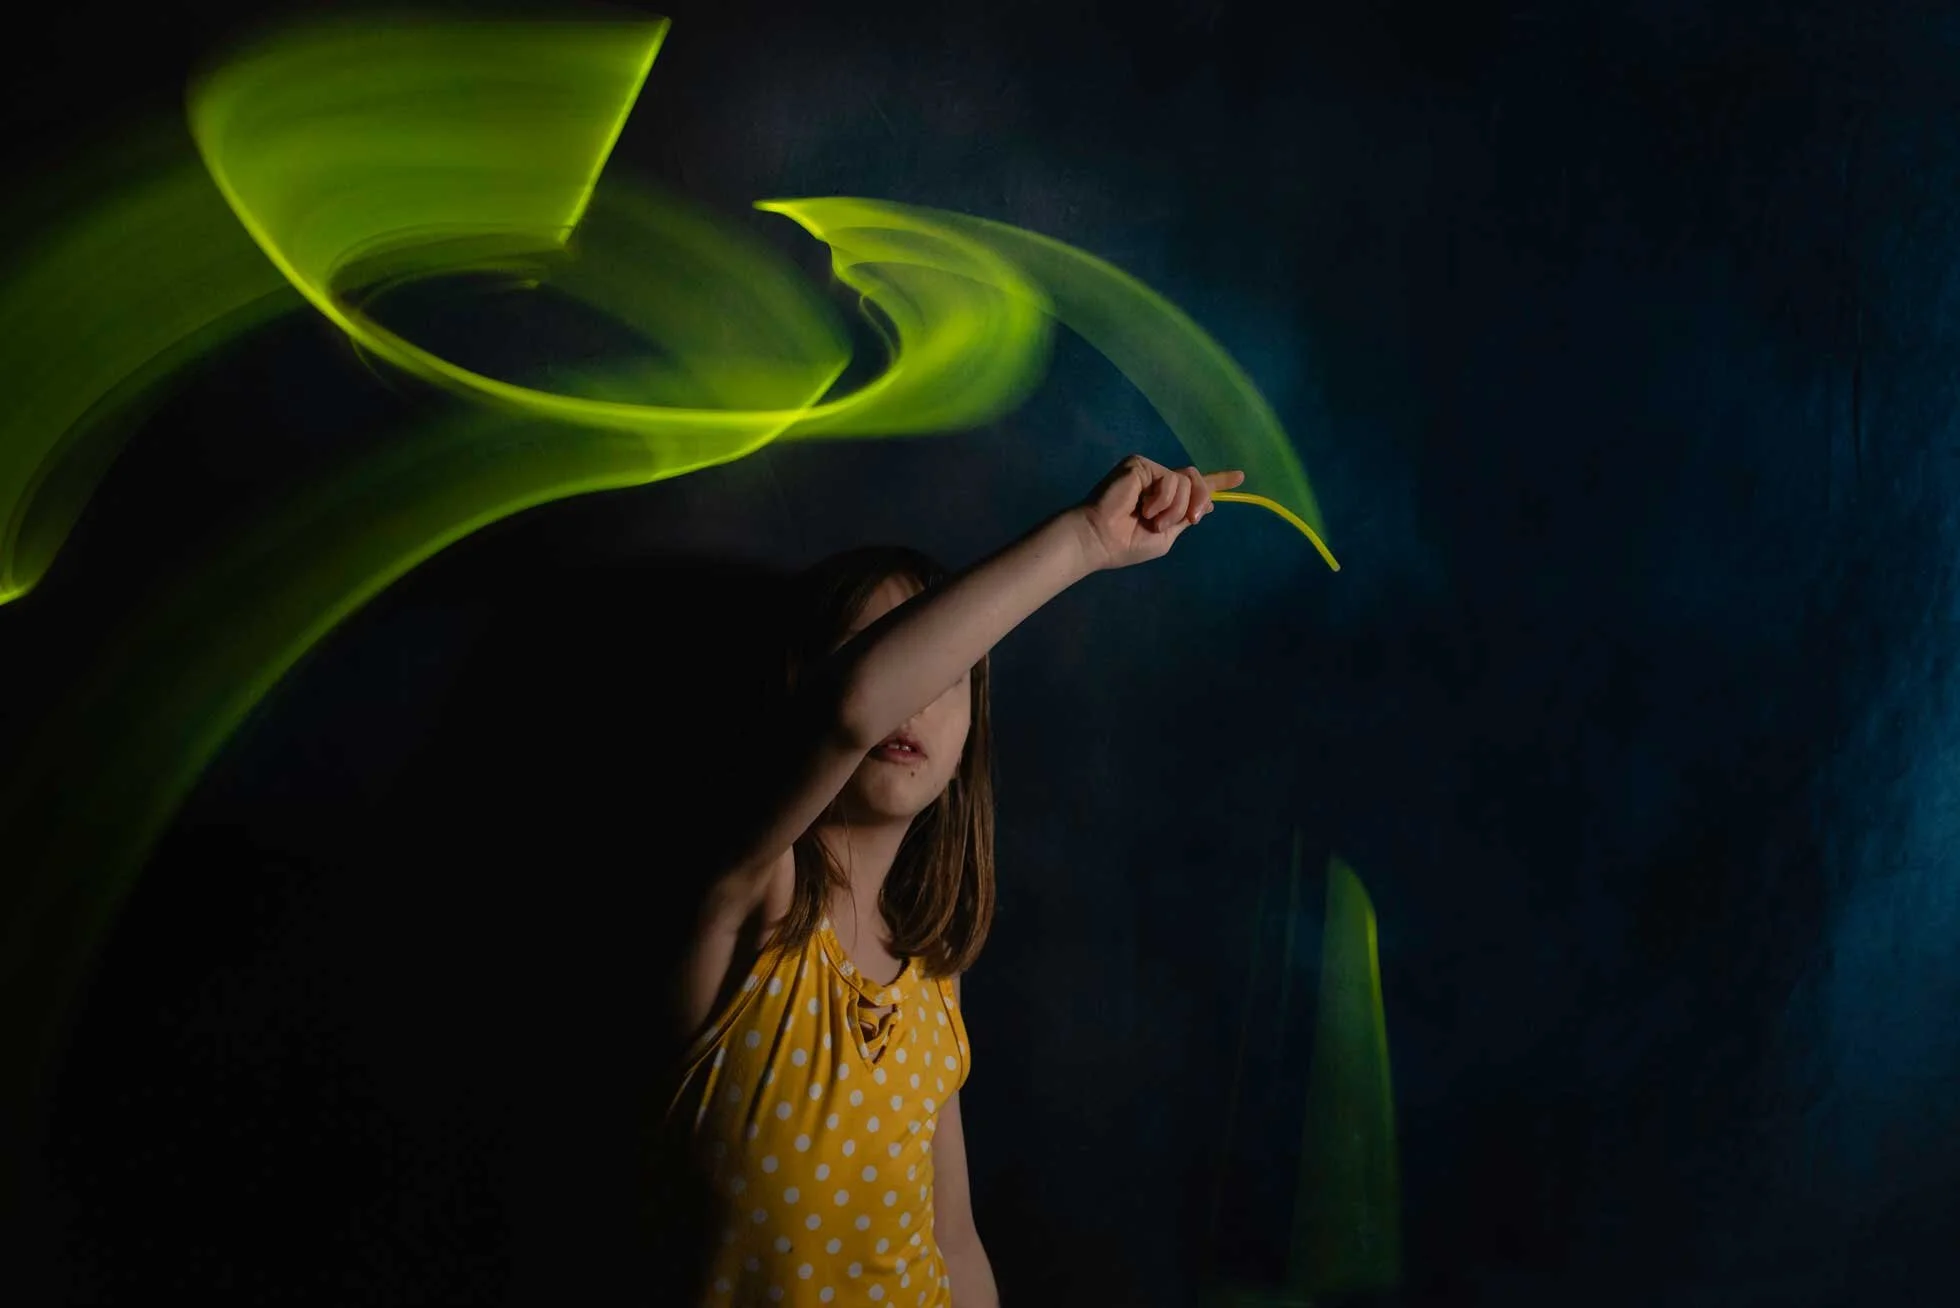
What you will need:
In addition to your camera you will need a tripod. A tripod is absolutely necessary if you want crisp clear images. Another thing you might want to try is using an off-camera flash. You will also need a completely dark setting. No ambient light in the room at all, or it will show up in your picture. (which is another option-see below).
Settings:
Start with a low ISO around 100-500. Then adjust your aperture. If this is a self portrait it is best to close down and have a higher f-stop. This will give you a wider range of focus. Next step is to pick your shutter speed. Depending on what kind of light painting you are doing you can go anywhere from 1 second to about 30 or 60 seconds. If you want a lot of light painting and you have a separate subject, I have found the best setting is bulb, and then you can hold open your shutter as long as you’d like. Try out your settings and adjust accordingly.
Experiments:
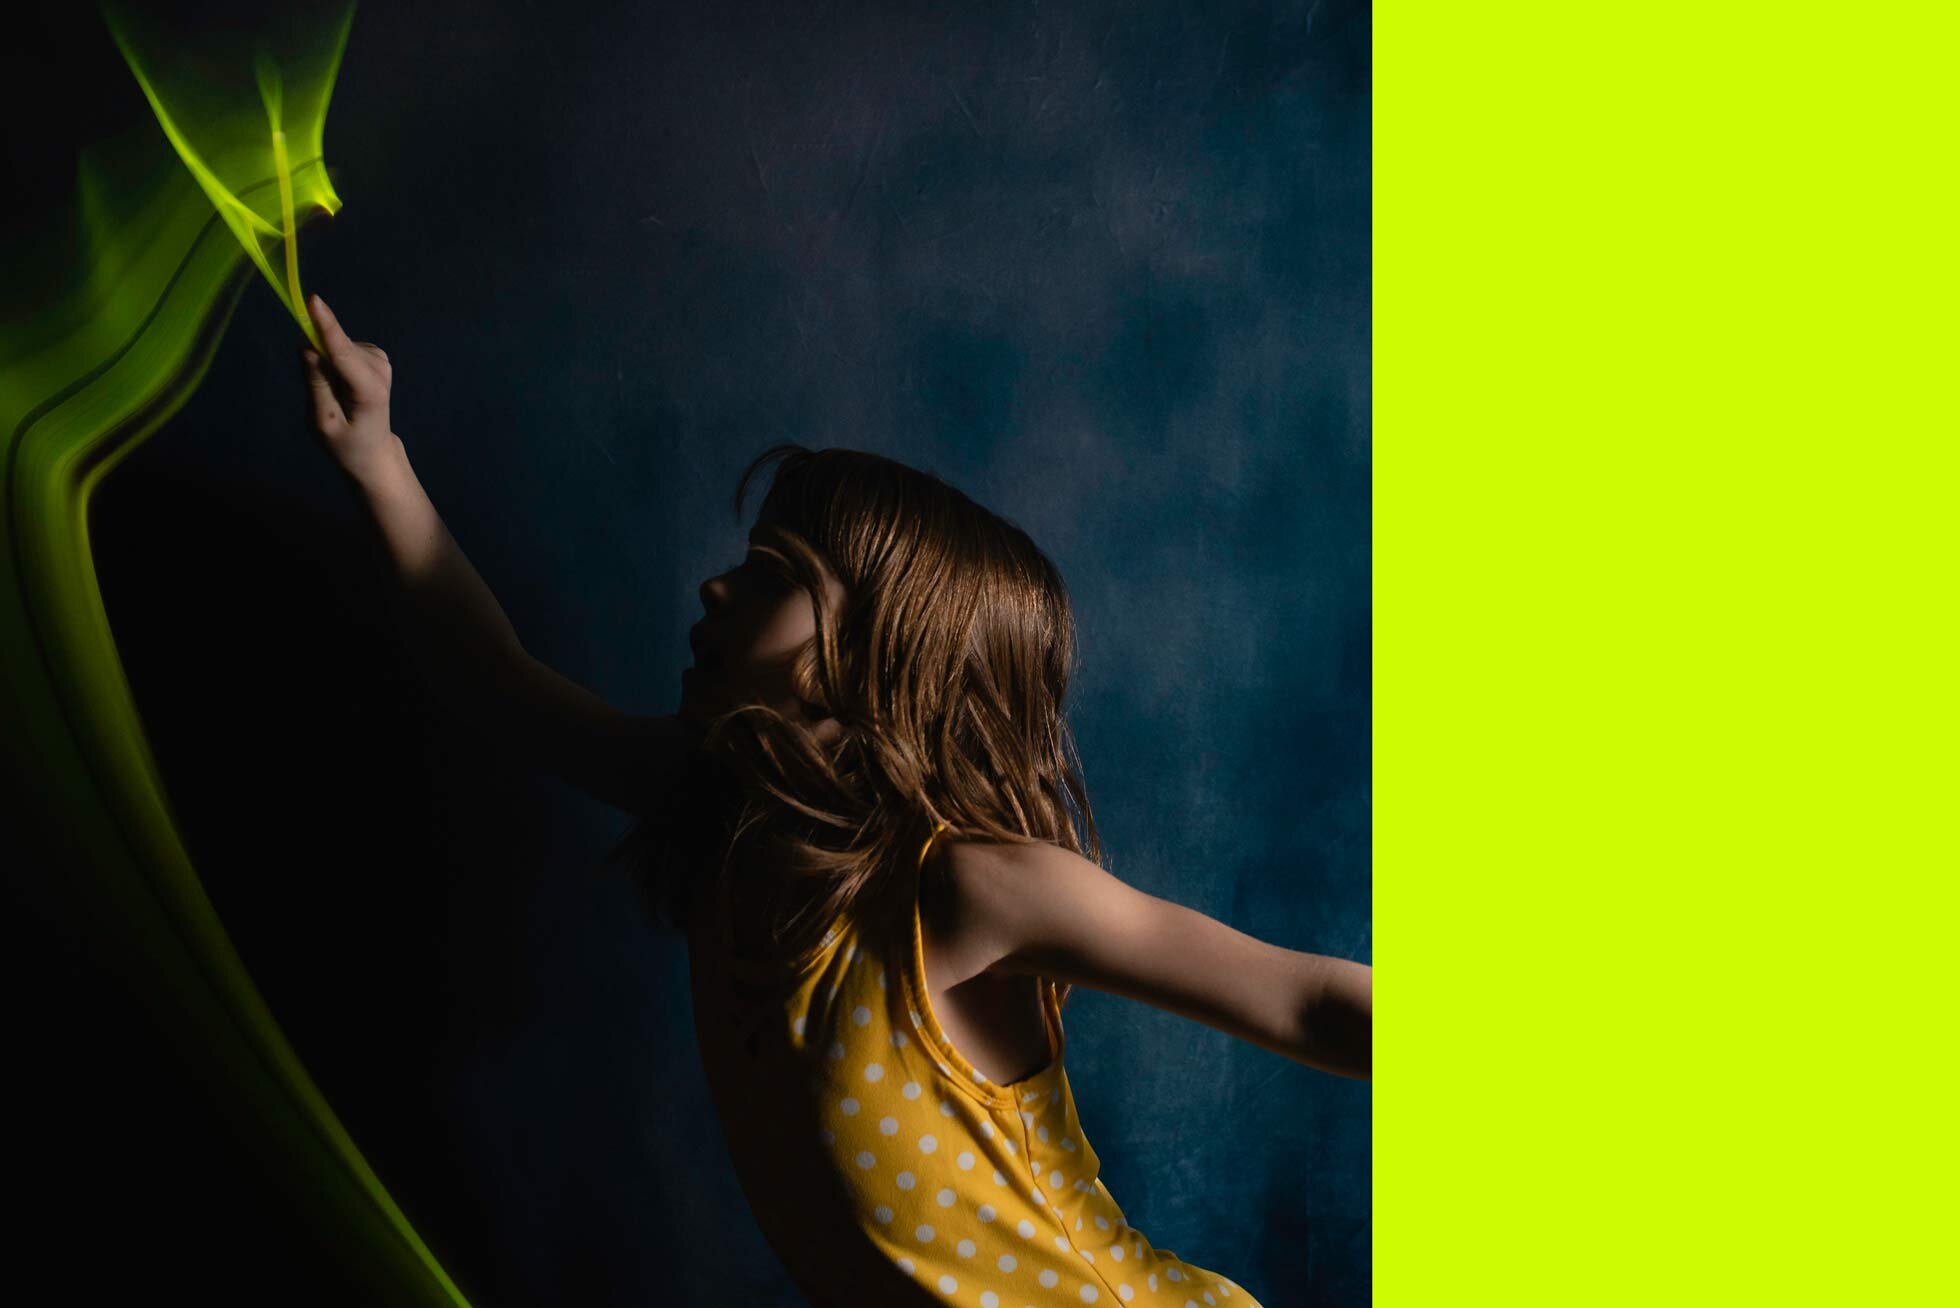
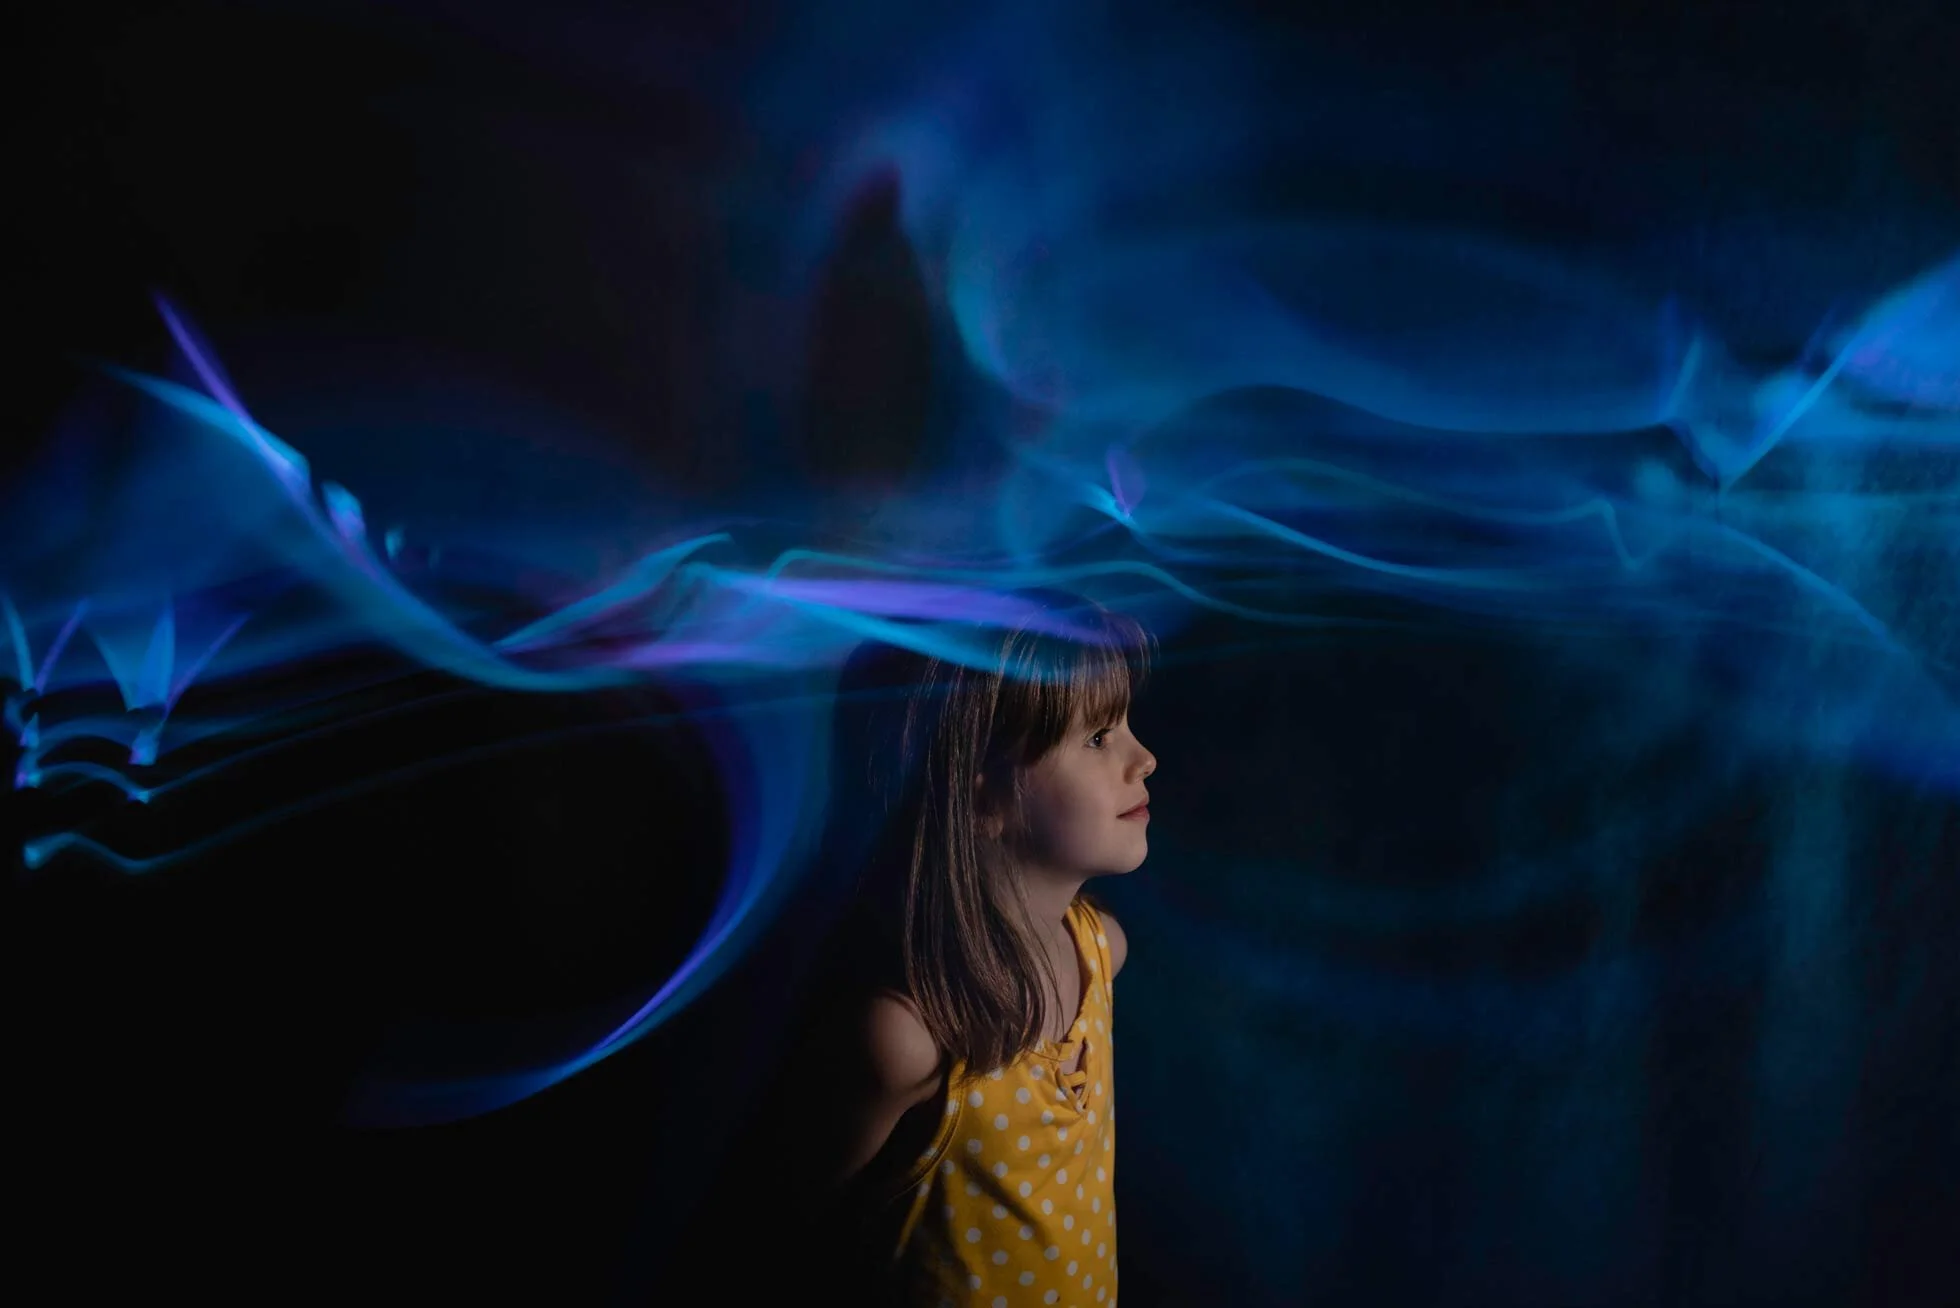
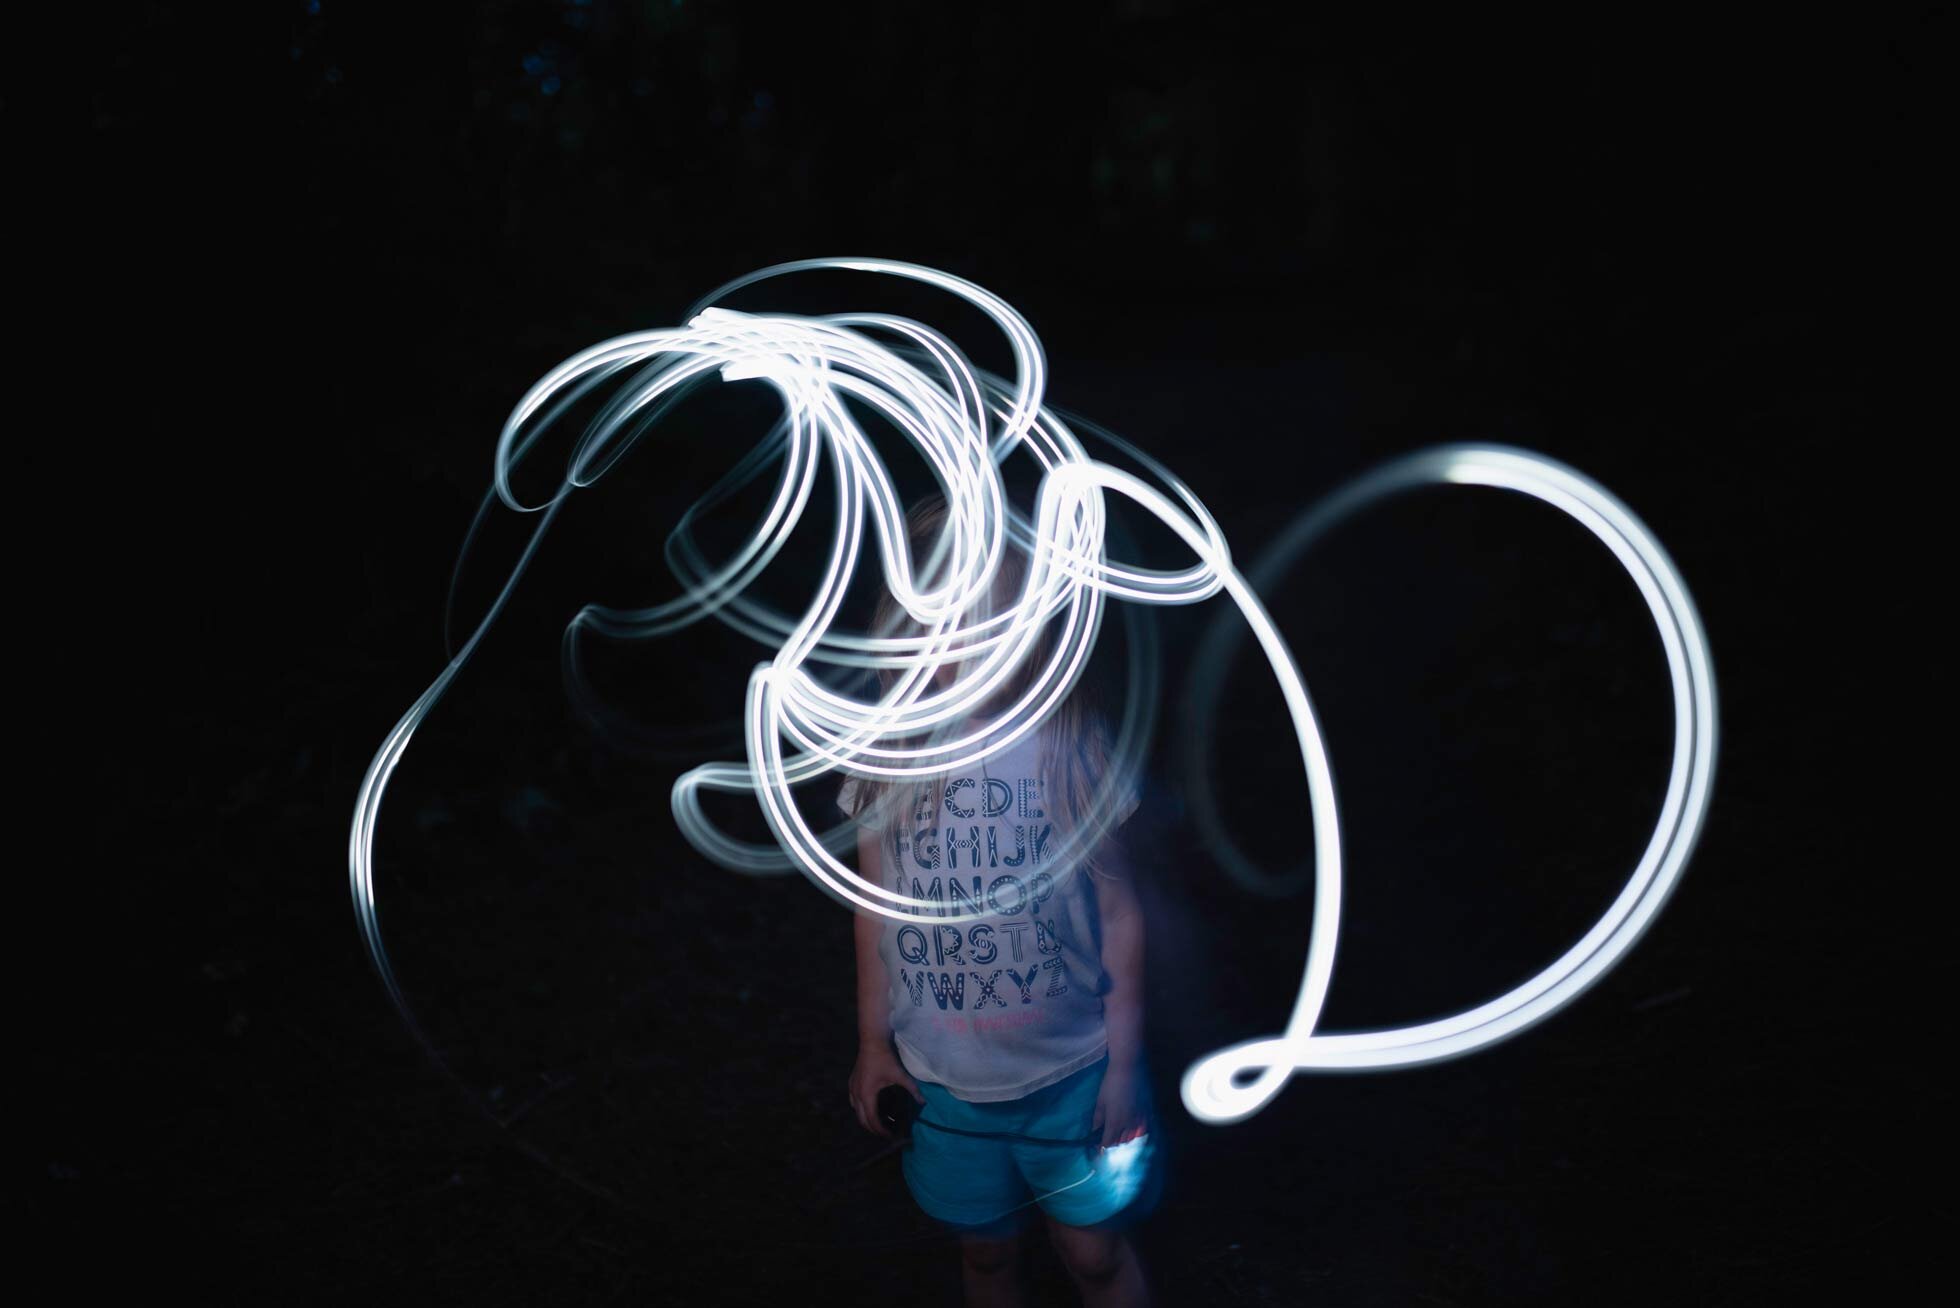
To freeze motion, you can use flash. For the following pictures I used an off-camera flash and set it to go off once. (If you have a fancy camera and flash you can set it to go off multiple times which will freeze your subject many times in one frame.) I then had my subject walk around with glow sticks, or wave them around. Consider where you are painting. Make sure you are not putting the light right where your face would show up in the picture. (Unless you want that.) For me, I wanted the face to be the focus. Depending on how long you keep your shutter open for will affect how much light you will be taking in. I have found moving the light slowly also makes the light trail much brighter than if you move around quickly.
Slower Light Painting Image:
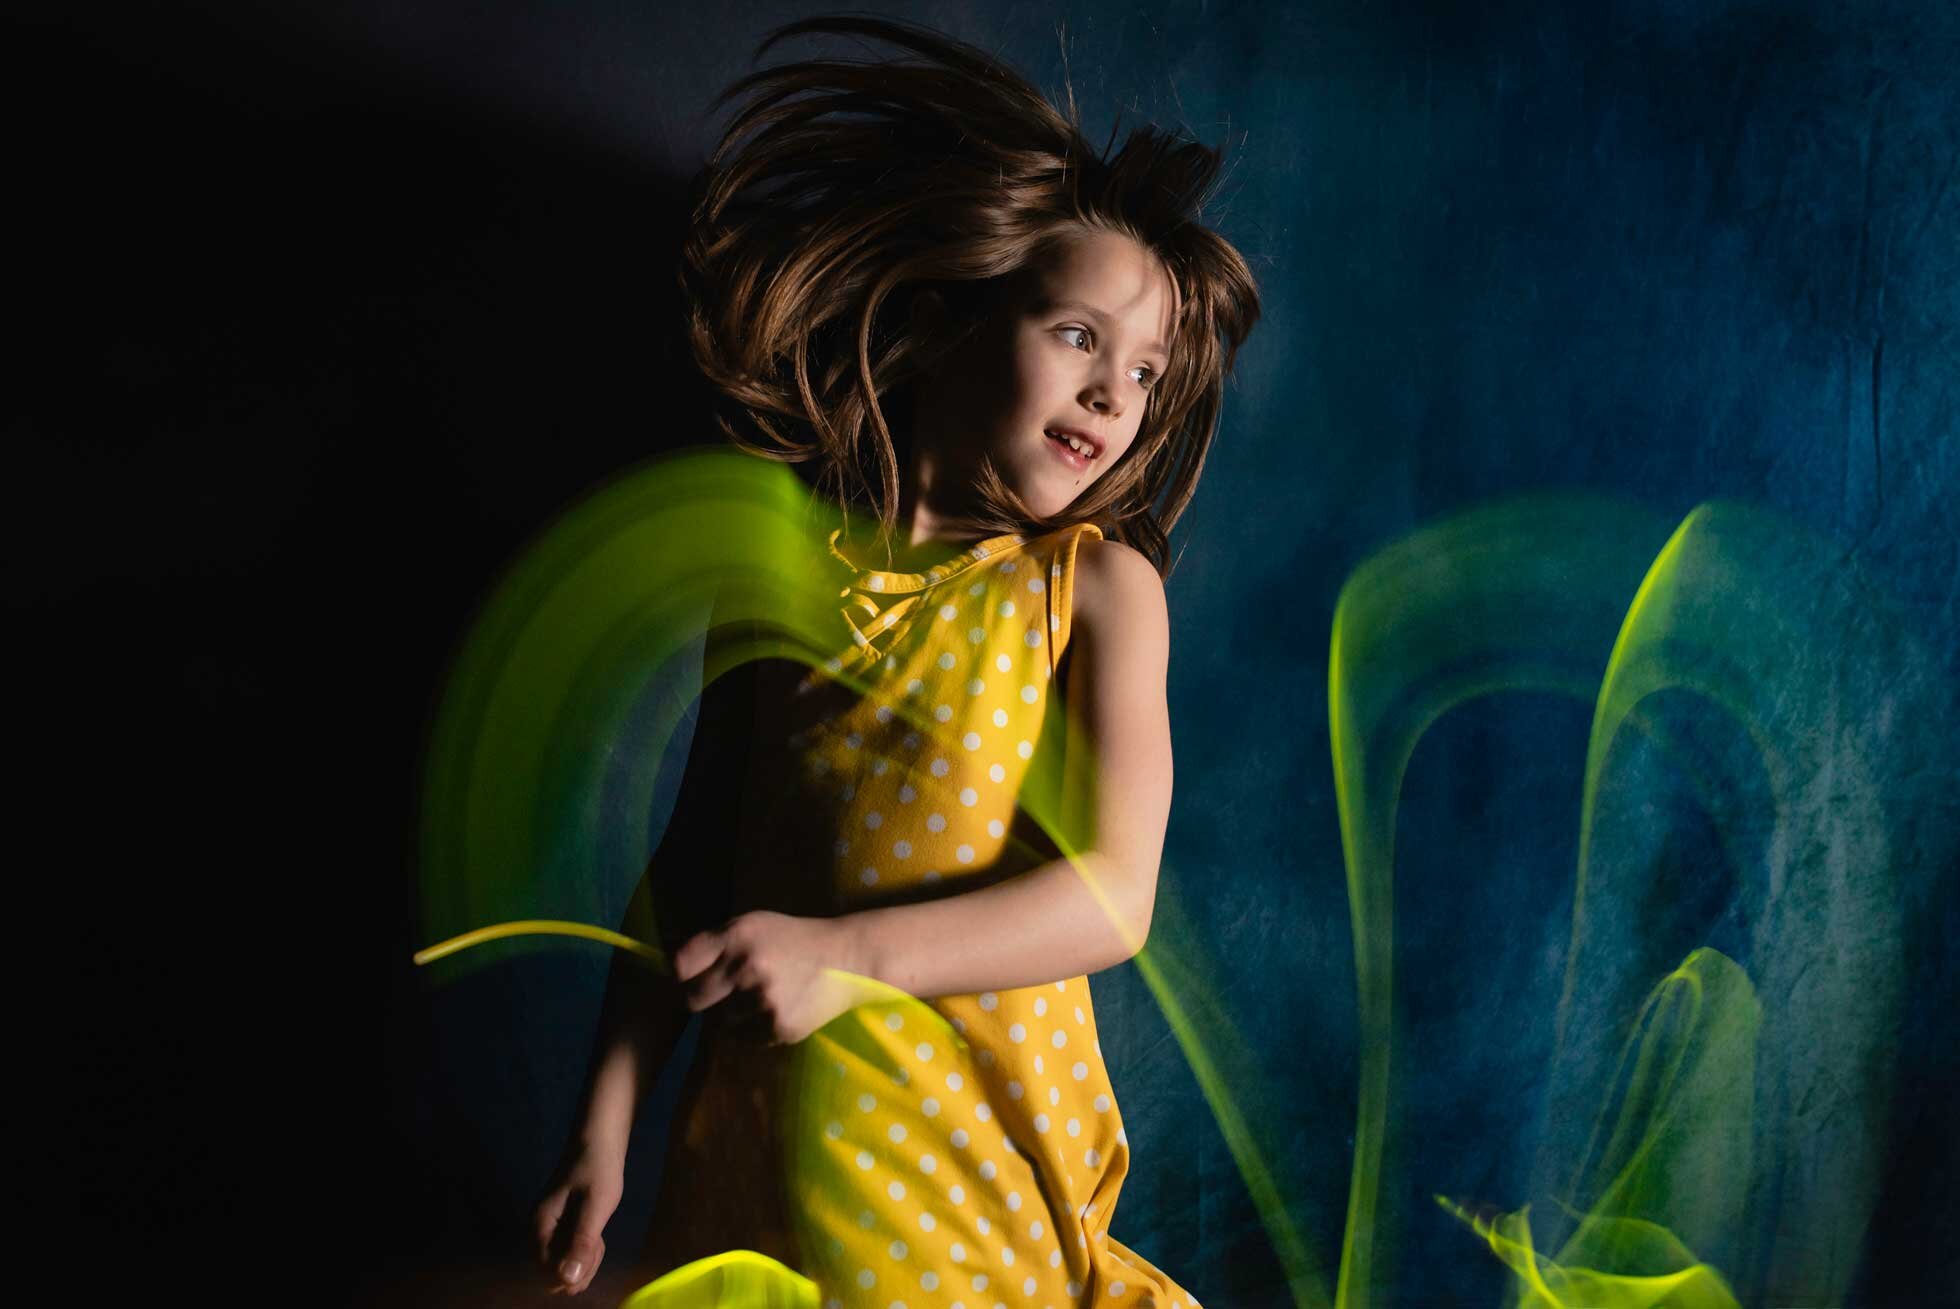
Faster Light Painting Image:
I had to hold the shutter speed open longer for the bottom one, and it is a much more blurry light trail than the previous image.
For this next two pictures I set my camera up for 1- 2 second shutter speed. This is a self-portrait, so I used the self-timer on my camera. I also left a lamp on a few feet away from me so that my camera would pick up the ambient light. This effect is much blurrier. The light was pretty orange because my lamp gave off that color. I love it against the blue background.


Types of light you can use:
You can use any type you want! For this image below I used my book light. I have also used glow sticks, and sparklers. You can use a flashlight, or phone light. Try out lots of things! Please feel free to share your light painting images with me! I’d love to see them! Light painting is such a fun experiment. Here are a few other sources to reference for more information about light painting:
https://petapixel.com/2016/07/25/basic-guide-light-painting-photography/
https://ericpare.com/light-painting-tutorials
https://digital-photography-school.com/light-painting-part-one-the-photography/
Thanks for reading!