5 Ways to Isolate your Subject

We have all heard about how important it is compositionally to direct your viewers eye to your subject.  Well, how exactly do you do that in photography?  Here are some ideas on how to isolate your subject from the background therefore guiding your viewers’ attention exactly where it needs to be.
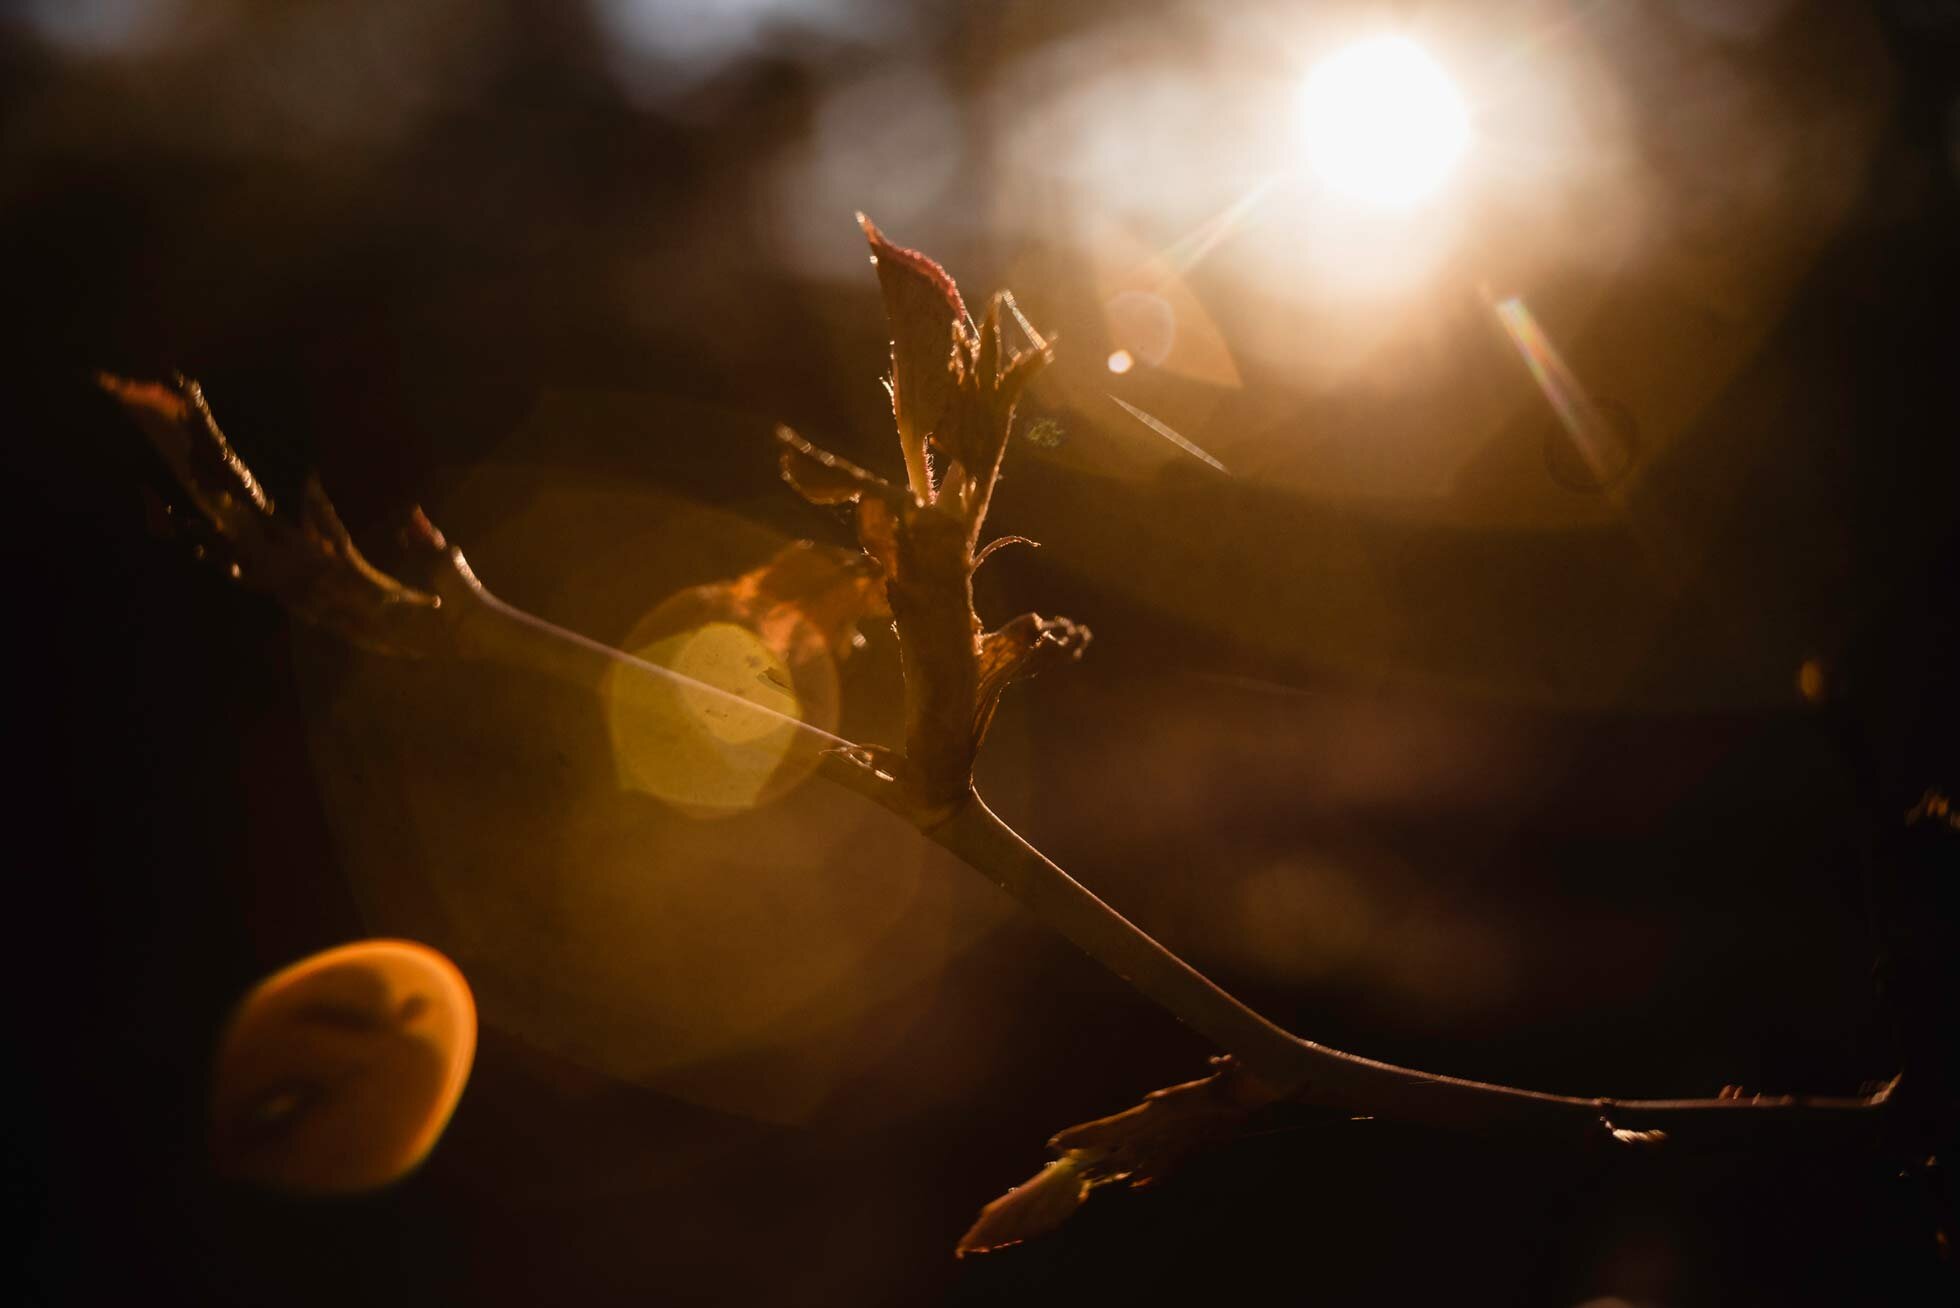
1.) Rim light

Rim light is my absolute favorite type of light.  This is where you have a thin line of light around your subject.  To achieve rim light, place your subject in directional light. It helps to have the background dark. This makes the rim light even more visible. Rim light will separate your subject from the background giving them an angelic look. Right now, here in Columbus, Indiana, a good time to get rim light is between 6:30-7:30PM.

Columbus-Indiana-photography-callihan-photo-rim-light.jpg

2.) Lightest Object in the Frame. 

Your eyes automatically gravitate to the lightest object in your photograph.  So, if you surround your subject with a dark background it will not only bring interest to your subject but separate them from the background.

Columbus-Indiana-Photographer-flower.jpg

3.) Framing with Negative Space

If you love a minimalist photo this is the way to go!  By using lots of negative space, it will bring your eye directly to your subject.  You can do this by getting low and using the sky.  Or you can use a large tree or building to create space around your subject.  So, it is perfect for urban or rural settings.  You can really use this type of composition anywhere.  

Columbus-Indiana-portrait-photographer-Callihan-Photography.jpg

4.) Shallow Depth of Field

This is my go-to idea!  I love to shoot using a wide-open aperture.  This will create a dreamy and soft background completely isolating your subject.  You can also achieve a shallower depth of field by using a longer lens and shortening the distance between you and your subject.  I love using my Sigma 135mm Art lens for this technique.  But any lens will do as long as you can open the aperture to 2.2 or below.

Indiana-photographer-cardinal.jpg

5.) Panning

Panning is an art in itself.  It takes some work to get used to.  This is where your background is very blurry and shows movement, but at least a small slice of your subject is sharp.  This is achieved by using a slower shutter speed and then moving the camera along with your moving subject.  I suggest lots of trial and error when adjusting your settings.  I prefer 1/20- 1/60 sec shutter speed. This, of course, depends on how fast your subject is moving. So, it may take some patience and effort to find that perfect shutter speed.  I also find it a little easier to use a longer lens if you can.  Though I end up using my 35mm often!


columbus-indiana-photographers-callihan-photography-panning.jpg

Try to apply these ideas to your photography! I’d love to see it! Thanks for reading.

Thoughts from Quarantine

Hi there! I thought I would take a slight detour from photography to discuss these crazy times we are living in. I hope you all are staying healthy. 

First, I wanted to express how grateful I am for those who work outside the home, putting others wellbeing over their own. We see you, and we are so thankful for you!  I hope you feel appreciated not only from your communities but also your families.  

Second, if you are feeling anxious or lonely or depressed know that you are not alone.  Be brave enough to reach out.  Get the help you need.  Get the prayer you need.  Get the encouragement you need.  This is indeed a strange time we are living in.  Be brave and bold, and I think that once you put it all into the light it will not have nearly the power you think it does.    

Third, I wanted to take the time to say to everyone “we need to just enjoy being still”.  Sometimes it is hard to be alone with your thoughts.  Sometimes it is hard to take a break from this busy life we all get caught up in.  I hope you are spending time just being still.  Take it in.  Let your thoughts and feelings sink in. Spend your time being productive, but also rest! Be grateful for the things and people you do have in your life. Take this time to really reflect on God, and your family and your own thoughts and feelings. I know it feels like we have been doing this quarantine thing a long time.  But believe it or not this will pass, and things WILL get back to normal.  I hope you are seeing the unexpected blessings of this time. 

I am still booking sessions for the future! I hope you are all thriving!  Please reach out to me if you need anything photography related, or if you need prayer, or encouragement.  Remember, this is only momentary.

callihan-photography-lets-all-be-well.jpg

Thanks for reading!

Treasure Hunting

So, I went to a garage sale at a used photography store in Indianapolis.  It was pretty fun! They had lots of things that I am not well educated on, and lots of things I did not recognize.  Lots of old film cameras. I regret not picking one of those up just to try out.  But at least if I have the need to use film, I have my Diana F Lomography camera.  Ooo, maybe I will use that soon and blog about it! Anyhow, I did pick up a couple of old lenses.  The first one is a Hanimex 28mm f2.8 lens.  It is not a fancy lens.  In fact, it is credited with being the worst lens ever! Hanimex was an Australian distributor that produced several lens mounts to many different camera systems around the 60’s or 70’s.  (The time was a tough one to find so take that with a grain of salt.) But I wanted something that I could freelens with that would be super cheap. I have found that when you close down the aperture you get a really fun hexagonal lens flare! It’s a manual lens which is good, so that I don’t have to tape open the shutter when freelensing.  (Which you have to with Nikon lenses as the shutter is usually automatically closed on an automatic lens.)  So worst lens ever? Meh! I like it to get me out of a creative slump.  Sometimes just trying something new can help me get into a more creative mind set. 

HANIMEX+lens.jpg
Hanimex-28mm-lens-example.jpg
hanimex-28mm-lens-flare.jpg
callihan-photography-columbus-indiana.jpg

I also got a Vivitar Series 1 28-90mm Macro lens. It is also known as the “stovepipe” due to its long profile with a wide front end.  Makes perfect sense.  It really does look like a stovepipe, and it is heavy!
This one is kind of in rough shape.  The aperture gets stuck, and I end up having to completely guess on my exposure.  I might have to take it apart and see if I can repair it.  It was not costly, so it is very low risk working on it. It also has a fun lens flare.  You can see in my photos that there are several little orbs.  So, this was a fun experiment as well!   

IMG_0053[2923].jpg
vivitar-series-1-lens-example.jpg
Vivitar-series-1-macro-lens.jpg
lens-flare-by-callihan-photography-columbus-indiana.jpg

These two lenses are very different from what I have! I just thought I would share some of my fun experimentation’s with them.  Do you have any vintage lenses? Feel free to share some photos with me if you do!  

Thanks for reading.