How to Can Peaches

If you didn’t already know, my family and I try our hands at gardening every year.  Some years are great, and other years we hardly get anything out of the garden.  We usually always have green beans. In addition to our garden we have a few fruit bearing trees. We have 2 cherry trees, and a couple apple trees, and we have 2 peach trees. Recently our tiny 3-year-old peach trees put on the most fruit we have ever seen in our lives.  They are contender peach trees.  Normally they put on just a few small flavorful peaches, however this year they went nuts!  We had piles of peaches! We ate some, gave some away, made peach preserves out of some and froze some.  It seemed all that effort hardly made a dent in the supply of peaches we had! 

peaches.jpg
contender-indiana-peaches.jpg

So, I decided to can (or preserve) some.  We usually can something every year.  (Usually green beans).  So, this year canning peaches was a little different.  All together I canned about 14 quarts of peaches.  Everyone kind of has their own way of canning.  I just use the Ball Blue book of Preserving.

How-To-Can-Peaches.jpg

I used the raw pack method.  First you peel the peaches, and cut into halves or quarters, and pit. Then you’re supposed to treat the peaches to prevent darkening or browning.  To do this you add about 2 TBS of lemon juice concentrate for every 8-10 peaches and ½ teaspoon of sugar.  We had pretty small peaches, so it was closer to 10 for us, or about 4 cups worth. (FYI, the lemon juice, and peaches together smell awesome, or at least I think so!)  Next is packing the peaches into clean jars and making the syrup.  I used a medium syrup which was 3 & 1/4 Cups of sugar and 5 Cups of water.  You mix it together and heat it up until the sugar is dissolved.  Then ladle it over the peaches leaving about ½ inch head space.  If that is confusing refer to the diagram: here.  Remove the air bubbles.  I do this by shoving a wooden spoon in the jar all the way to the bottom. It is an important step, even though it doesn’t seem like it at the time.  Your jars will have trouble sealing if you skip this step.  Next clean the rim of the jars and place the lids and rings on them.  (Some lids require that you boil them.  The sure fit lids by Ball say to just wash and rinse them in warm water). The book says to process pints for 25 minutes and quarts for 30 minutes in a boiling- water canner.  I did this for two rounds, and then we still had peaches left over. Ha!

bowl-full-of-peaches.jpg

Thanks for reading! I hope you enjoyed this small detour from photography.  
A Fun Outing to Anderson Falls, Indiana

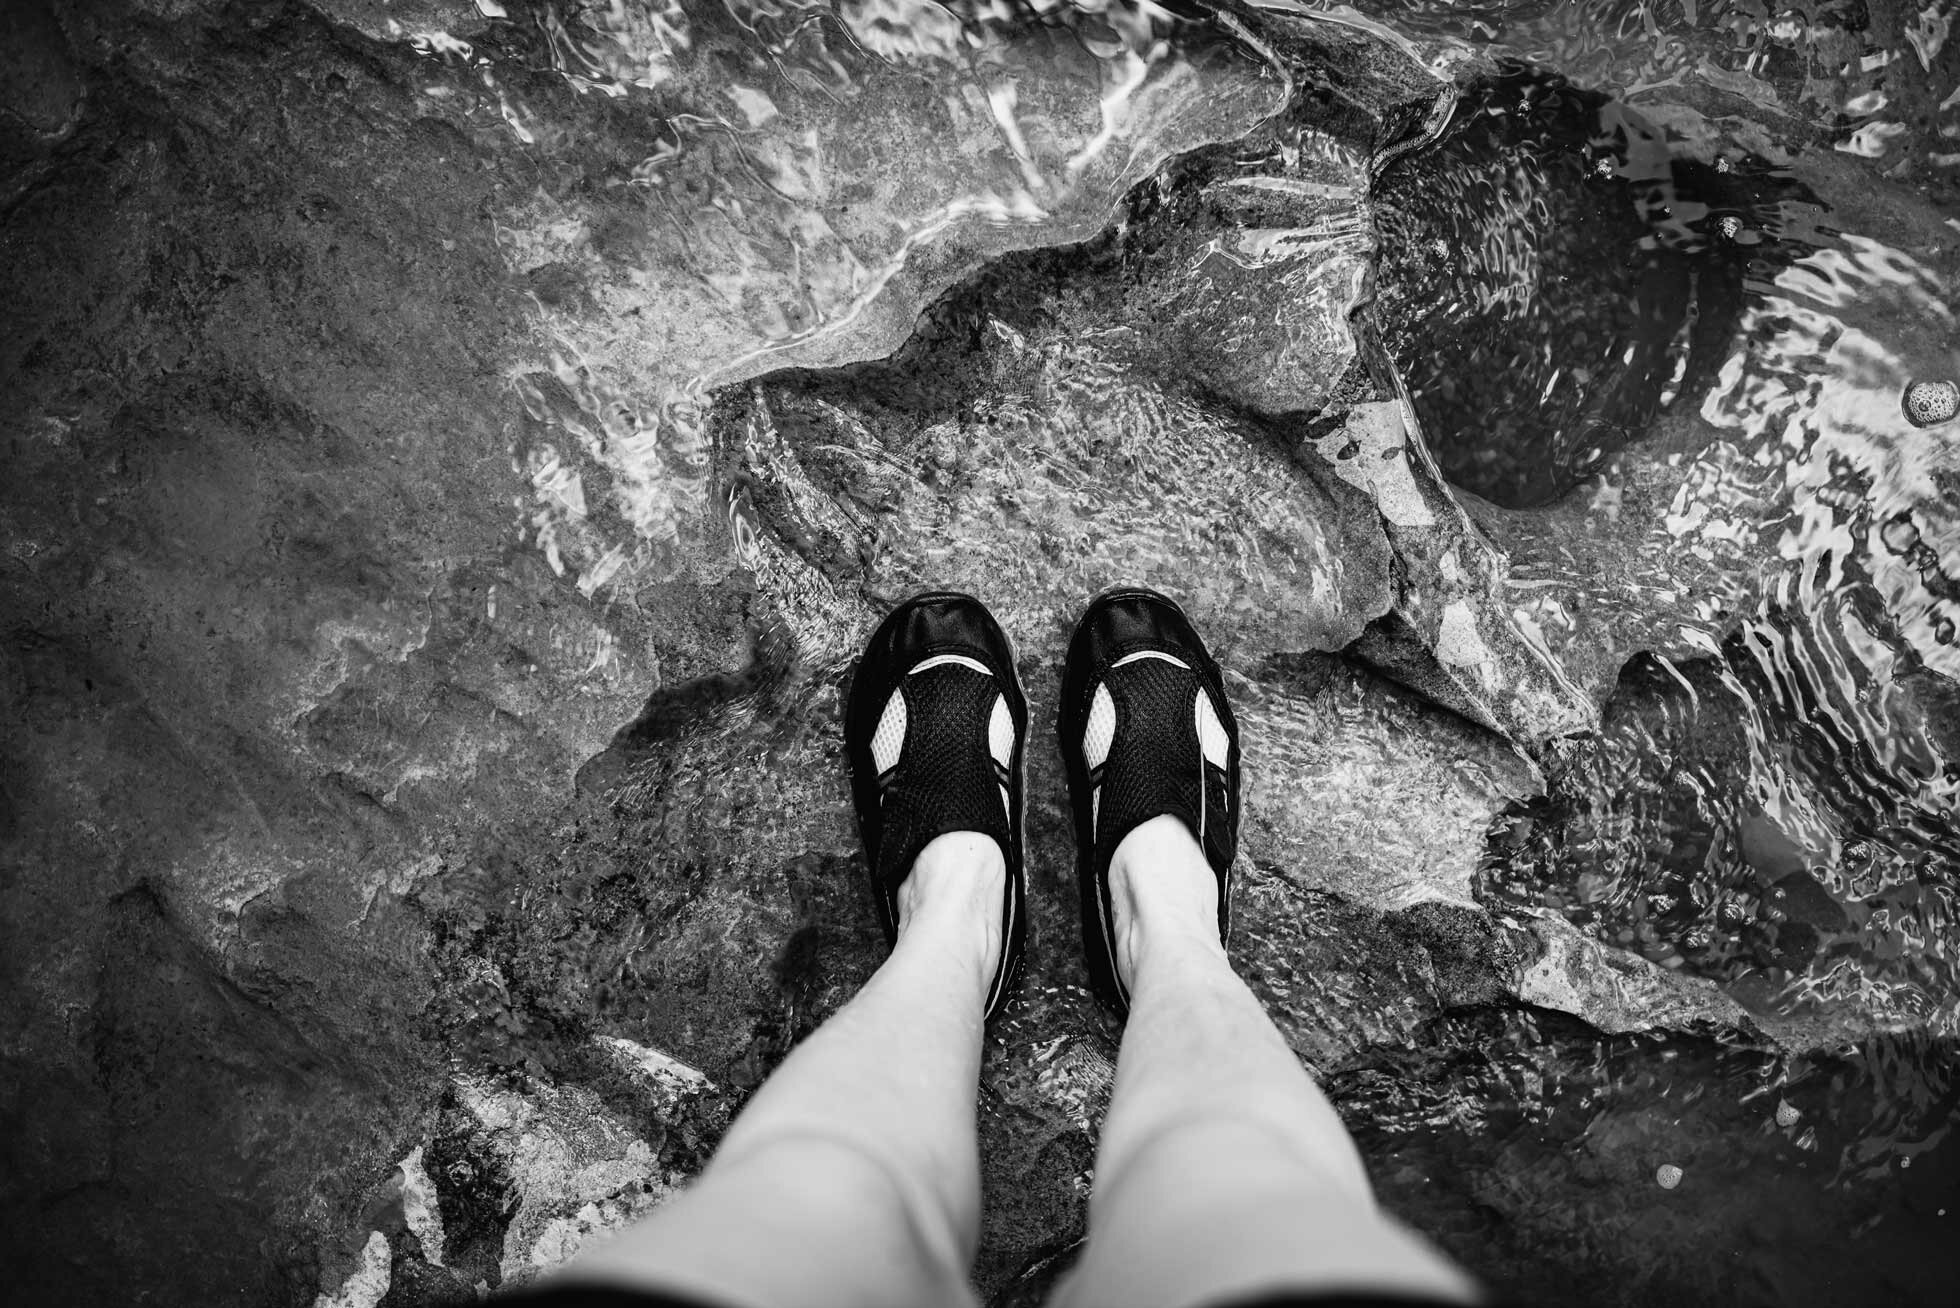
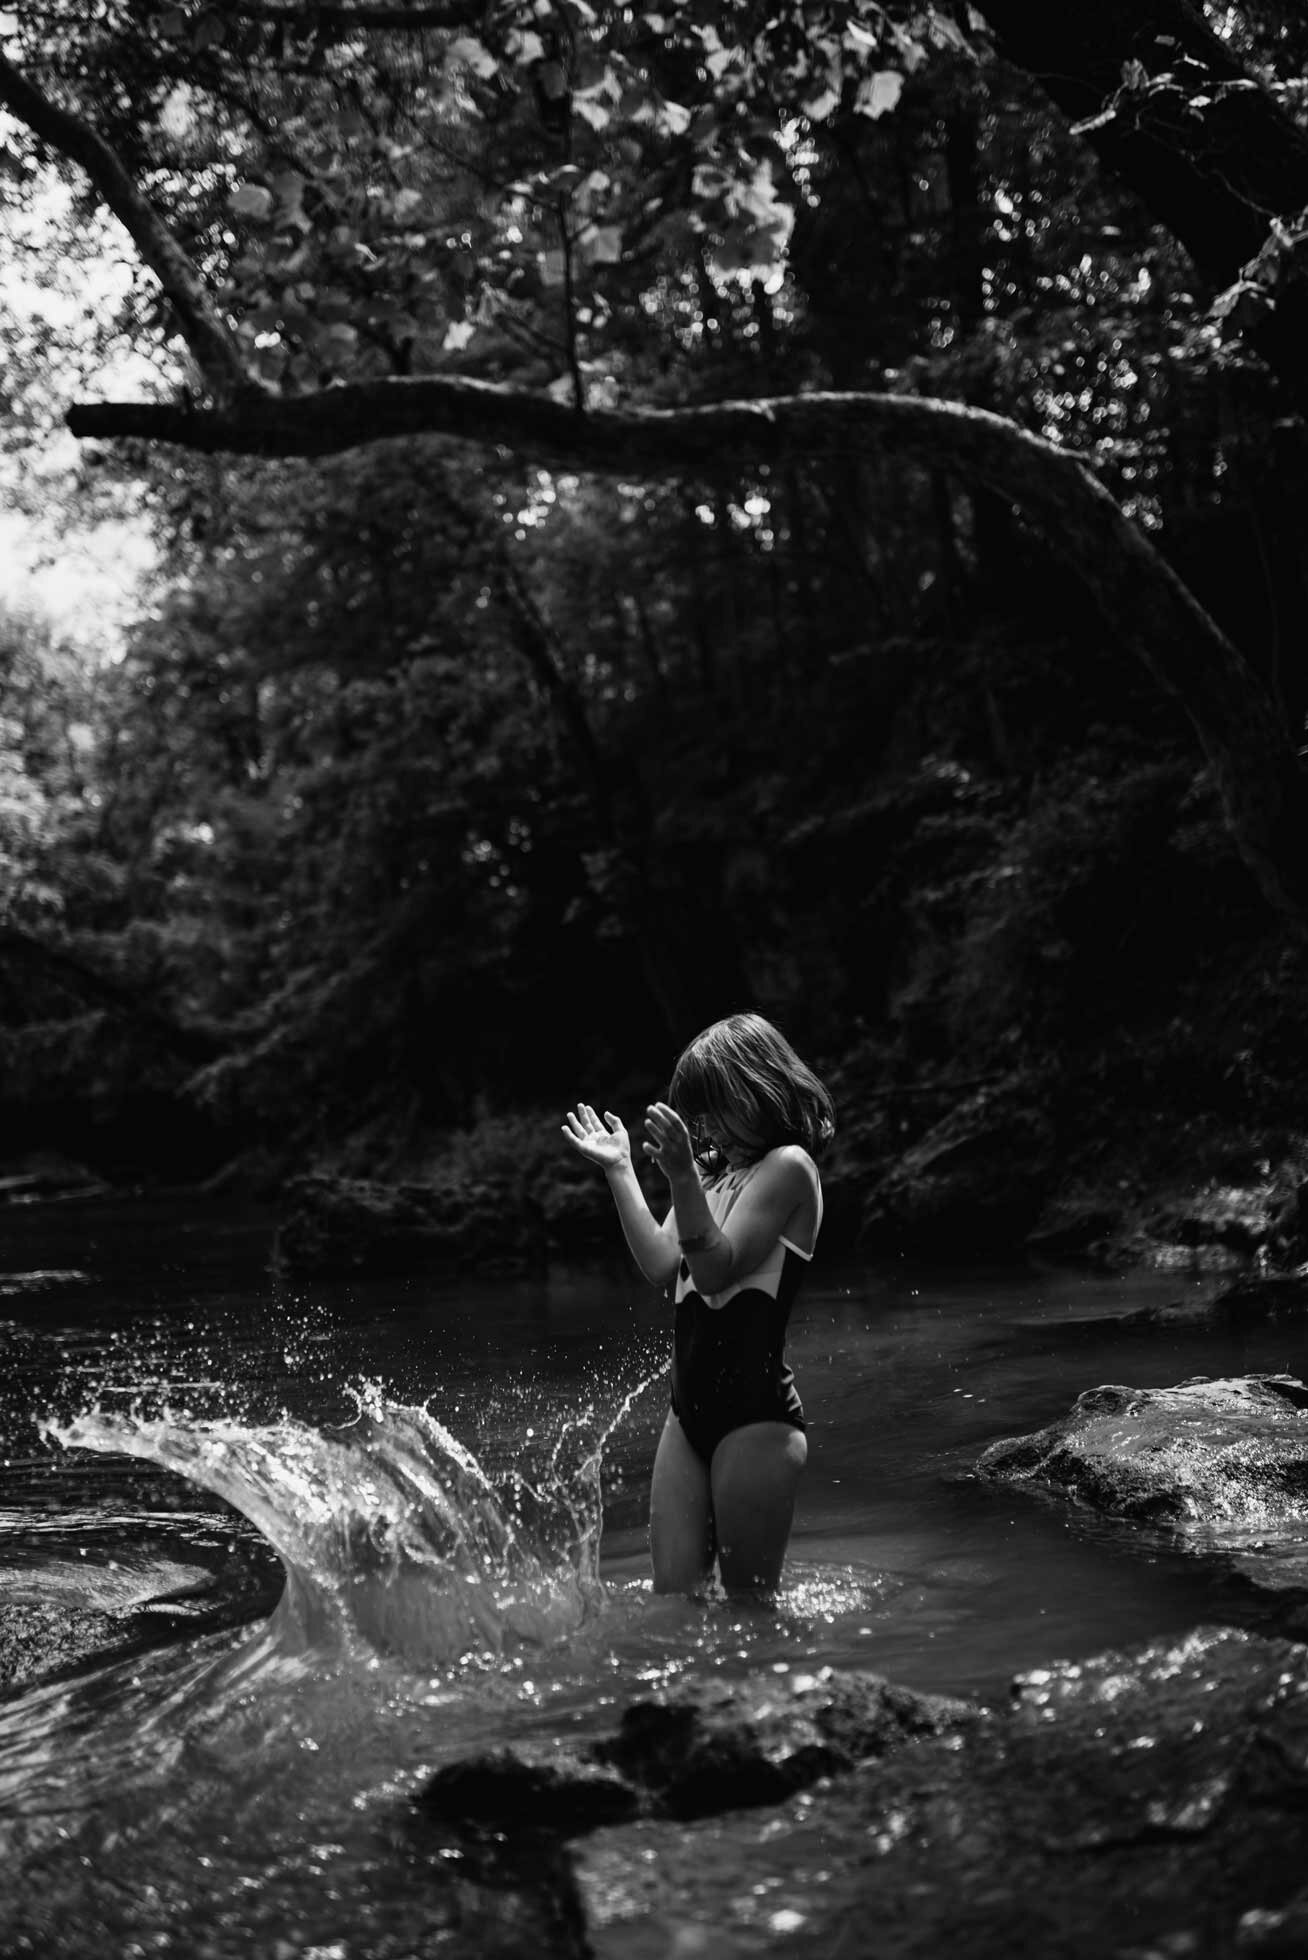
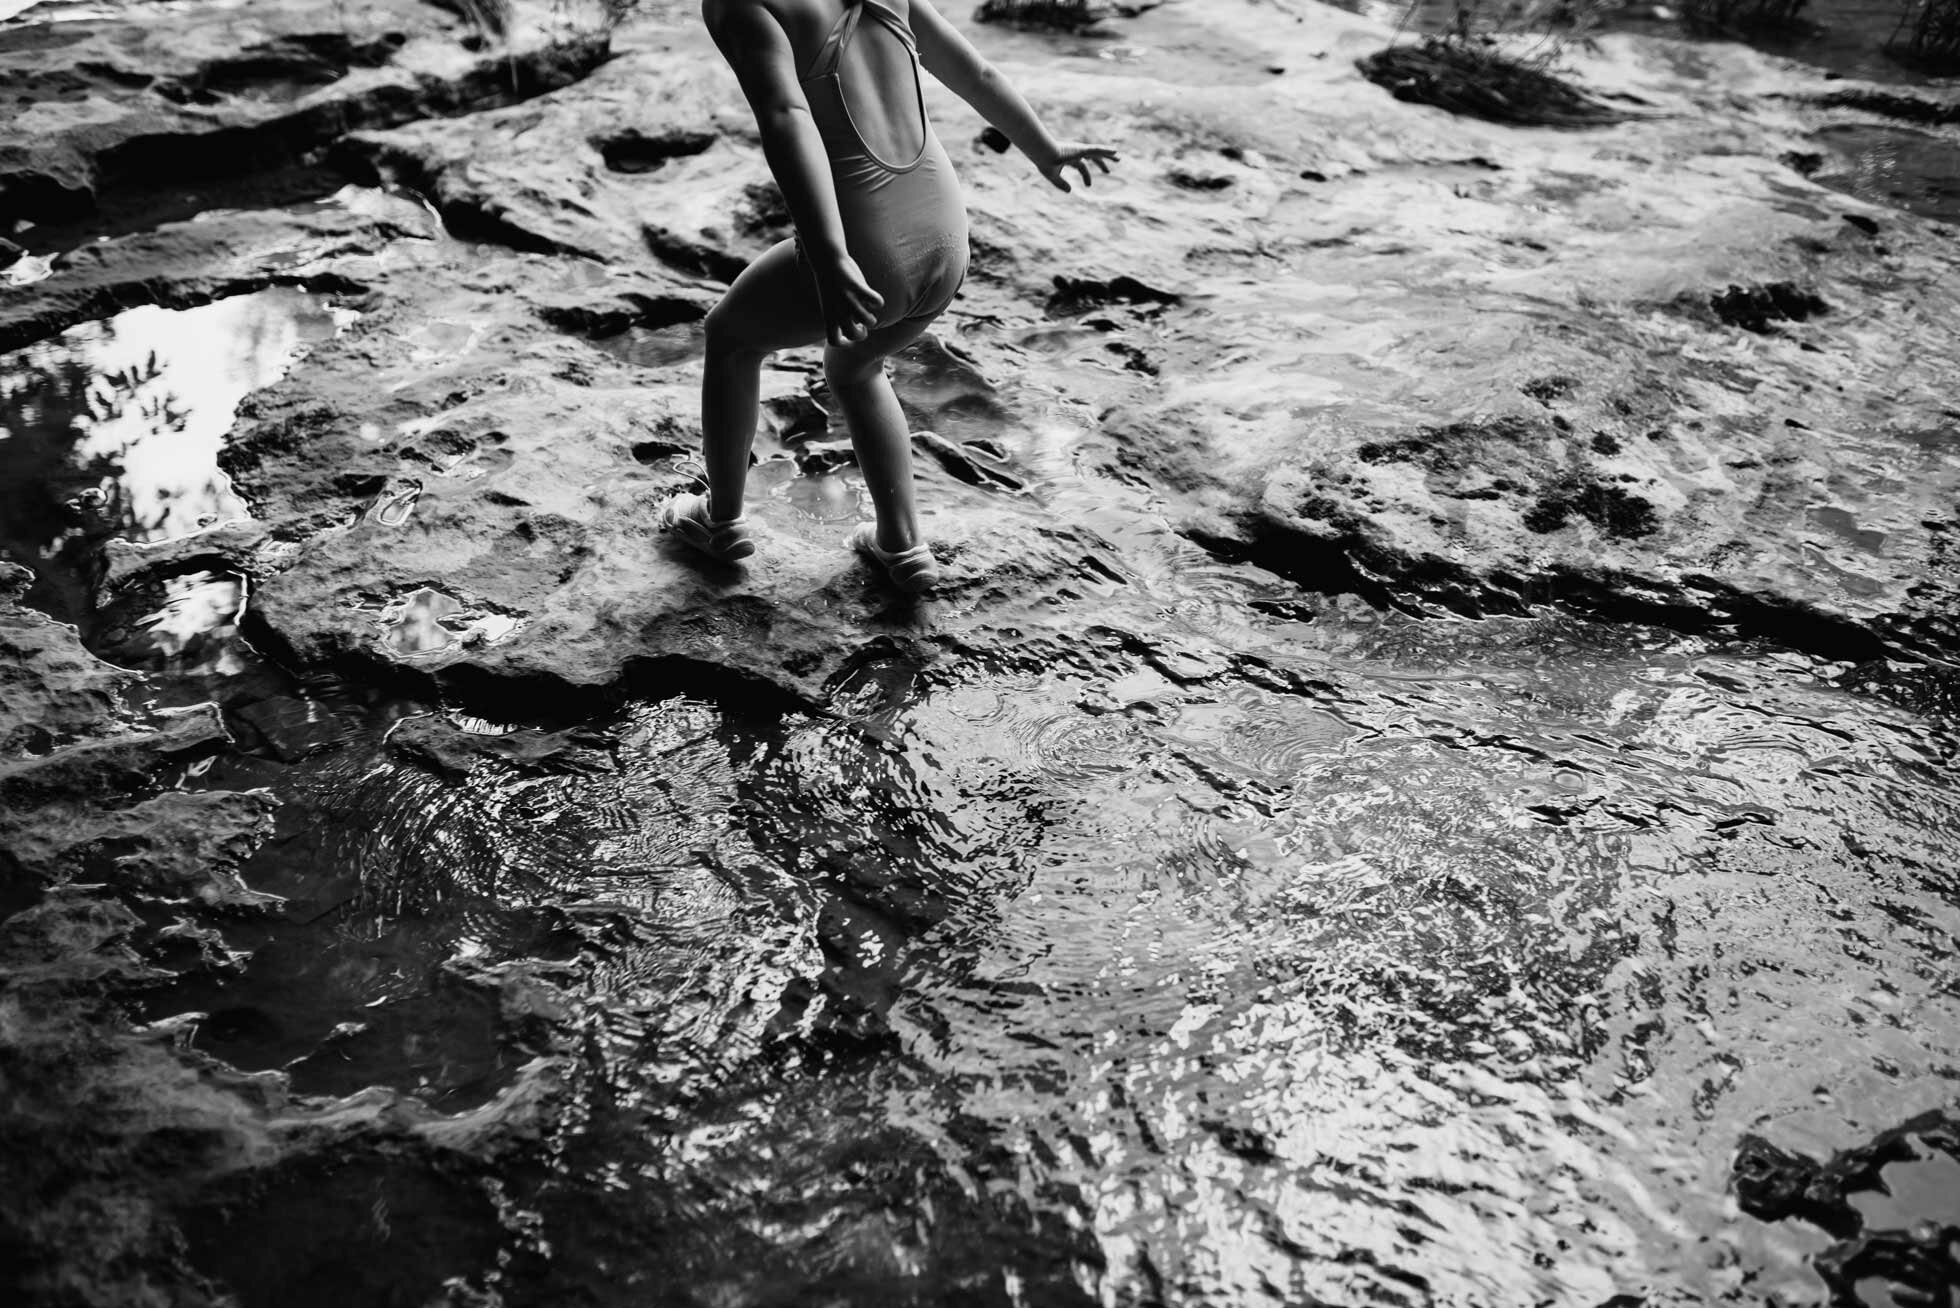
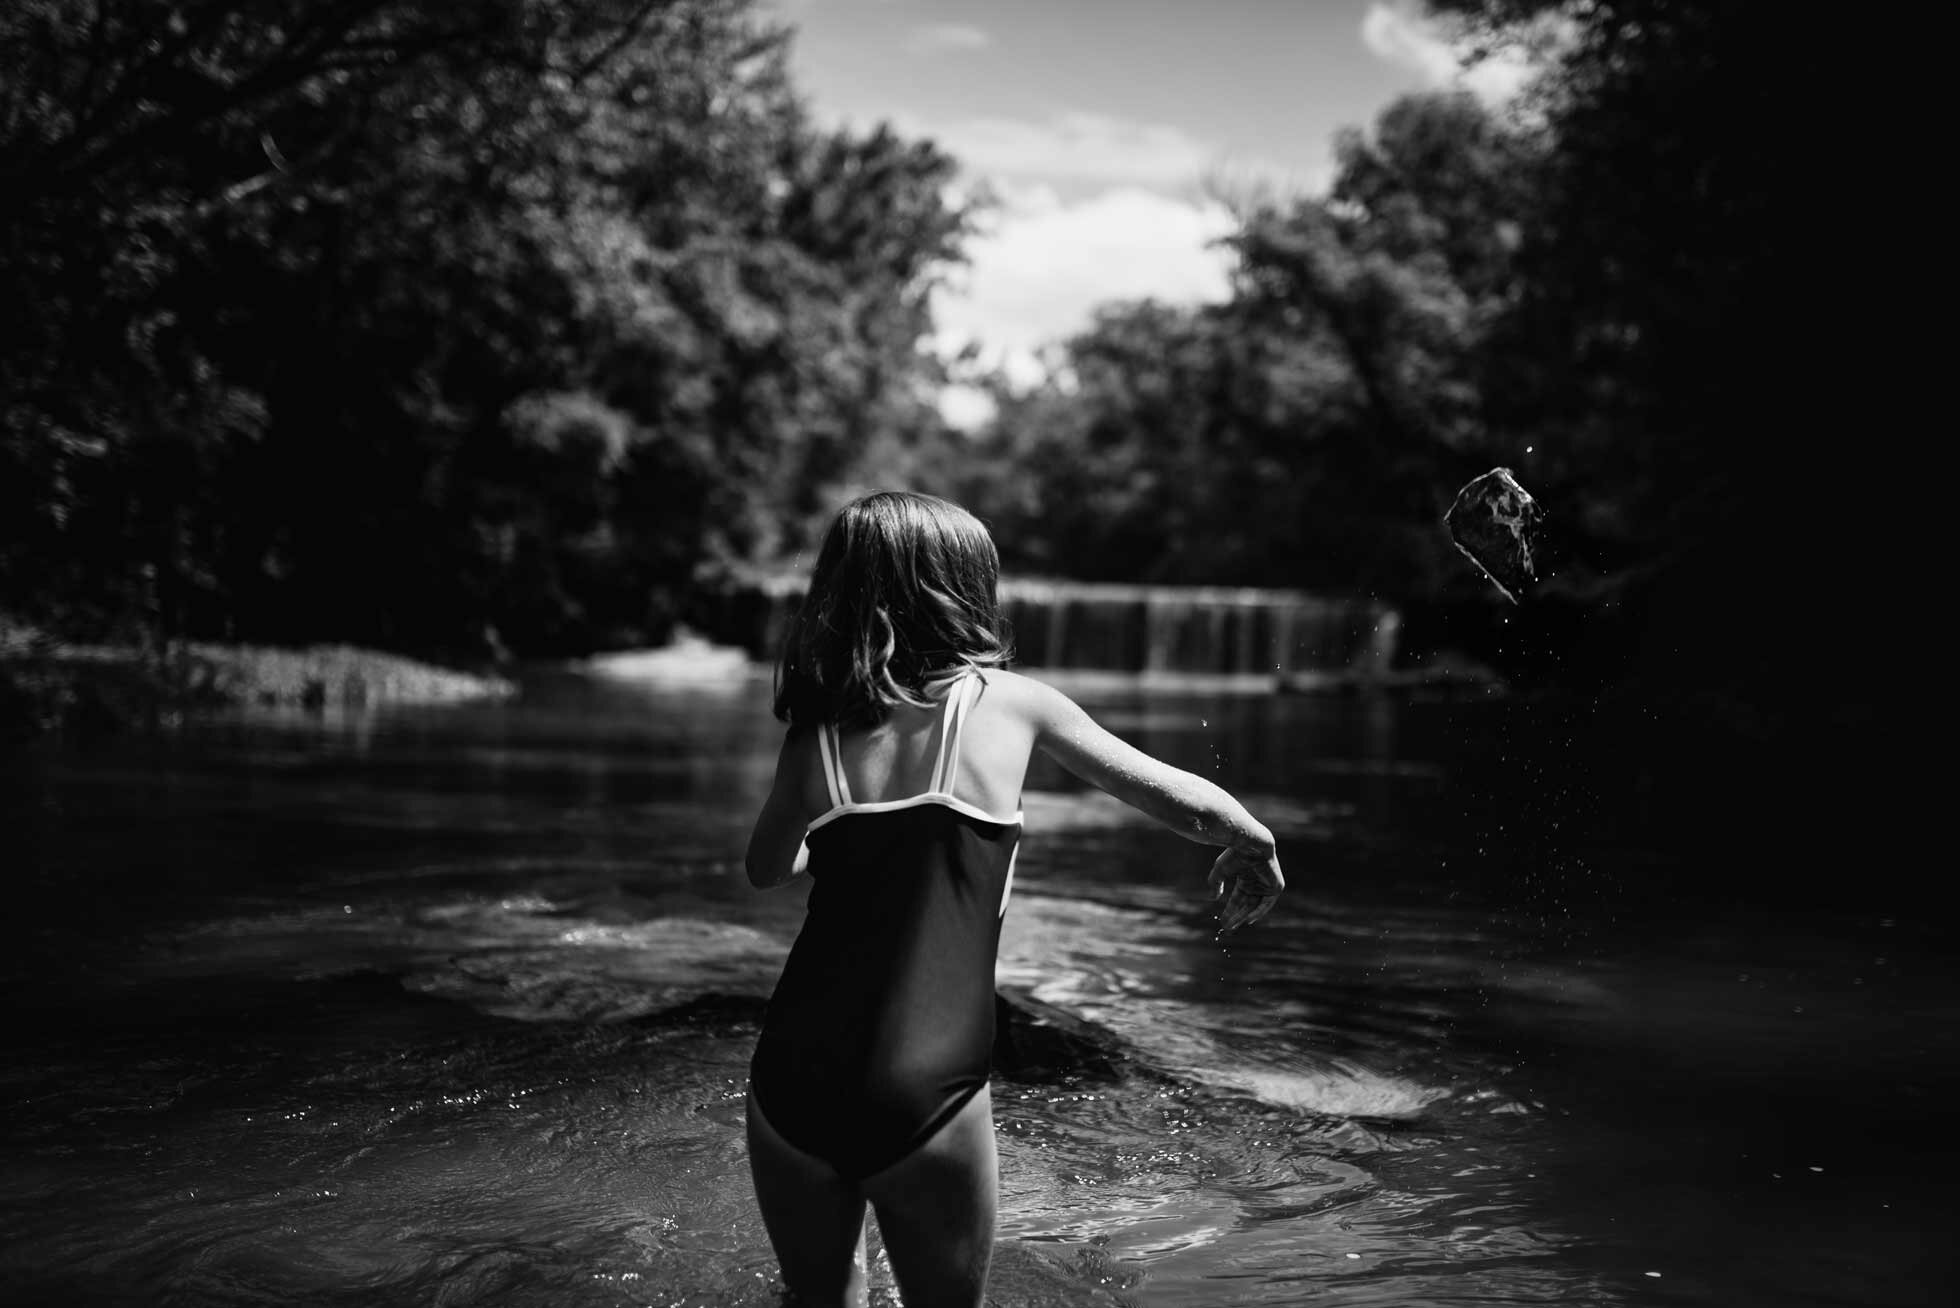
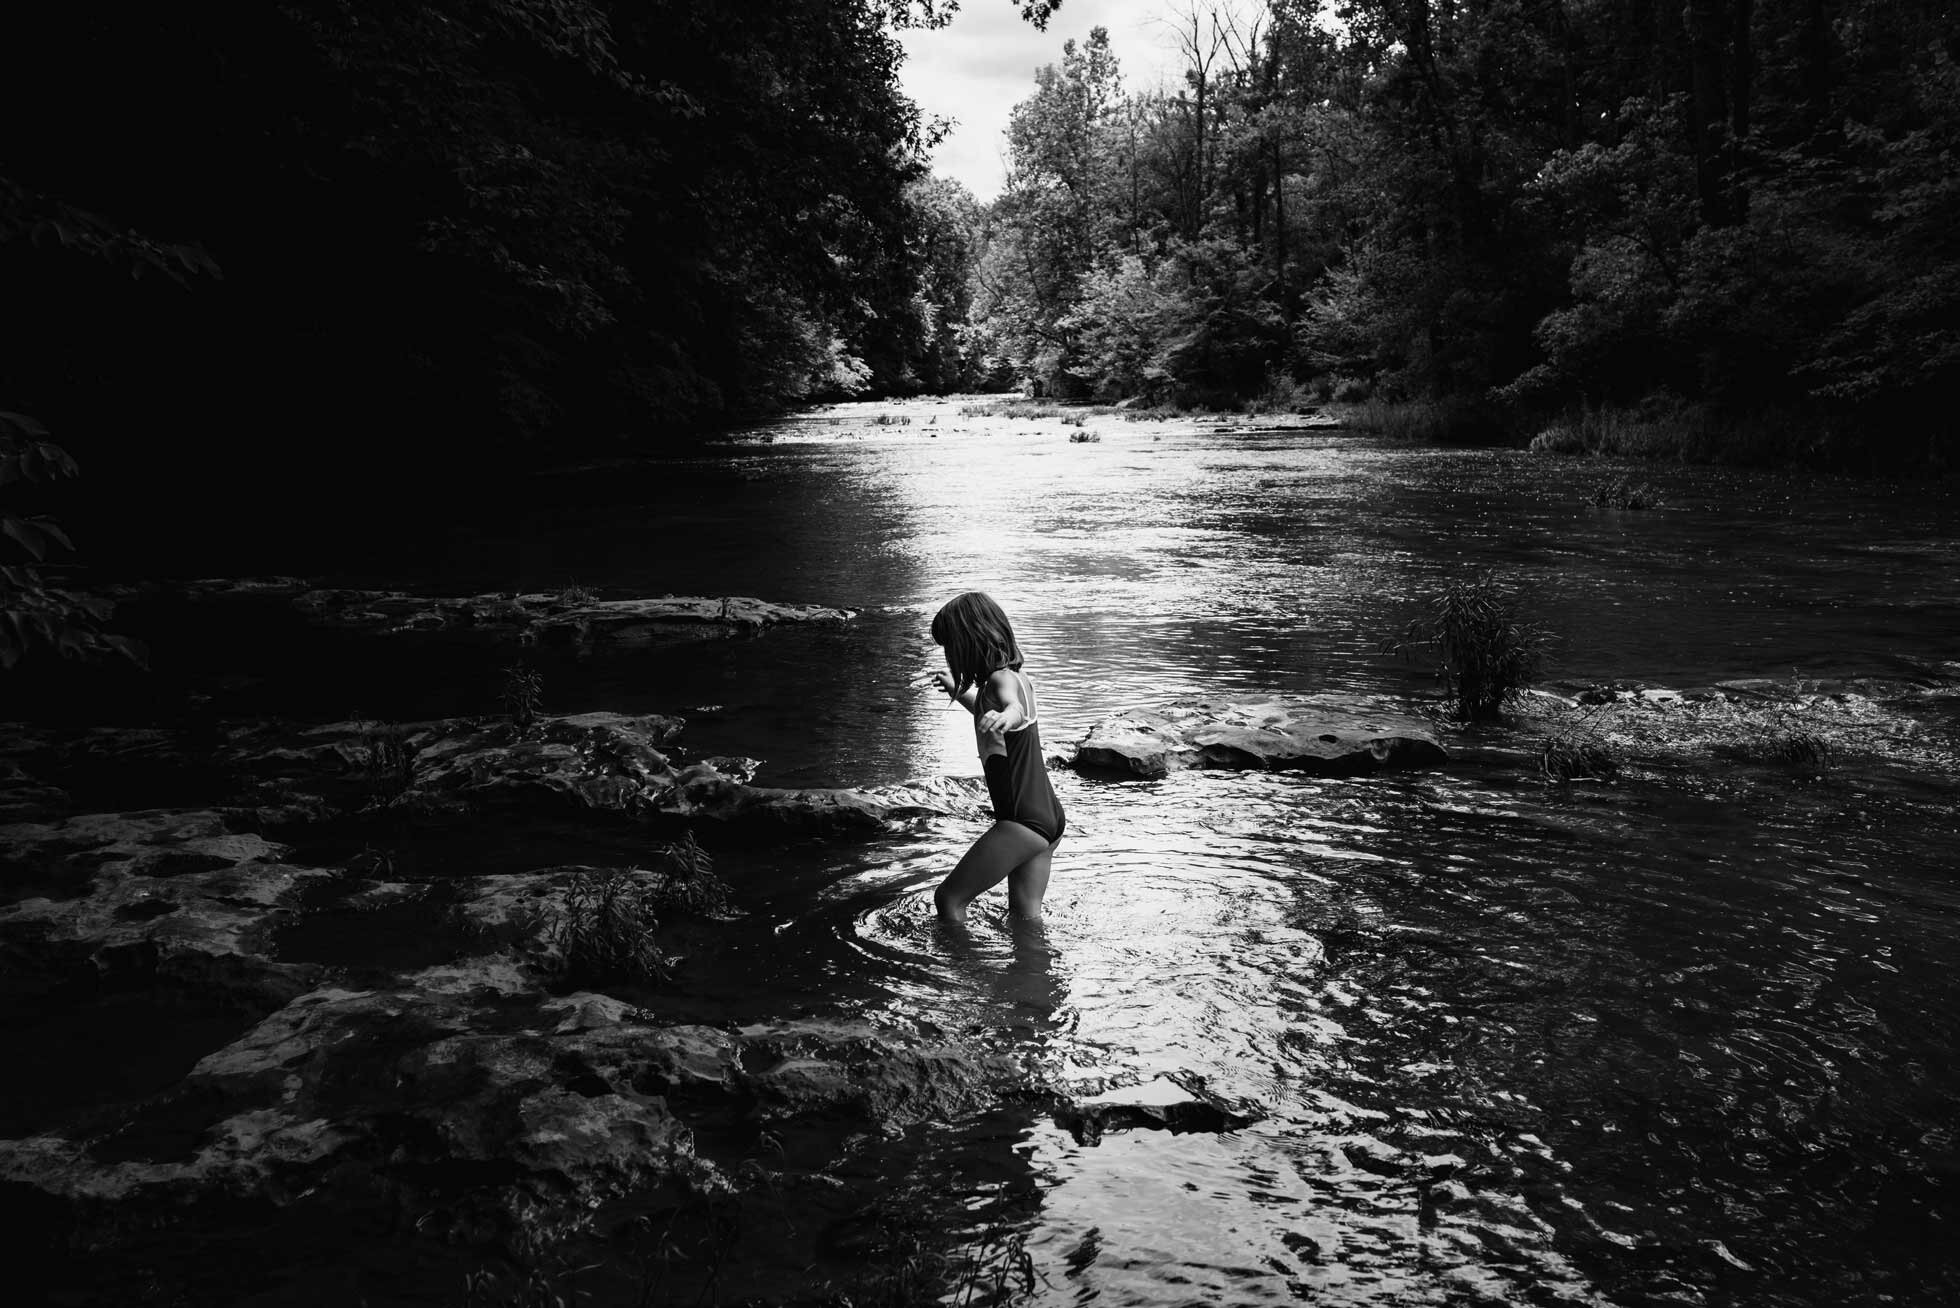
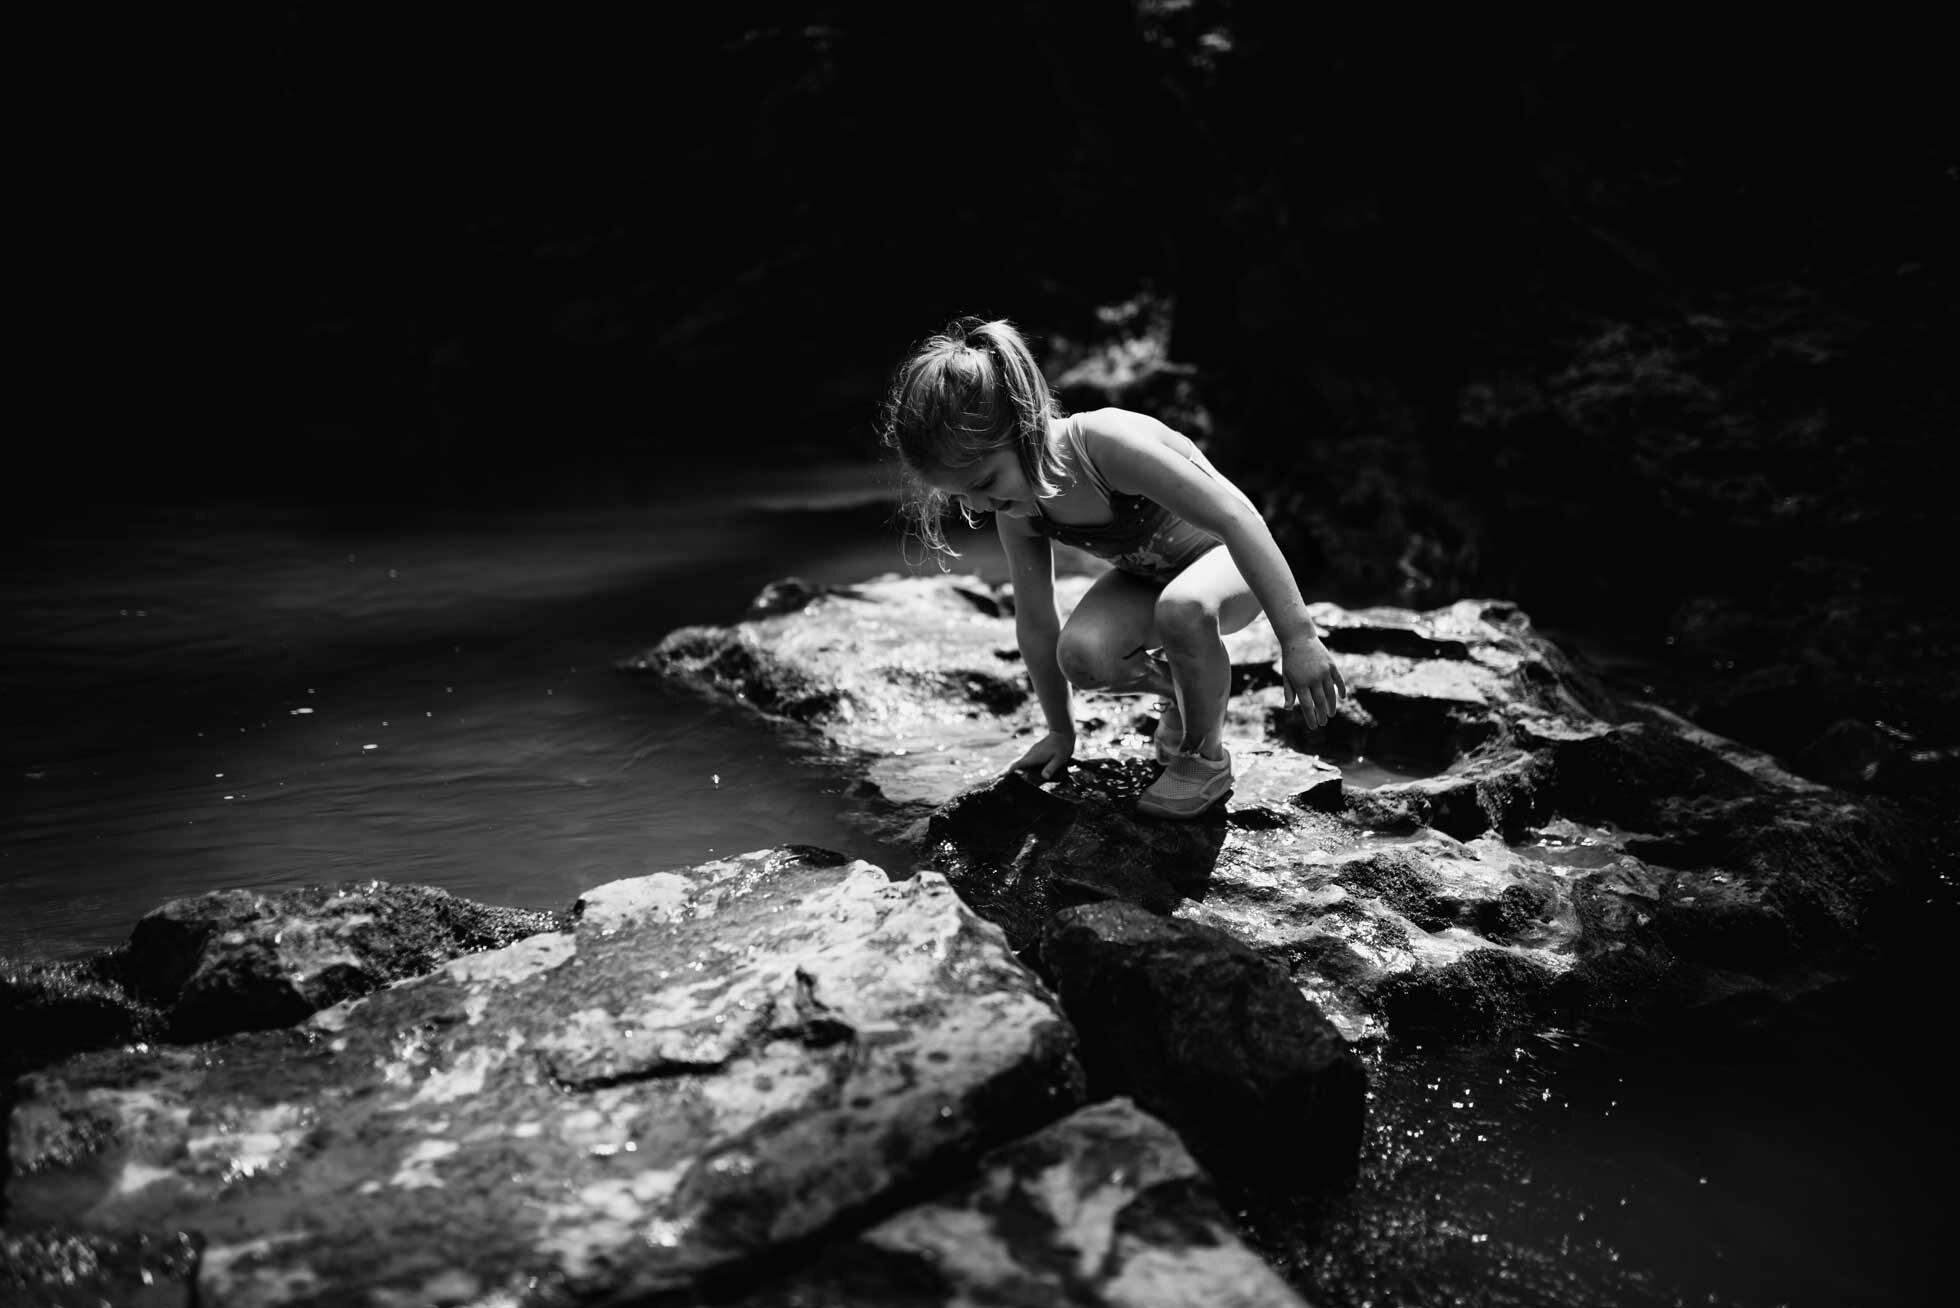
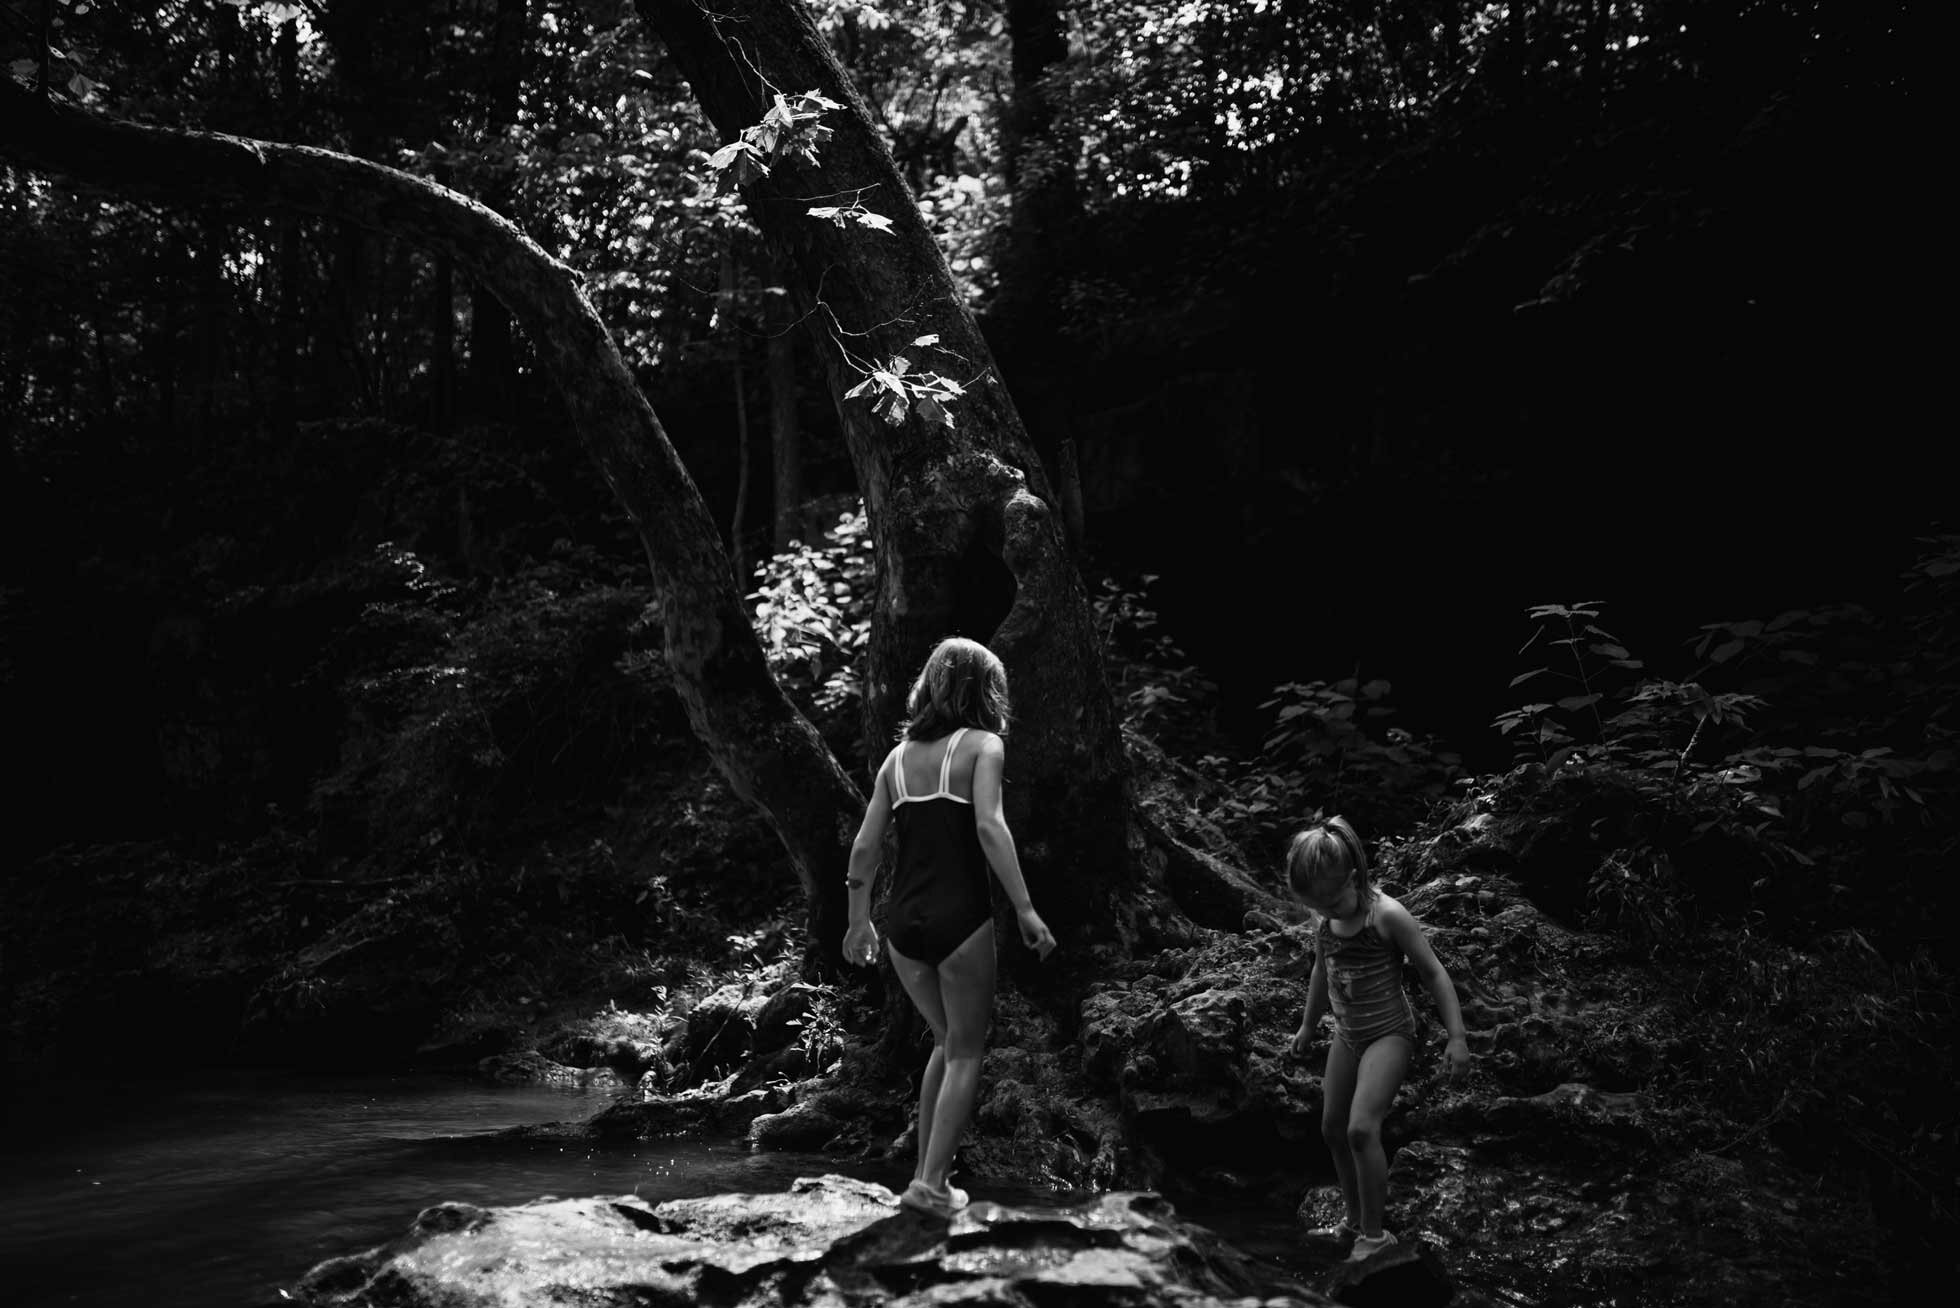
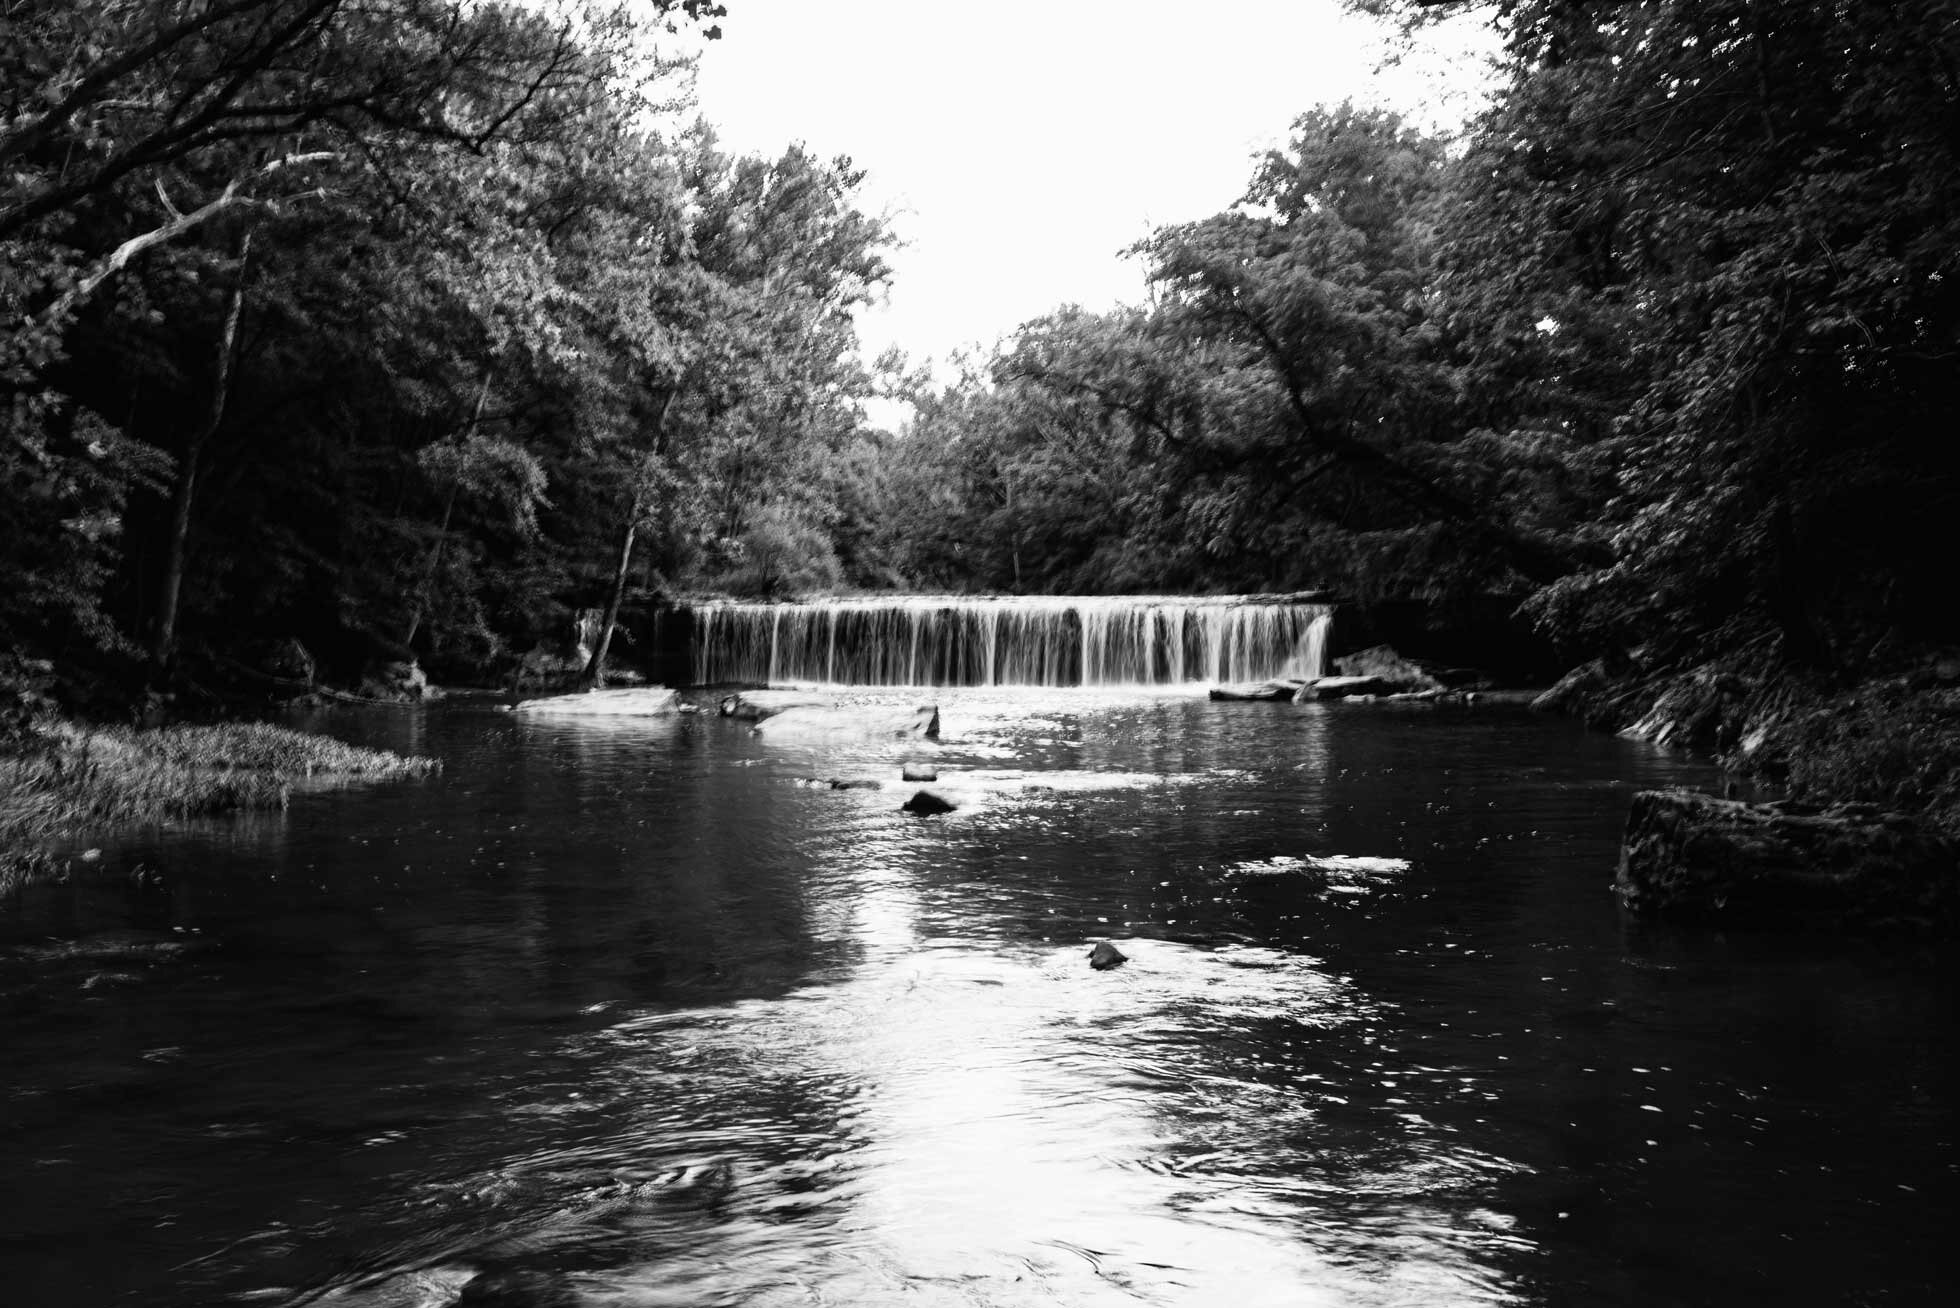
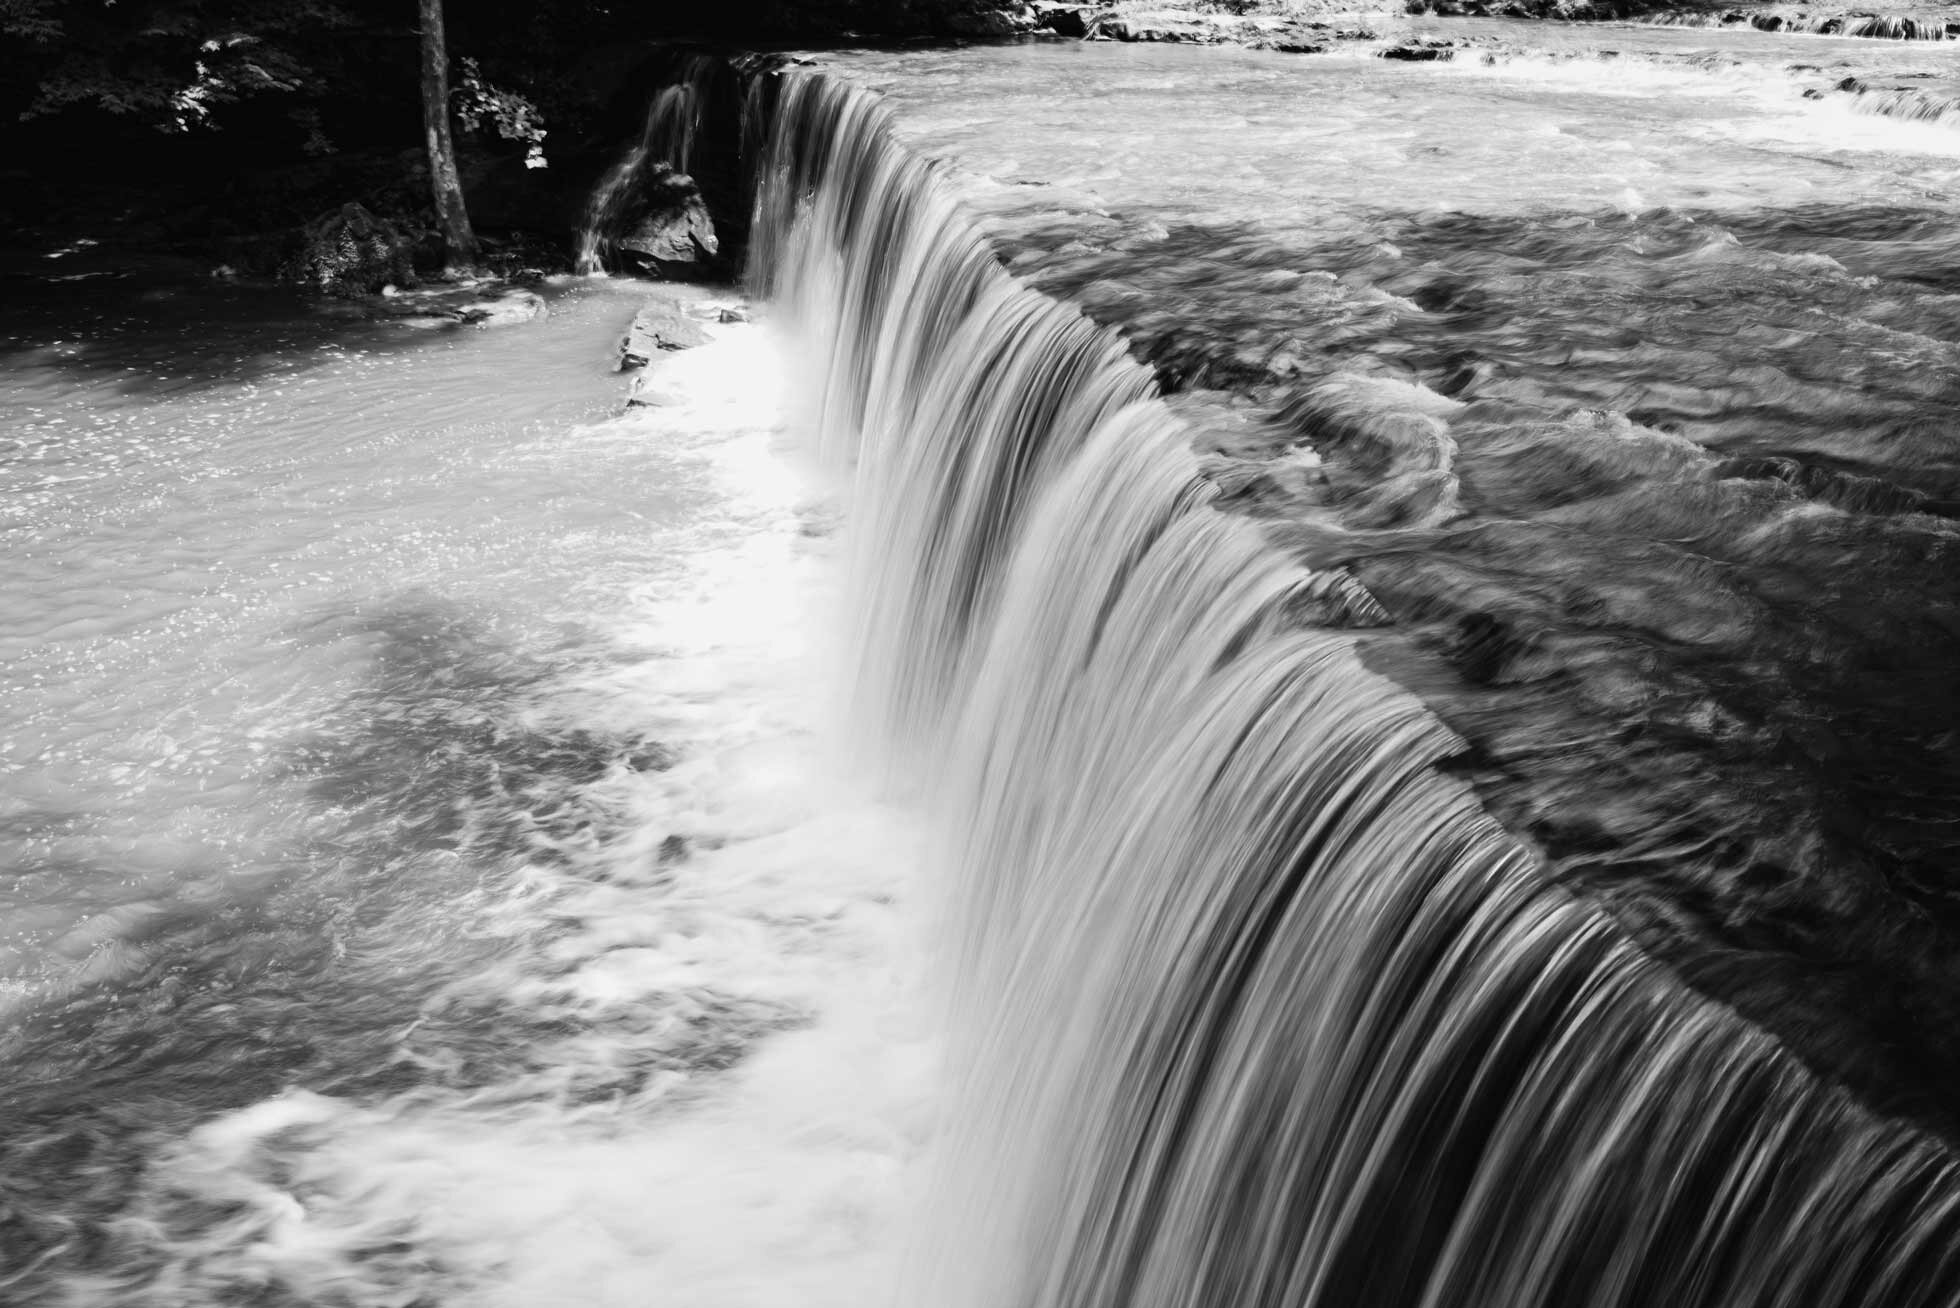
We went to Anderson Falls in Indiana a few weeks ago. Equipped with a picnic lunch and water shoes, we set out to explore the Fall Fork of Clifty Creek and it’s beautiful waterfall. It was a perfect day, and since school had started for a lot of people, it was almost completely vacant. The river was low, and wide. There are a couple trails, but we just waded up and down the river throwing rocks in and playing in the water. Here are some photos from that day.

If you’re wondering whether I fell in, the answer is yes. Yes, I fell in. My camera was ok though, thankfully! It is a bit slick in some places, so watch your step if you visit and just prepare to get wet!

Thanks for reading.

How to do a Double Exposure

What is a double exposure? It is a technique that layers two different exposures on a single image, combining two photographs into one. 

There are 3 different ways to do a double exposure.  The first is with a digital camera.  You can achieve this in camera.  For Nikon you would go to the photo shooting menu (which is the camera icon in your menu).  From there you would select the multiple exposure mode.  Arrow down to select the number of shots you want to combine.  Then select multiple exposure and arrow through to turn on for a single photo or series.  When you take your first photo there will be a symbol of overlapping squares at the top of your photo on the LCD screen.  Then take another and it will combine them for you!  For me personally, I have added this multiple exposure option to the “my menu” feature on my Nikon D750.  That way it is easily accessible.  On a Canon it is very similar.  You would use the dial to turn across to “multiple exposure” and click “set.” You will then have several sub menus options.  This article here explains better on how to do it on a Canon.

double-exposure-black-and-white.jpg

The second option is if you shoot film.  Some film cameras allow you to do this, and some do not.  With film I believe you generally try to overexpose, but with double exposures it is best to underexpose.  It might take some getting used to. To create the double exposure, you will want to expose the same frame more than one time. Google it to see if your film camera has this capability and read more about shooting double exposures on film here.

Senior-session-double-exposure-by-callihan-photography.jpg
weeds-and-portrait-double-exposure.jpg

The third way is to do it in Photoshop. Choose the photos that you think will layer nicely.  For my example I have used a puddle with a leaf in it and a portrait. Open them in Photoshop and put one layer over the other.  Then adjust the opacity. I have then masked off the areas of her face that I want to show through and have more detail. I did this by adding a layer mask to my overlaying puddle photo.  I then paint with a soft black brush to let the lower portrait layer show through. I then brought in more color by adding a blue gradient layer.  I then masked off the areas I didn’t want the gradient layer to affect.  I then added some paint on a new layer to add depth and more of the orange color.  I set it to pin light according to my preference and lowered the opacity. And there you have it! Adobe has a great tutorial here.  

callihan-photography-photoshop-double-exposure.jpg

It’s easy to do, but to be successful compositionally it can be quite difficult.  With a double exposure the shadows of your first frame will be filled in by the light parts of your second frame.  So, it’s best to try to visualize what you want it to look like.  Though it can be very hit and miss.  It’s something worth experimenting with. Sometimes overexposing or underexposing can help you clearly define the double exposure. If you want to see an outline of your subject place your subject against a blank background.   

Senior-session-by-callihan-photo-double-exposure.jpg
flower-double-exposure-callihan-photography.jpg

Thanks for reading!