Understanding light is crucial to being able to take a good photograph. In this blog I am going to explain how to identify certain basic types of light and how to use them. Different types of light will flatter your subject or actually make them look terrible. Please excuse my expression in most of these, I do not enjoy self portraits! Ha!
See below for my examples.
1. Split Lighting:
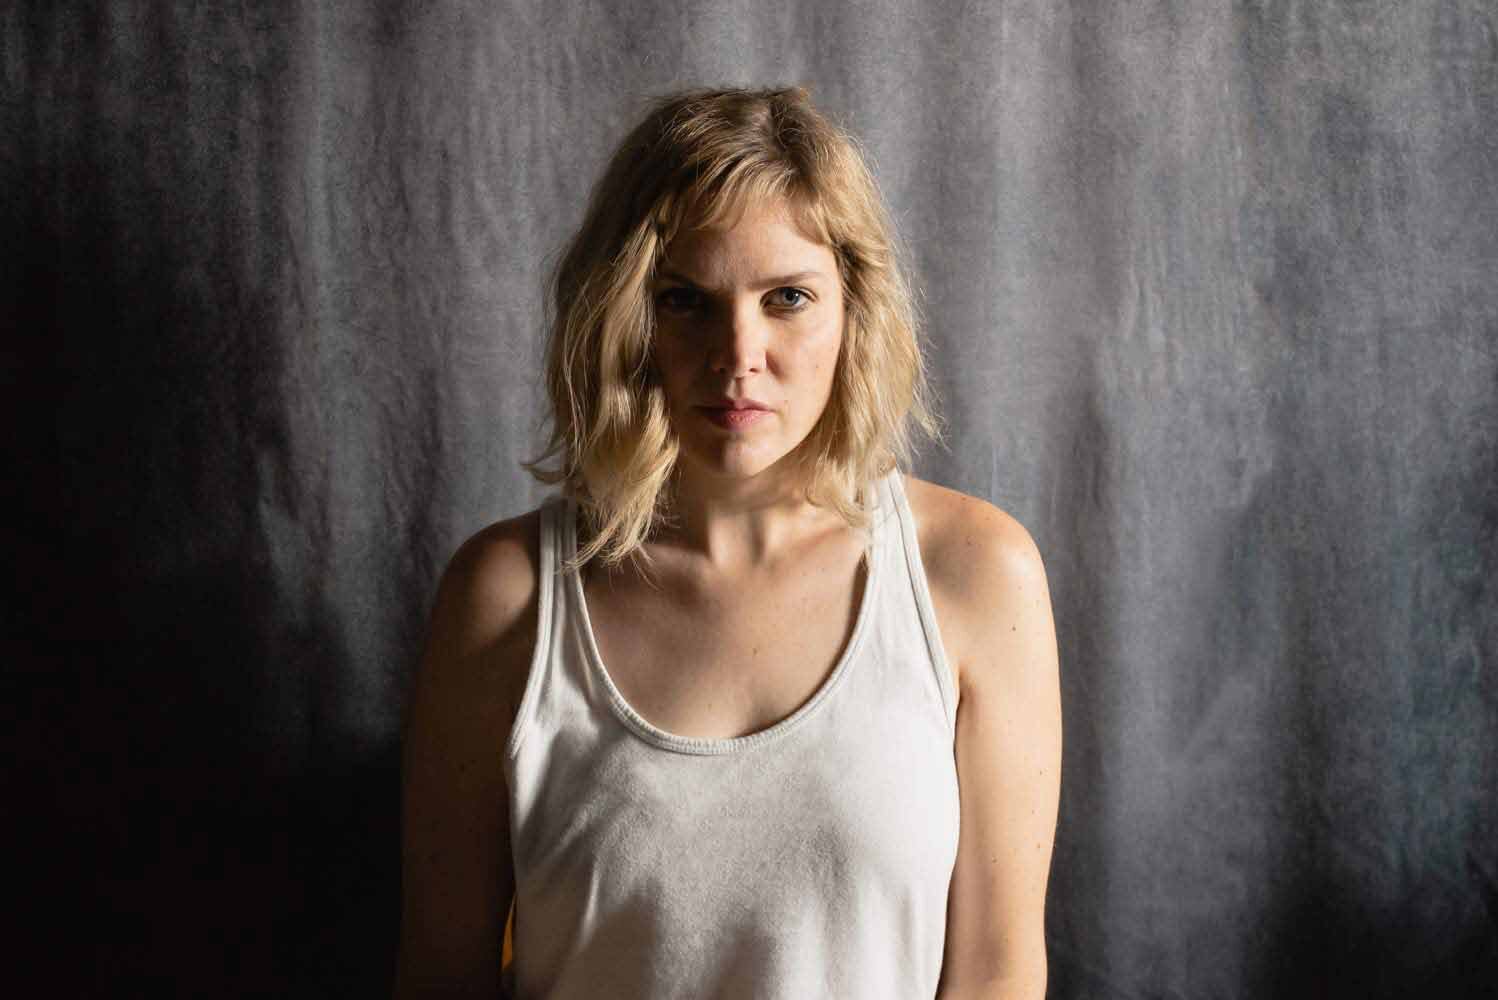
This looks exactly how it sounds. With your light source right beside and pointing at your subject you will have exactly half of their face in light and half in the shadow. Perfect split lighting puts the eye opposite of the light source completely in shadow. However, if you wanted to do a slight variation you can turn your subjects face slightly towards the light. This is traditionally used for a more masculine look, so it suits men better than women. Of course, that does not mean rules cannot be broken.
Split Lighting
2. Rembrandt Lighting:
This type of lighting is named after the Dutch painter who used this lighting often in his portrait paintings. This is generally very low key with lots of shadow. You can identify Rembrandt lighting by the little triangle highlight on the cheek opposite of the light source (the shadow side of the face). This type of lighting is iconic in his portraits. See here for an example. This set up is very similar to split lighting, but you would turn your subjects face just slightly towards the light. The light source needs to be above them to look natural, as the sun typically lights people from above. Make sure that you get that little catchlight in both eyes. This is usually used for a moody and dramatic portrait.
Rembrandt Lighting
3. Butterfly light:
This type of light creates shadows underneath your subjects’ nose and cheek bones. This type of light is typically used for glamour portraits as it is very flattering to your subject. In my example my light may have been too directly overhead. It is not great for someone with deeper set eyes, like me in this picture. So be aware of that. But it can be adjusted to be a little softer by moving the light source back away from your subject and behind the camera. I wanted to make sure you could really see the butterfly shadow under the nose for my example.
Butterfly Lighting
4. Loop lighting:
You can identify loop lighting by the small shadow cast by the nose of your subject. It is very flattering to almost everyone and is a great go to for a lighting set up. The light source needs to be higher than your subject and more in front of your subject than Rembrandt lighting, but still off to the side slightly. The shadow cast by your subject’s nose should be very small and not intersect with the shadow from the cheek.
Loop Lighting
5. Flat Lighting:
This type of lighting is usually discouraged in photography because it is not interesting. It takes away all the depth of your subject, but it is still very useful. Flat lighting fills in all the shadows and fine lines and wrinkles on your subject’s face. So, it is actually very flattering. You can identify flat lighting by the lack of shadow under your subject’s nose. To achieve this look your light source needs to be very soft and high, and you would put it directly over your subject. Photographers often like this type of light because it is so flattering to their subjects. This is why it is not a good idea to cancel if it is a cloudy day. The sunlight is diffused by the clouds giving a nice and soft even light which is very flattering for everyone.
Flat Light
I hope you have found this helpful. Thanks for reading!


