A Family/Maternity Session at Mill Race Park in Columbus, Indiana

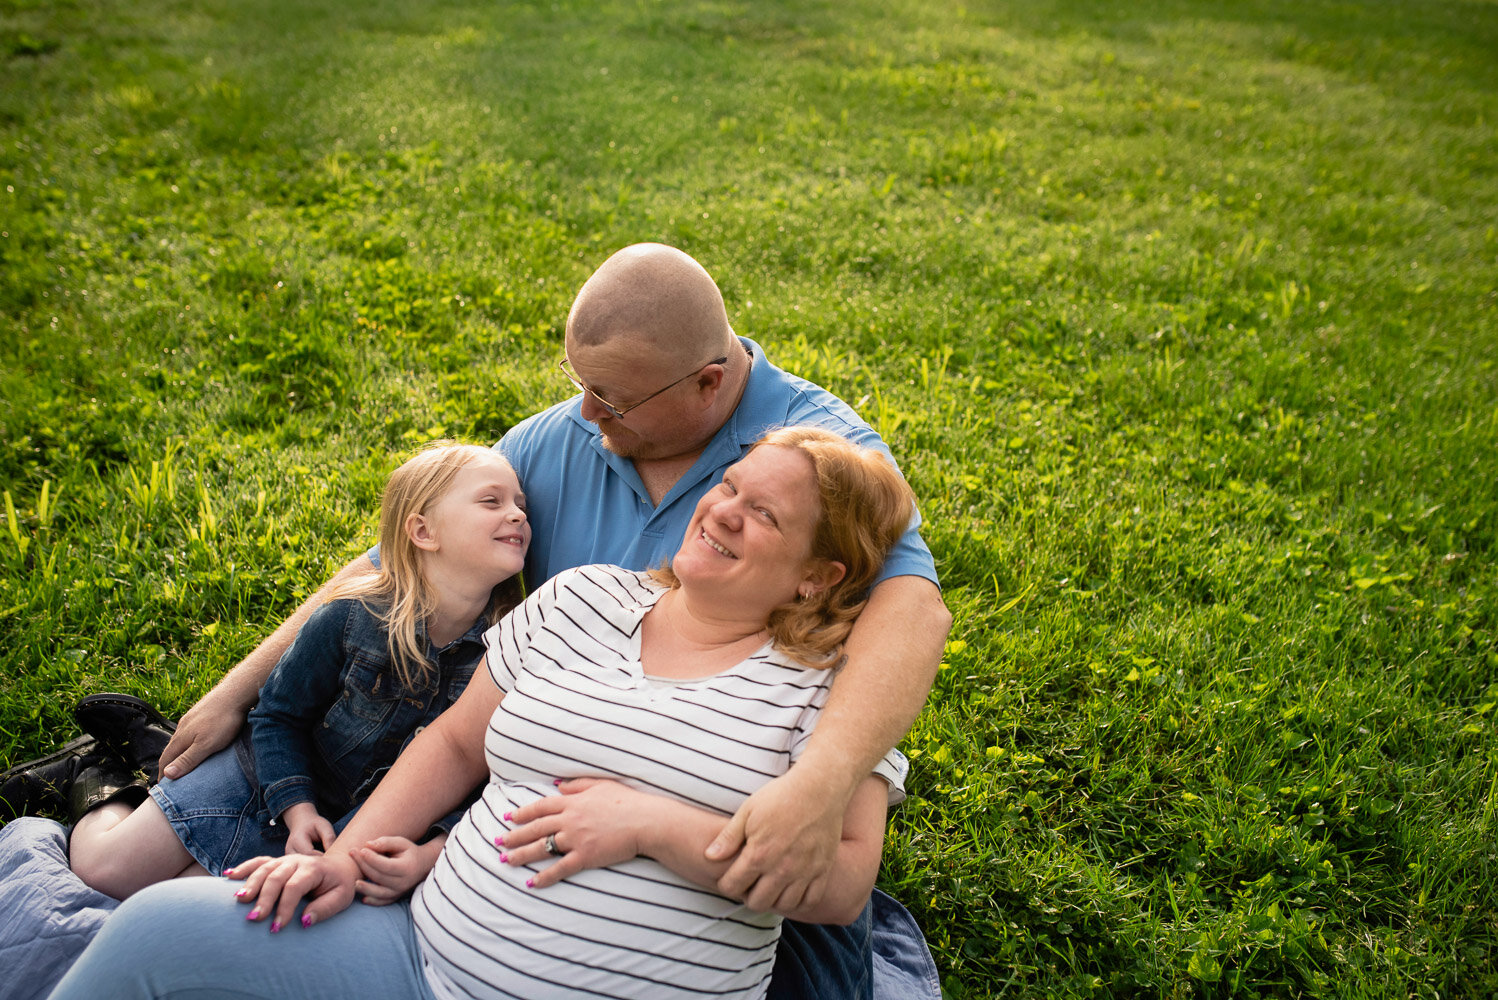
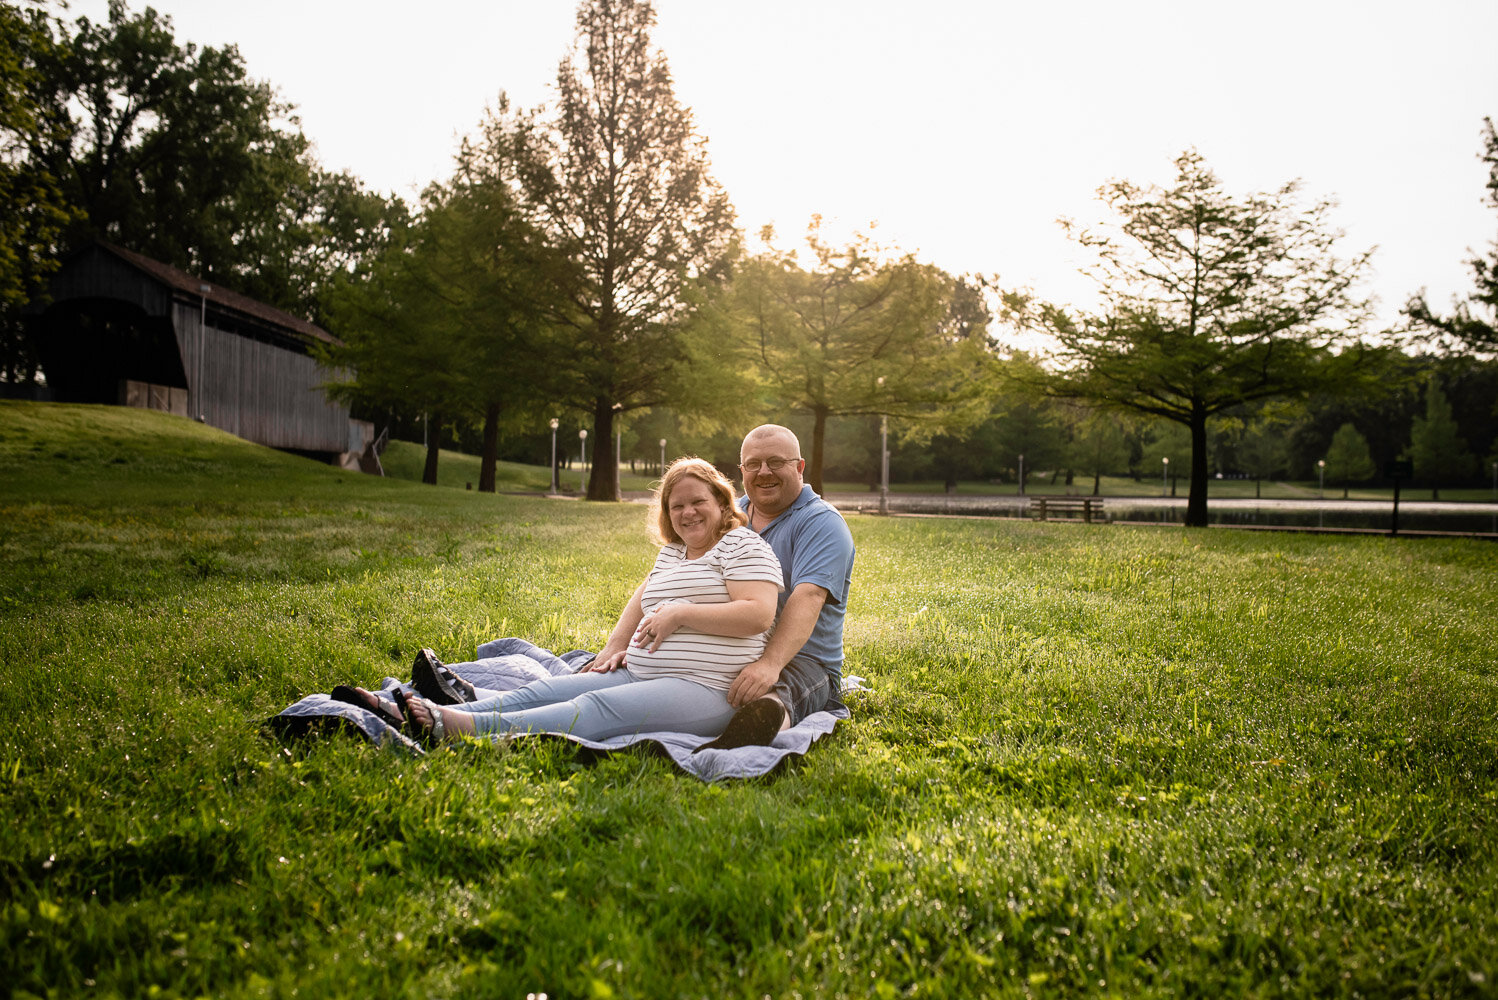
This session was done early in the morning with this sweet family. We went to Mill Race Park, in Columbus, Indiana and the light was just perfect. I was afraid it was going to be cloudy that day, and I do love doing photos on cloudy days, but there is just something I love about backlight! This family is just so happy together! They are so full of love and joy as you can tell by their pictures! Please enjoy this session’s images.

How to Correct Color Casts

First of all, what is a color cast? A color cast is an unwanted color shift in the whole image or on skin, which can be caused by reflected light from a nearby object. Here I am going to show you how to correct a localized color cast.

I had to actually dig to find a good photo for an example. Largely, because this can be prevented by proper white balance and good lighting. Also, picking neutral clothing helps too. In this photo you can see the greenish yellow tint underneath her chin (causing an unwanted color beard). Ha!

color-casts-correction-before.jpg

In order to correct this color shift you will want to create a new layer. The shortcut is shift-Ctrl-N (Mac) or Shift+Ctrl+N (PC). Then set the blending mode to color. (You’ll find this at the bottom of the list under saturation and above luminosity.) Pick a nice soft brush. Then select a clean part of the shadow using the eyedropper tool. (Hold down the alt key to select). Then paint over the color cast area. This maybe all you need to do, but sometimes it might take multiple layers. The luminosity of the previous layer is preserved by using the color blend mode. Next lower the opacity of the layer until you can’t see the edges of where you painted. Some areas might have more color than others which will have to be dealt with on a separate layer. And there you have it! This simple technique will completely elevate your photography to a more professional look.

color-casts-correction-after.jpg

Here is a quick video on the edit if you prefer to watch it! Thanks for reading/watching!

5 Stylistic Examples of Lighting

Today we are going to explore some more stylistic types of lighting. Each one can be used for storytelling purposes and can flatter your subject with the exception of bottom lighting. Continue reading for my examples.

1. Broad lighting:

Broad lighting is where the side of the face closest to the camera is lit, and the other side is in shadow.  This will result in a larger area of light highlighting the face and the shadow side will appear smaller.  This is typically used with a subject who has a narrow face to make it appear wider. So, this type of lighting would not be appropriate for a heavier person who wishes to appear slimmer. To achieve broad lighting have your subject turn away from the light source. 

Broad lighting

Broad lighting

2. Short lighting:

Short lighting is the exact opposite of broad lighting. This will put the shadow on the side of the face closer to the camera, resulting in a slimmer look.  This is very flattering for most people. To achieve short lighting have your subject turn their face towards your light source.  I find myself using this type of lighting often for self-portraits.

Short Lighting

Short Lighting

3. Lighting From Below:

This type of lighting is typically used for a more cinematic horror effect.  This type of lighting is achieved by putting your light source below the face of your subject resulting in an eerie and unsettling look.  Since we are always lit from above by the sun it is unnerving to see someone who is lit from below.  Therefore, when you are telling ghost stories you always hold the flashlight under your chin. It gives you a spooky appearance.  Watch out for this, and do not light your subjects this way unless you are intentionally doing it for horror purposes.  I see this most unintentionally done with newborn lighting.  Lighting your subject from below is usually never flattering.  (Fun story, my sister visited a church where the pastor was lit this way giving himself a crypt keeper vibe.  She found it to be distracting as I think most people would.  So, a note to pastors and priests, make sure you are not lighting yourself this way from behind the pulpit.  Your congregation will instinctively distrust you. HA!).   

Bottom Lighting

Lighting from below

4. Backlight:

Backlight is a photographers’ dream. It is best achieved by waiting for golden hour (an hour or so before sunset when the sun is low and directional). Backlighting is exactly how it sounds; the light source is coming from behind your subject. I like to shoot at a warmer white balance. Because your subject’s face is often in shadow, it will look cooler on camera.  To compensate for this, I change my Kelvin setting to a higher warmer number.  This is flattering for your subject since the light source is not directly in their eyes, they can open them.  Backlight is often used by photographers and can be tricky but result in some interesting and beautiful pictures.

backlight

backlight

5. Rim Light:

This is my favorite type of lighting!!! This is where you can see a thin “rim” of light around your subject.  It is technically a type of backlight, so you need your light source to be directional and behind your subject. You can see rim light better if you have a dark background behind your subject. You can use it to give your subject a silhouette or you can give them a more angelic look with light around their head.  I love using this type of light as I find it really interesting and can make my subjects glow (so to speak).   

rim light

rim light

I hope you all have found this helpful! Thanks for reading!