Fall in Indiana

Guest post by: Kathy Meyer

(Photos by Callihan Photography)
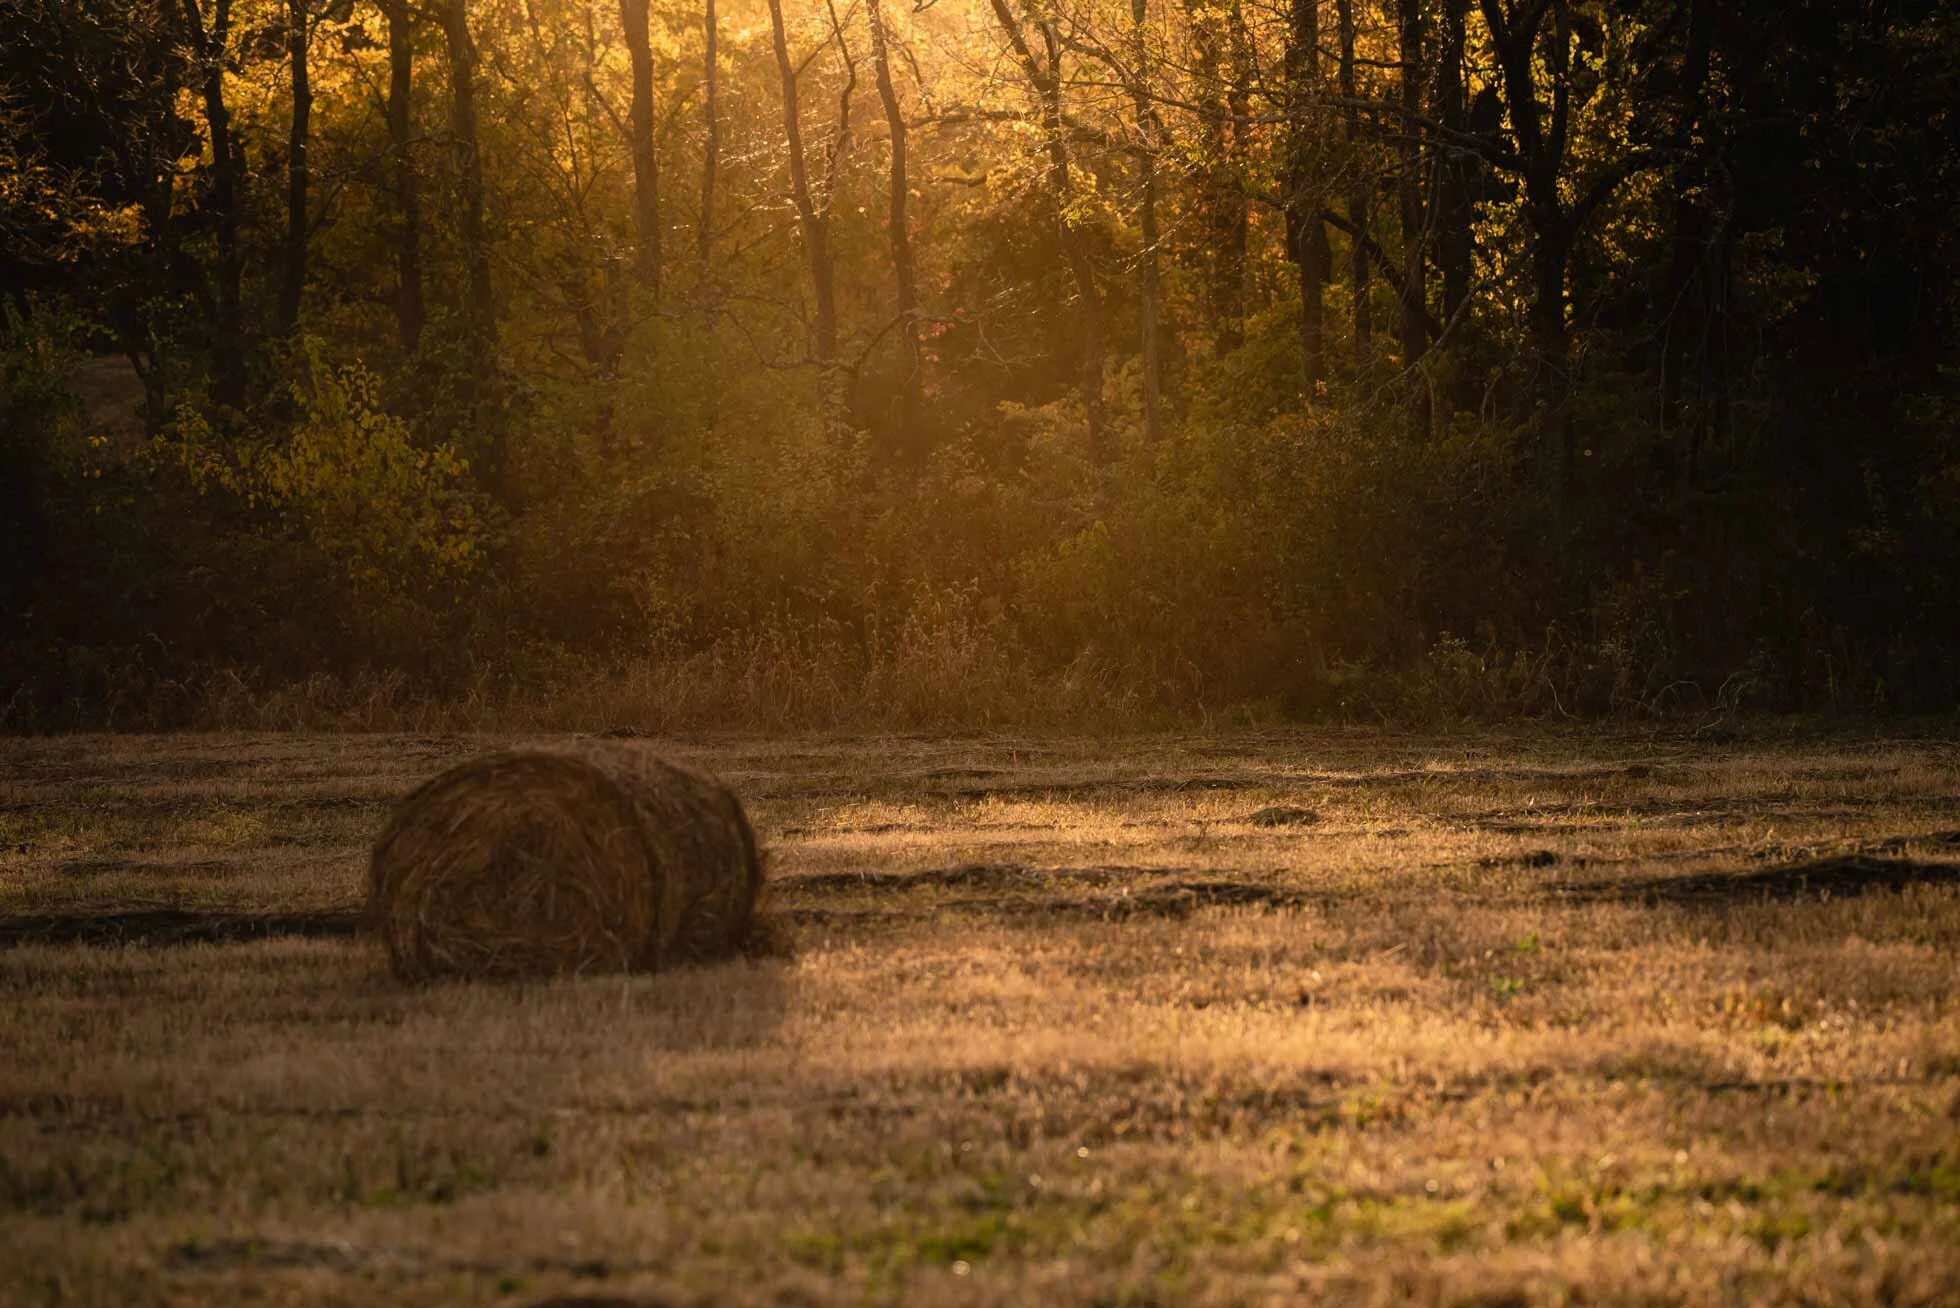
Having only moved here to southern Indiana in the last few years, the area is new to me. Since I was raised on a farm in Missouri though, it’s not all that different. So many of the things from my childhood are the same here. The land is flatter, but the smell of hay being cut and bailed remains the same. What memories our brains/noses have!
Indiana-bird-migration-by-callihan-photography.jpg
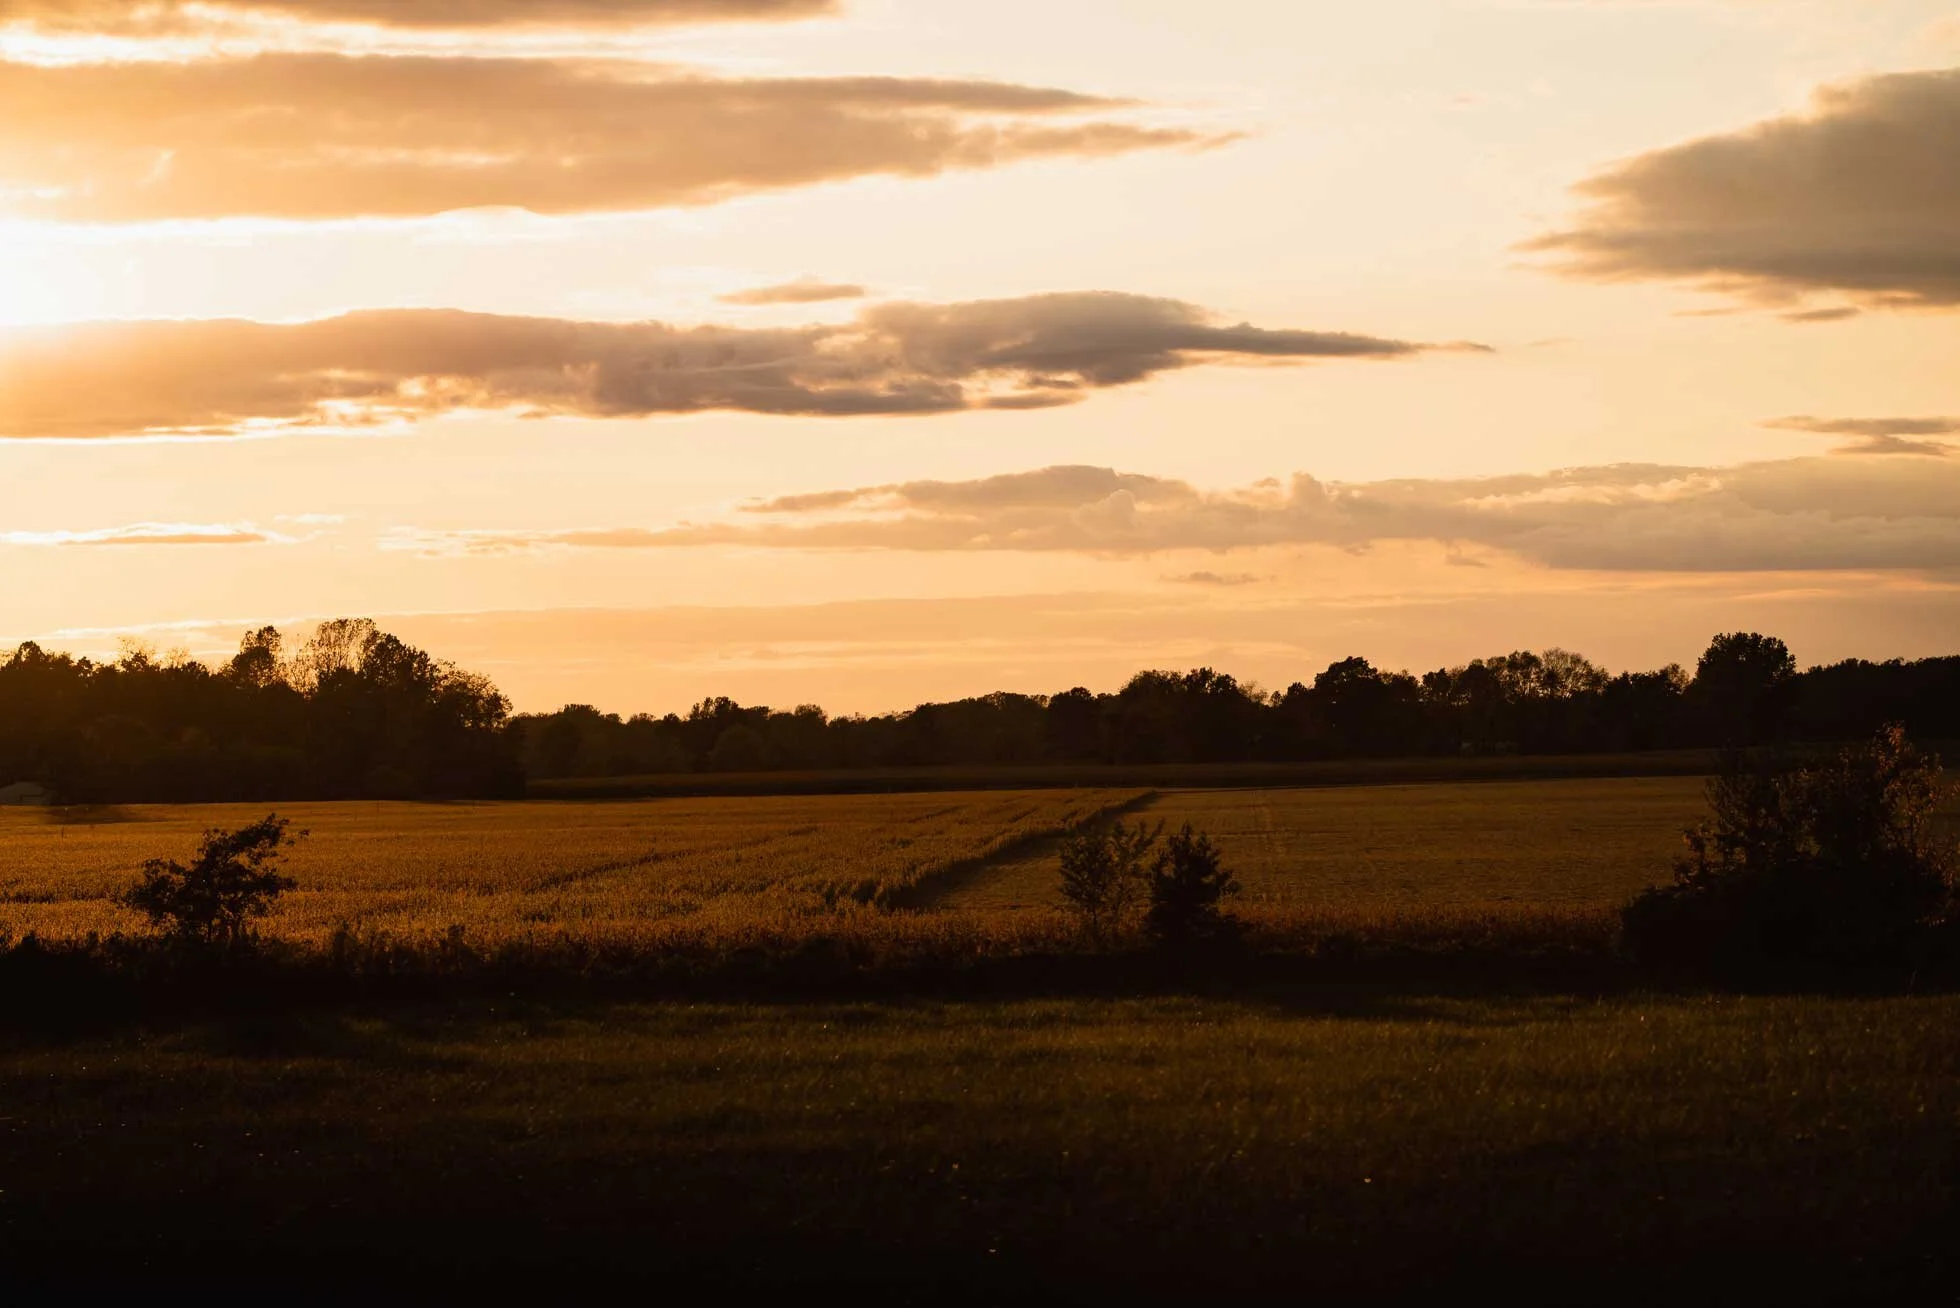
Indiana-landscape-at-sunset-by-callihan-photography.jpg

As fall has come, I eagerly watch the harvests beginning. How familiar the dust from the combining of the soybeans. It’s a pleasant sight as long as the wind is blowing away from you and your open windows! Another familiar sight is the corn being harvested. Over the summer we watch the corn grow, the crop dusters flying ever so close to our roof, the tasseling of the corn, and then they dry to brittle stalks. The smell of the corn when it’s green is pleasant and sweet. Less pleasant are the corn flies, or as we called them, sweat bees. Persistent and annoying, my family was happy when their season is passed. Then comes the harvest of the corn. The roads are busy with much larger equipment than I ever witnessed in my younger days! I am always on the lookout and ready to dodge into a driveway to let the huge vehicles pass. And with the corn harvest comes more dust!

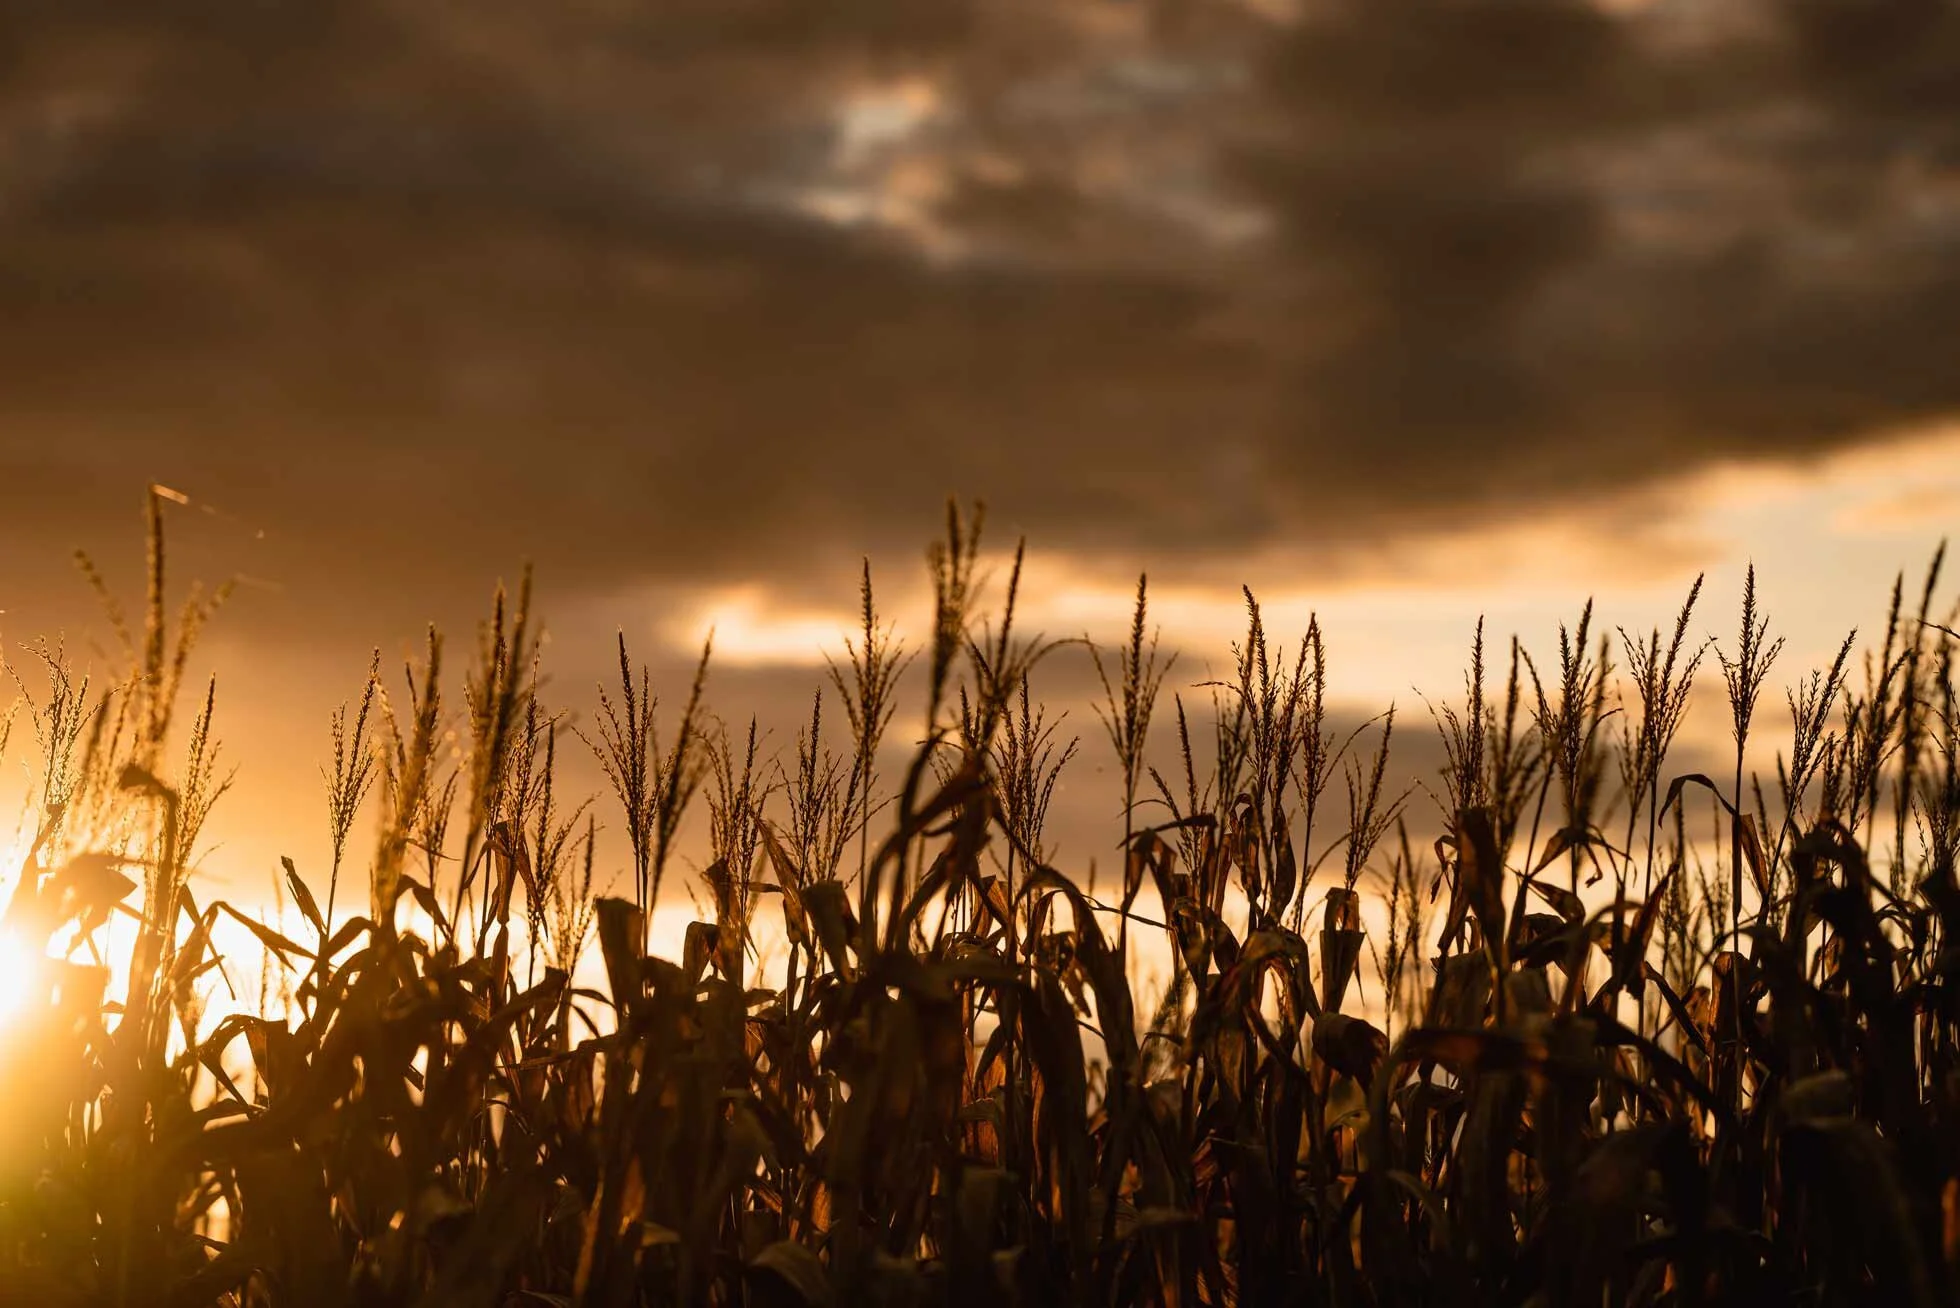
harvesting-the-beans-indiana.jpg
just-after-the-harvest-in-indiana.jpg

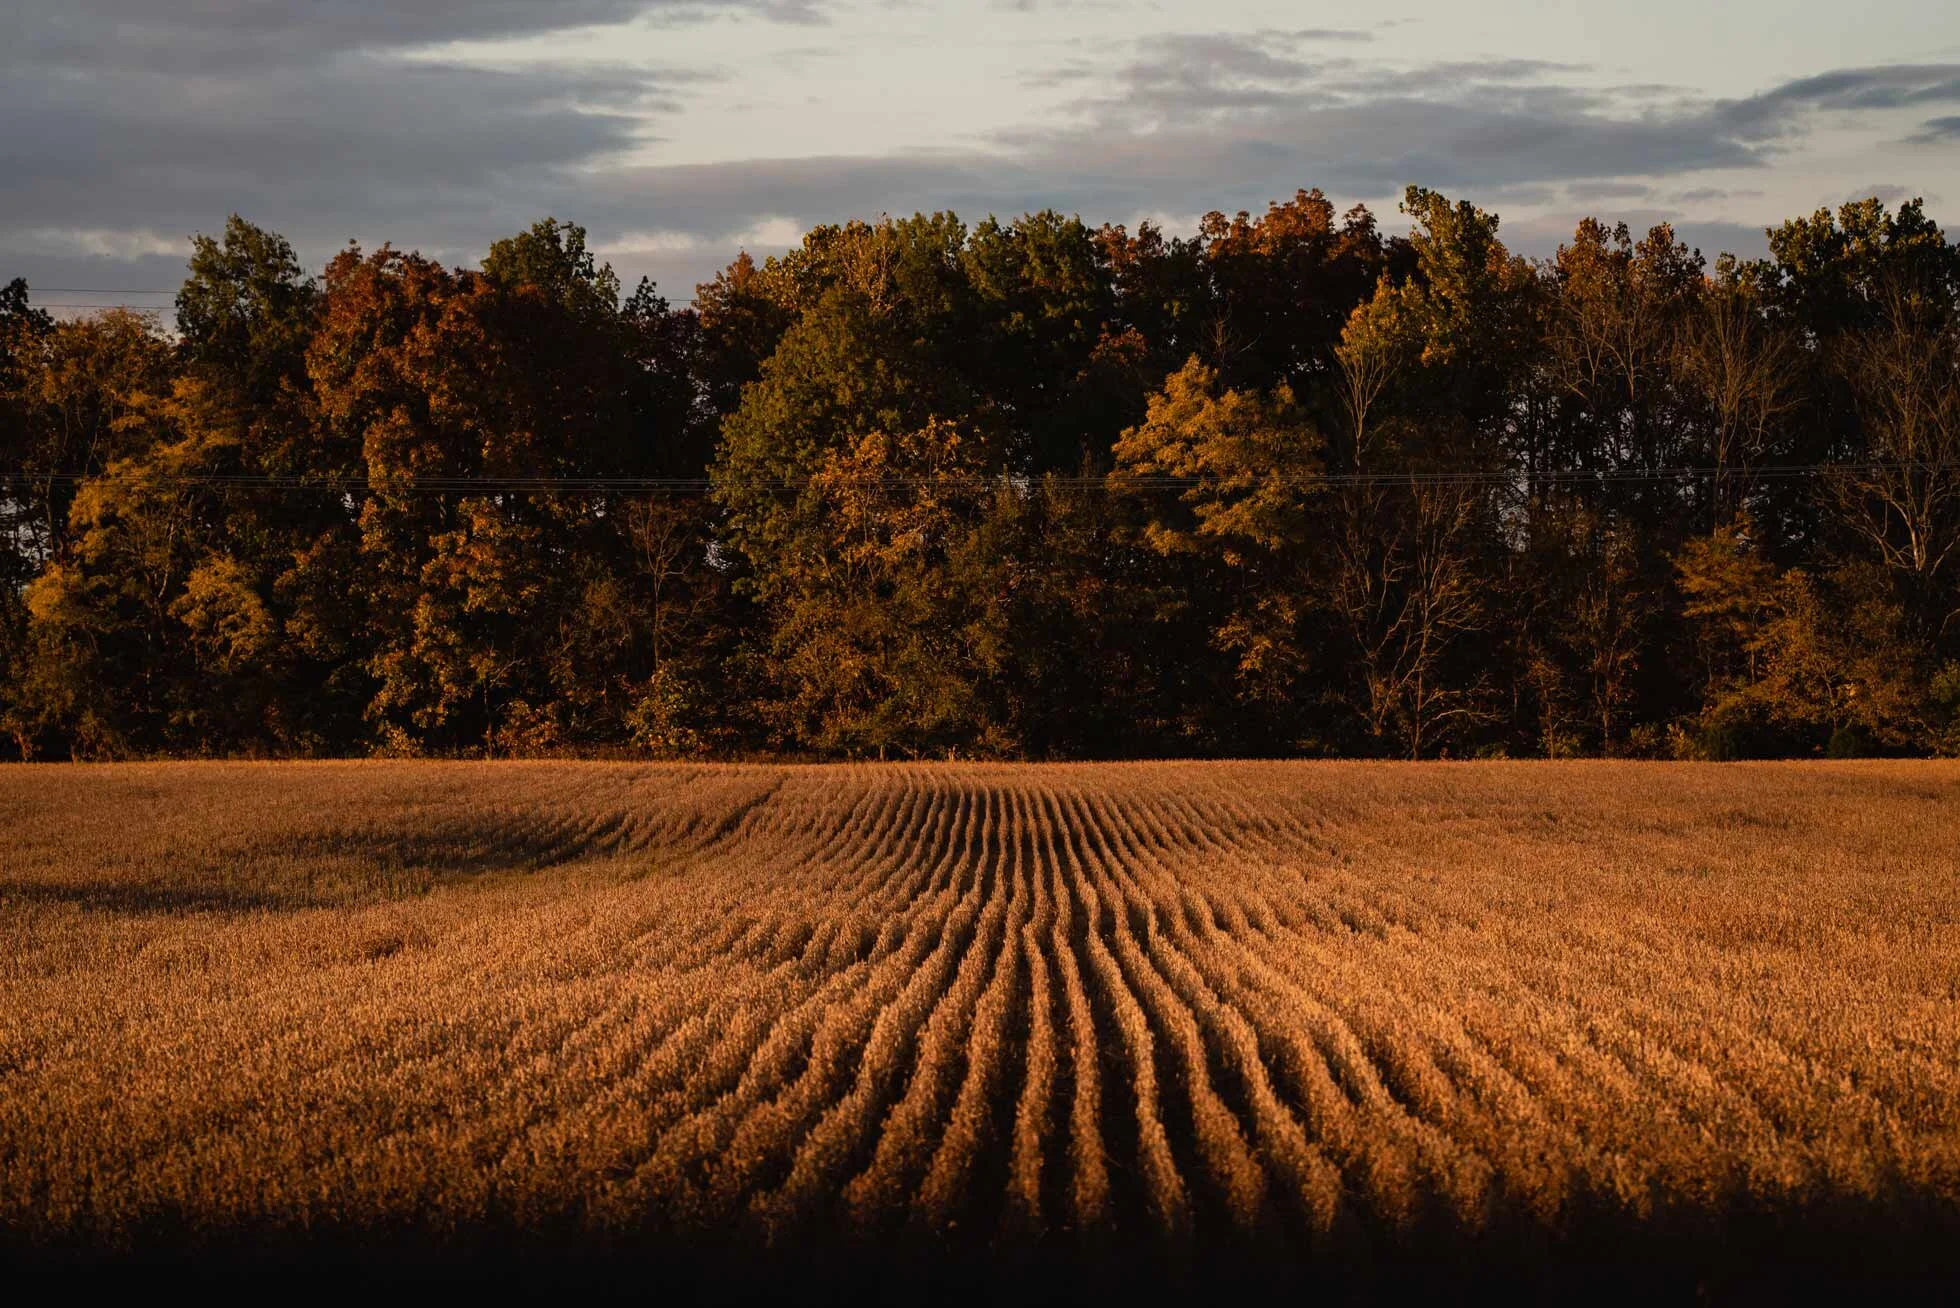
The leaves are changing and making a beautiful background for the tan stalks of corn. The smell of the decaying leaves is musky sweet and brings memories of falls past.
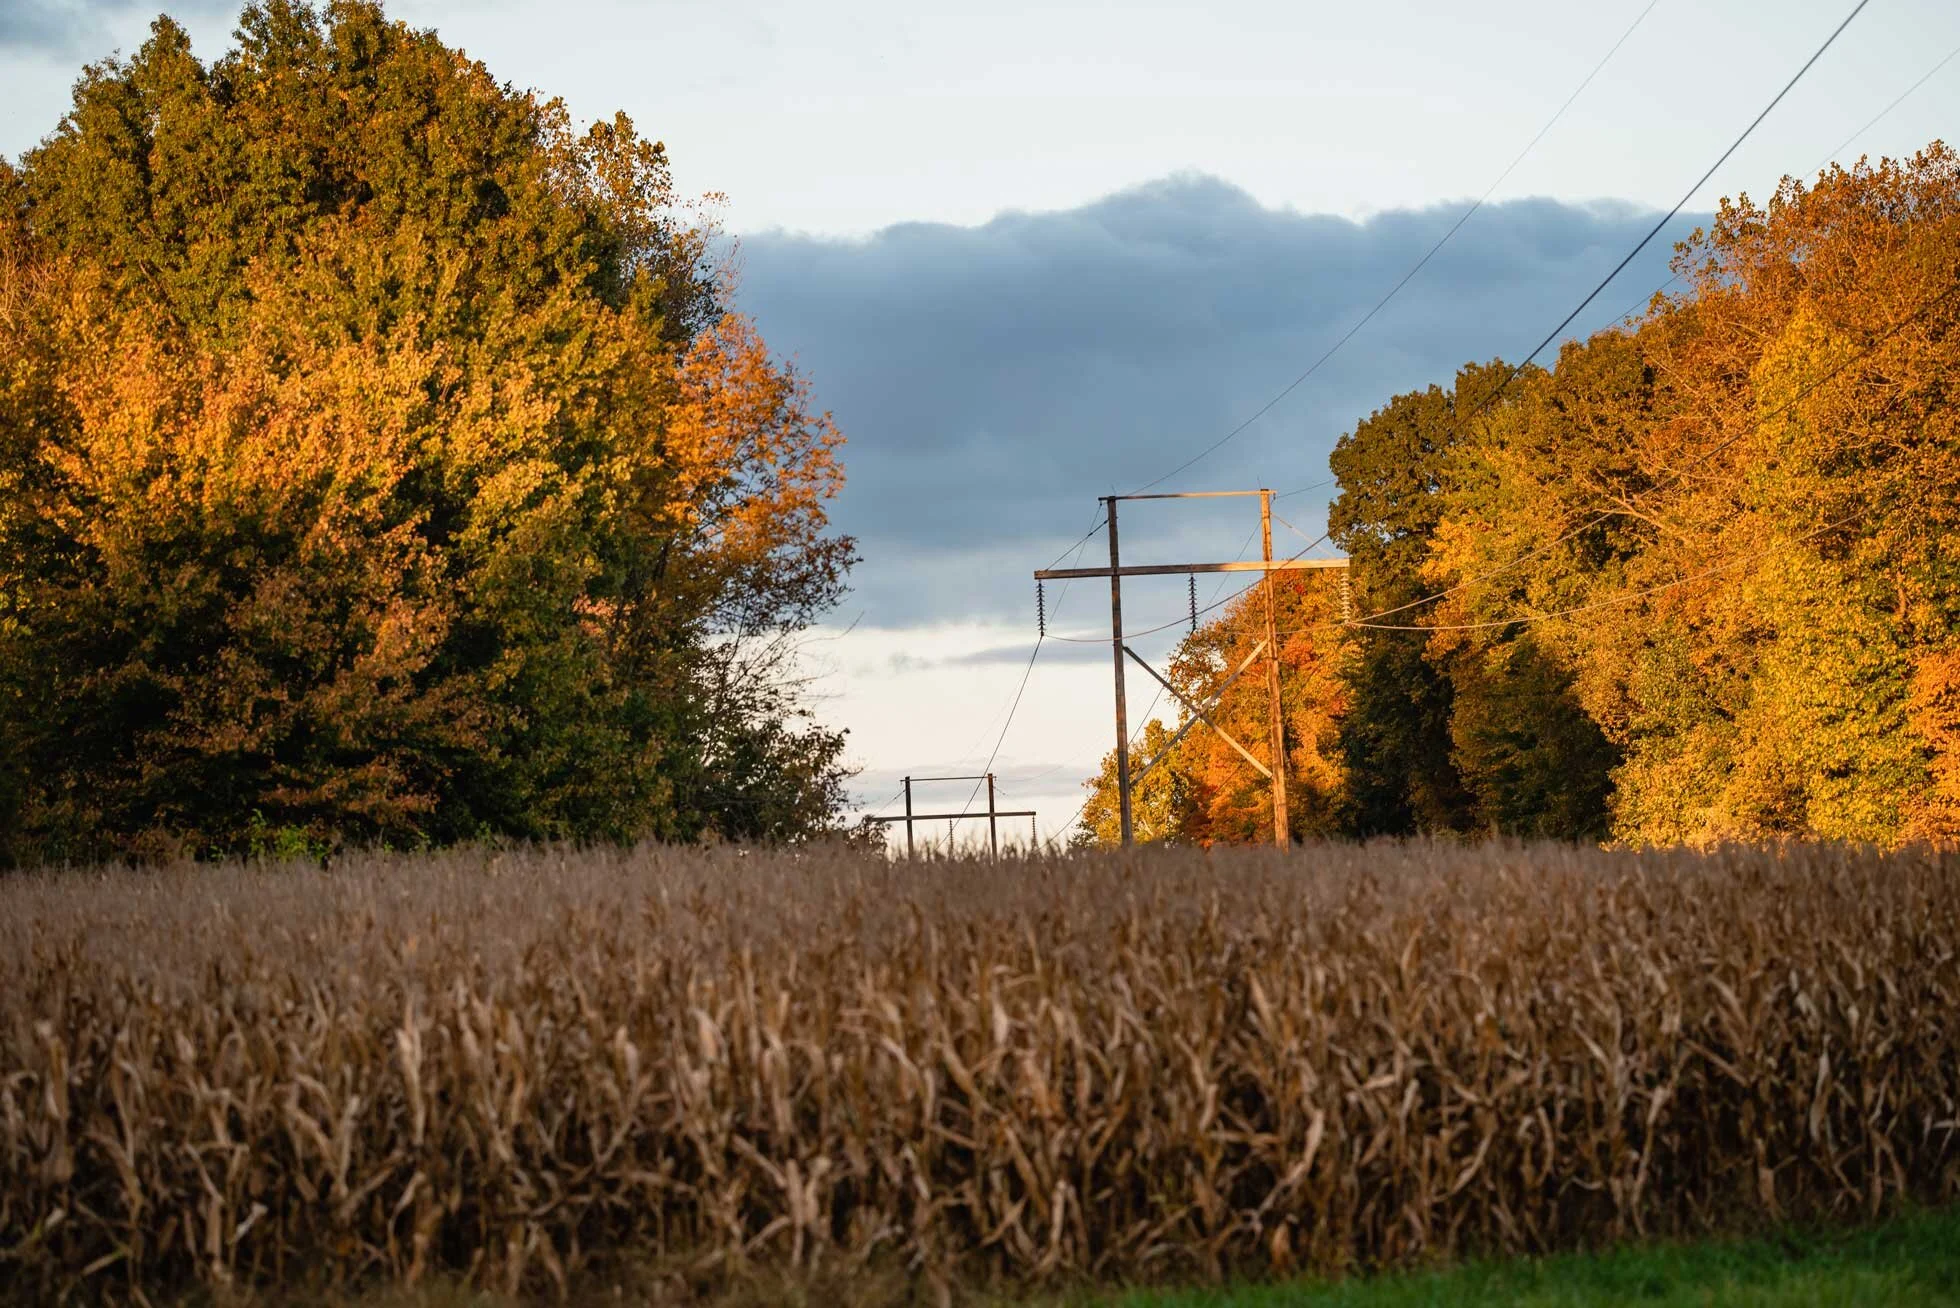
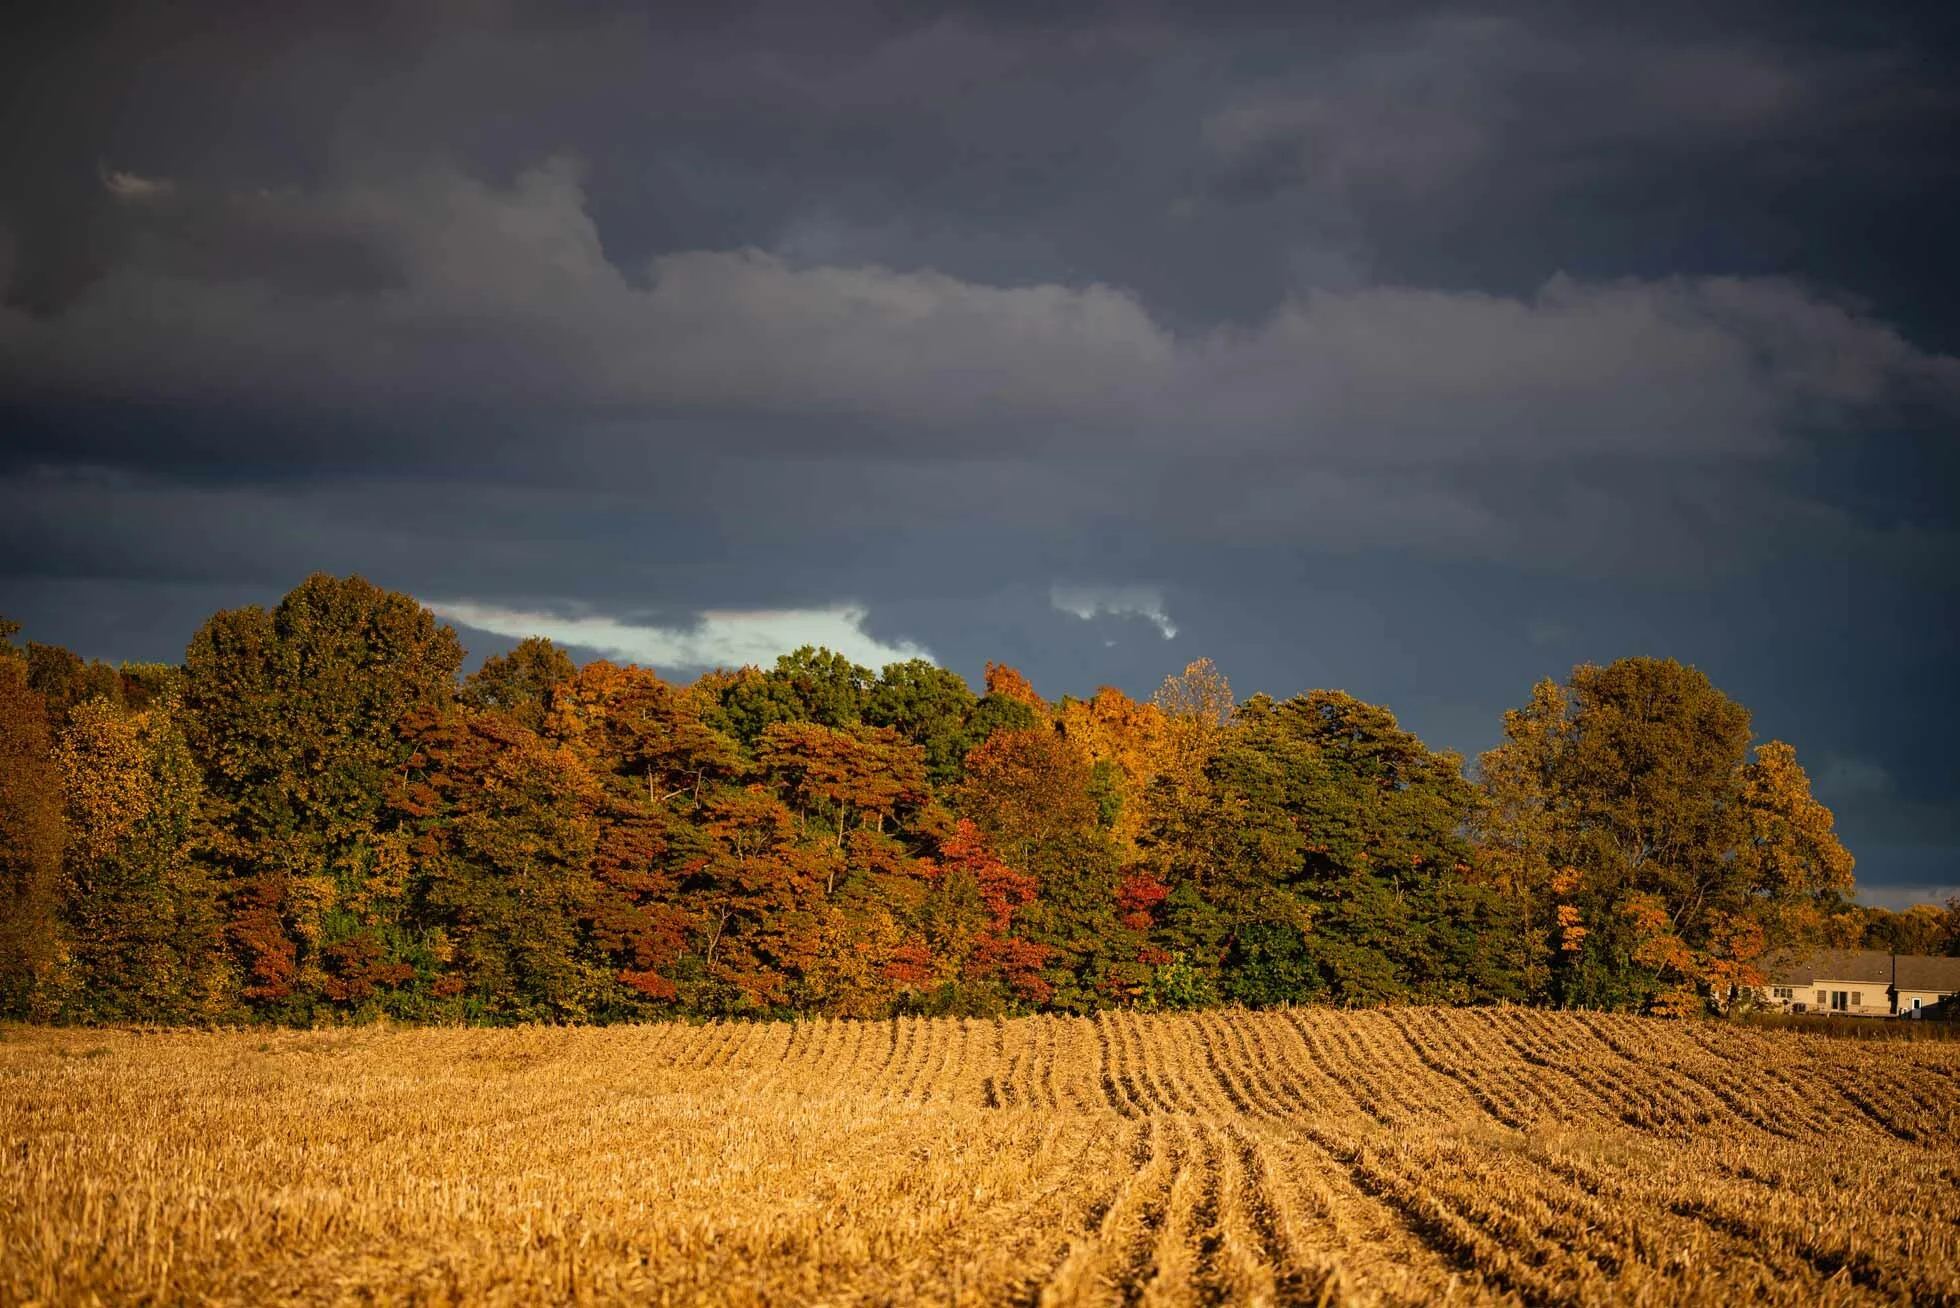
indiana-farmland.jpg

Another harvest is happening—pumpkins! So many pumpkins! Never having witnessed this before, I am very interested in the picking and lining up of the pumpkins, then the loading and transporting of the produce. Tractors, wagons, cut up buses—all sufficient modes of transport.

Mums, mums everywhere! From small to huge and in a large variety of colors.

As you can see from the pictures, fall in Indiana impresses with the best of them.

How lucky we are to have farmers and all this beauty around us!

Indiana-mums.jpg
pumpkins-by-callihan-photography-columbus-indiana.jpg
indiana-sunset-clouds.jpg

I'm only a farmer.

I know the sun better than anyone, and the soil, and the wind, and the rain.
I am the man who works with them, who loves them, and sometimes fears them.

I'm only a farmer.

I am the sower of seeds. I am the tender of stock. I am the reaper of harvest.
I am sweat, and tears, and pride.

I'm only a farmer.

I am the man who feeds the young, and the old, the weak, and the strong. I am the black earth of Spring, the green hills of Summer, the harvest gold of Autumn,

And the cold white stillness of Winter.

I'm only a farmer.

I am warm memories of the past, the steely reality of the present, and a hopeful dream of the future.
I am a optimist, a thinker, a watcher, And a doer.

I'm only a farmer.

I live in a complex world, made of simple things; and they are my source of joy, and hope, and comfort.
I have walked the morning fogs. I have paused for the summer song of the meadowlark
And I have savored the breeze off freshly cut hay.
I have paused, remembering, by the stream I knew as a boy. I have felt the power of a thousand storms
And rejoiced in the fresh world left in their wake.

I'm only a farmer.

I am an accountant, a chemist, and a doctor.
I am a midwife, and a mechanic. I am a seller, a trader, and buyer. I am husband, helper, and partner to my wife.
I am a father, comforter, and teacher to my children.

I'm only a farmer.

Not a man of riches, but a man of great wealth. I have learned to treasure life and all things living.
To respect their maker and my own.
I am humbled by the earth's bounty and awed by endless rebirth.
I am fascinated by the marvelous minutiae of my world and enriched by their beauty.

I'm only a farmer.

If a man can be truly free, then I truly am. The day, the week, the month
they have been entrusted to me. They are mine to spend. They are mine to invest. They are mine to use wisely.
It is a solitary profession I have chosen; Or, perhaps, that I have been chosen for.
A profession where there are no certainties. Where no guarantees are granted,
No promises given, no excuses taken.
I have but one man to answer to, one man to depend on, one man to confide in;
And in the quiet of the years, I have come to know him well.

I'm only a farmer.

I am perseverance, and creativity, and courage.

I'm only a farmer.

I am confidence, and ingenuity, and intelligence.

I'm only a farmer.

A seeker of excellence, and I will endure.

Poem by Himal Jasani http://agropedia.iitk.ac.in/content/i%E2%80%99m-only-farmer

indiana-barn-and-horse.jpg

Technical Photography Terms Demystified

Photographers have long been using different lingo to describe things, and if you are new to photography you might not know what they all mean.  I know that when I first started, I was so overwhelmed by the terms and technical details that go hand in hand with photography.   So, if you are new, do not lose hope! I am going to try to explain some common photography terms below.

Exposure Triangle

The exposure triangle consists of three variables. ISO, Aperture, and Shutter speed. These three variables effect your exposure depending on what settings you have.  A wide aperture will let in more light.  A slow shutter speed or a high ISO will also allow more light in your camera. These settings will need to be balanced to one another in order to achieve proper exposure.  To read more about how these elements work together go to this article here.

F-stop

F-stop refers to the aperture of the lens.  The aperture is the “iris” part of the lens, just like your eye.  It opens and closes to allow more or less light in.  A lower f-stop number means a wider (larger) opening (allowing more light). The higher the number is the smaller the aperture (opening) is (allowing less light in). When you see f/1.4 printed (or it might look like 1:1.4) on the side of the lens that means the widest aperture will be 1.4. The wider your aperture the smaller your depth of field will be.  

Shutter Speed

In your camera, the shutter allows light on to your camera’s sensor. A faster shutter speed will allow less light into your camera, and a slower shutter speed will allow more light into your camera. When you allow your shutter open for longer periods of time it can cause motion blur in your image.  Sometimes this can be used intentionally (like making the water look smooth on a waterfall).  Sometimes it is not a desired result but is your only option when your aperture is wide open, and your ISO is at it’s highest.  This happens in extreme low light conditions.  Here is an article that explains it further.

ISO

This is your camera sensor’s sensitivity to light.  The higher the number the more sensitive to light.  The lower the number the less sensitive it is.  Often times, the cost of setting your ISO number high the more likely it is to introduce grain or noise into your image.  Often times it is better to keep your ISO number high rather than lowering your shutter speed.  Grain is better than unintentional motion blur. 

Prime vs. Zoom lens

This refers to the focal length of a lens.  A zoom lens can change between a range of focal lengths where as a Prime lens has a fixed focal length.  So, with a zoom lens you can stay in the same place and turn the zoom ring to make your subject appear closer to or farther away.  With a Prime lens you will have to physically move closer to or farther away from your subject. Prime lenses are usually sharper and faster than a zoom lens, but zoom lenses have their place as well. 

Golden Hour and Blue Hour

Golden hour is the hour just before the sun sets.  This is when most photographers love to photograph because of the soft beautiful golden light.  The light is directional and easier to manage on a subject as opposed to hard midday light. Blue hour refers to that time frame where the sun has just set beyond the horizon and it hasn’t quite gotten fully dark yet.  At this time, the light is cooler and appears bluer.  This usually only lasts for about 20-30 minutes after sunset.

Blown out VS. Clipped blacks

This refers to the information lost in your camera.  If you have blown out highlights (or white areas) then you have lost detail in those areas.  This is due to overexposing in camera.  Conversely, you can clip your blacks.  This is where you are losing information in the shadows of your photograph.  This is due to underexposing in camera.  Your camera has less of a dynamic range than your eye does.  This means it cannot capture all of the detail where there is a large amount of contrast.  As technology improves cameras are able to retain more and more information in areas of high contrast.

Histogram

This is the graph that shows the distribution of light in an image.  The left side of the graph are your shadows and the right side of the graph are your highlights.  Ideally, you’d like to see the lines evenly distributed throughout the whole graph.  You don’t want the lines climbing too high one side or the other.  If you do, that means you are either blowing out highlights (climbing to the right side) or clipping your blacks (climbing to the left side).  Either way you are losing information that cannot be recovered in post-production.  Sometimes you cannot help it.  When you try to retain your highlights, you end up clipping blacks.  Sometimes when you try to retain your shadows you end up blowing highlights.  So, ultimately your exposure must be chosen by the photographer.  For more information go here

RGB vs CMYK

This is short for Red, Green, Blue.  These colors mix to give you a complete range of colors in digital photography.  You might hear this in comparison to CMYK.  Which is cyan, magenta, yellow and black. When you adjust the reds in photoshop you inversely effect the cyan color range.  When you adjust the green you inversely effect magenta.  When you adjust the Blue you inversely effect the yellows.  These colors work together to give you a full range of color. CMYK is typically used for printing, RGB is used for your computer and digital media. Here is an article that goes into further detail. 

I hope you found this helpful!  If you have any questions, feel free to reach out to me! 

Thanks for reading!

Camera-gif.gif


Why You Should Create Self-Portraits

Creating artwork every day is HARD! I know I fail at this often. Life just gets busy and your camera is too far away. Like upstairs.  (I’m obviously speaking from experience, Ha!) The question is why should you create a self-portrait? Answer: Lots of reasons! 

blue-and-red-self-portrait-by-callihan-photo.jpg

Sometimes you need a cheap model to practice. 

That’s the truth! It’s hard to keep asking the people in your life to take their picture.  It wears them out, and it’s good for you to get yourself in front of the camera every once in a while. It’s also important to express yourself as an artist.  I know many photographers who are great at self-portraits. (Go here or here for an example.)  They use it to work through what they are feeling and experiencing.  It is important to stay inspired.  In order to stay inspired you can take a walk, draw, paint, try a new skill.  I like to try to recreate paintings or various artwork through photography.  For example: I used the painting by
Philip Alexius de László as my inspiration for the following photo.  

laszlo-portrait-painting.jpg
self-portait-13-laszlo-inspiration.jpg

For this next one I used a painting by Edward Hopper.

hopper.jpg
hopper-inspiration-self-portrait.jpg

Modeling in front of the camera helps you to sympathize with your subjects in your business and personal work.

Modeling is hard work. And when you get in front of the camera you will see just how hard it is.  Being able to move your own body in a way that translates into a good photo will help you direct your subject to carry out your vision when you’re behind the camera.  This is no easy feat! I know I am way more comfortable behind the camera rather than in front of it.  And now that I know that I can help my subject feel at ease.  Take notice if you are more comfortable looking away from the camera or straight at it.  I am a bit of an introvert, and I tend to like the ones where I am not looking right at the camera.  I am certainly more comfortable pretending the camera is not there!  Maybe that will translate to your introverted subject.   

self-portrait-by-callihan-photography.jpg

Getting in the frame is important for you as a photographer too! 

Often times we as photographers are missing from all of the family photographs.  It is important to get yourself in the frame, to document those moments with your kids and to just show who you are/were. Someone who does this beautifully is Meg Loeks.  She makes it a point to always take a self portrait on her birthday, and she is always getting in the frame with her kids.  Try not to be intimidated by her level of talent!  Your kids are going to want to see you in the photograph, not just endless pictures of themselves.  (Although, that can be fun too.) Remember a self-portrait can simply include the details.  It doesn’t have to be your face necessarily.

tulips-and-shoes-by-callihan-photo.jpg

How to do it:

I use the Nikon app on my phone called WMU. For Nikon you can find it here.  For Canon go here. It is very handy for cameras that have the wireless feature.  To turn on your wireless connection on your camera go to the set-up menu (the wrench icon) > Wi-Fi> Network connection>Enable.  Then use your phone to connect to your camera’s Wi-Fi. Then you can open your app, and you can choose to take pictures or view them.  Your battery must be charged to use this feature.  Using the app allows me to set the focus, which is perfect when you are using a shallow depth of field (wide aperture).  You can also use the self-timer.  You can choose however many photos you want at a time.  For this option, I have found it better to close down your aperture, for a wider depth of field.  It’s also good to set your focus with a stand in object, and then switch your lens to manual.  That way it doesn’t try to refocus when you walk in front of it, and you lose the focus all together.  If you don’t have a fancy digital camera, then just use the self-timer on your phone! Lastly, embrace the imperfections! Sometimes, you’ll have a whole set that is blurry.  But now is a good time to experiment. Remember, no one has to see them if you don’t want them to!

blurry-portrait-callihan-photography.jpg

I hope you found this helpful! Thanks for reading.