How to Capture Halloween Costumes

It’s almost Halloween! Can you believe how fast this year has gone by!? I am hoping that even with Covid-19 virus we will still have some kind of Halloween celebration.  It is not my favorite holiday, but it’s close! I love this time of year.  The leaves and the weather getting colder!  I love most everything about fall, but I do not care for pumpkin spice everything.  I’m happy with just normal coffee, ha! So here are some things to consider when photographing those Halloween costumes. 
1.       Set the Stage

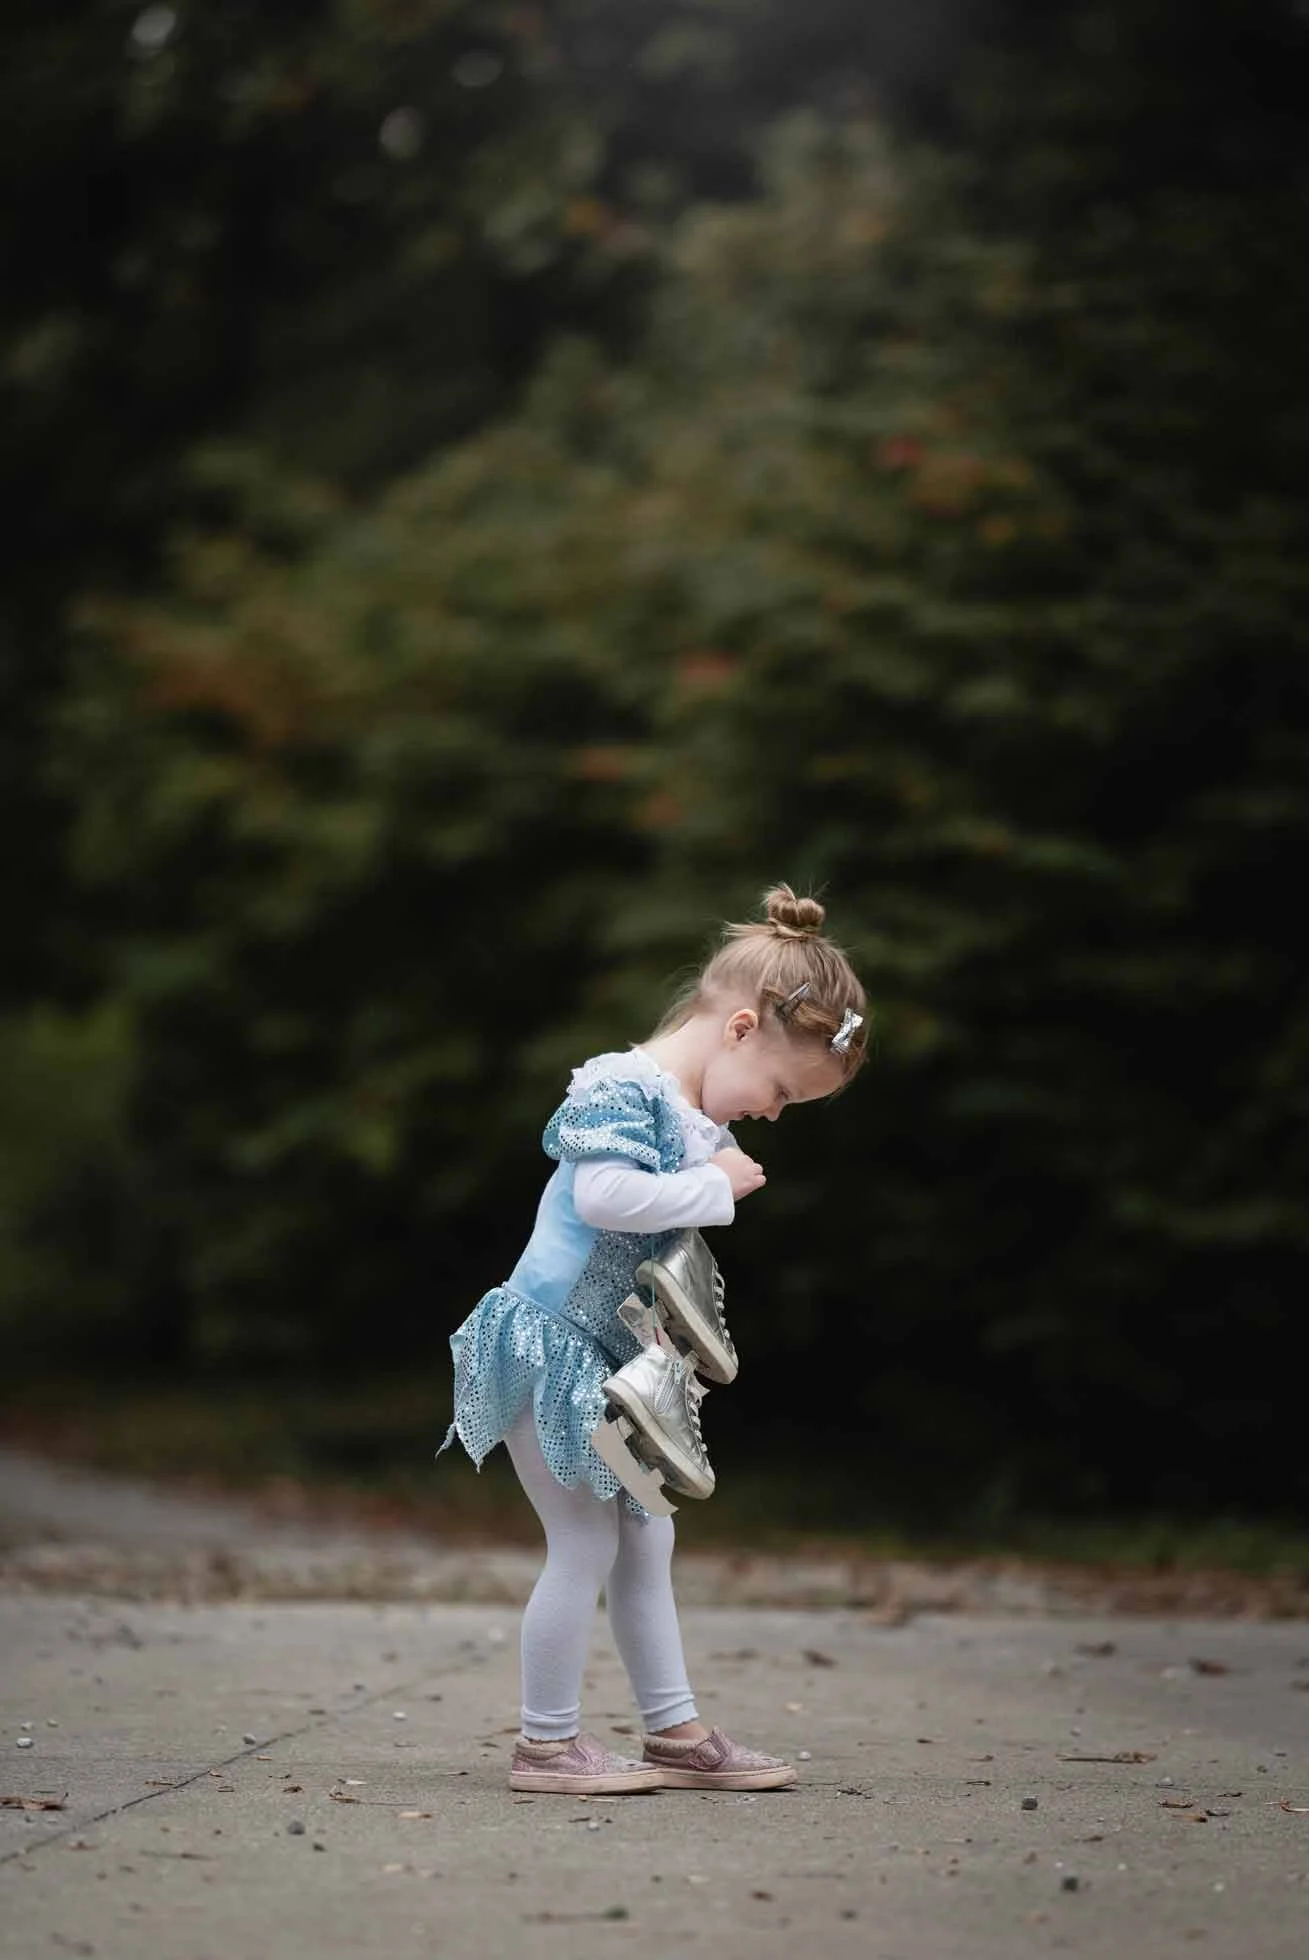
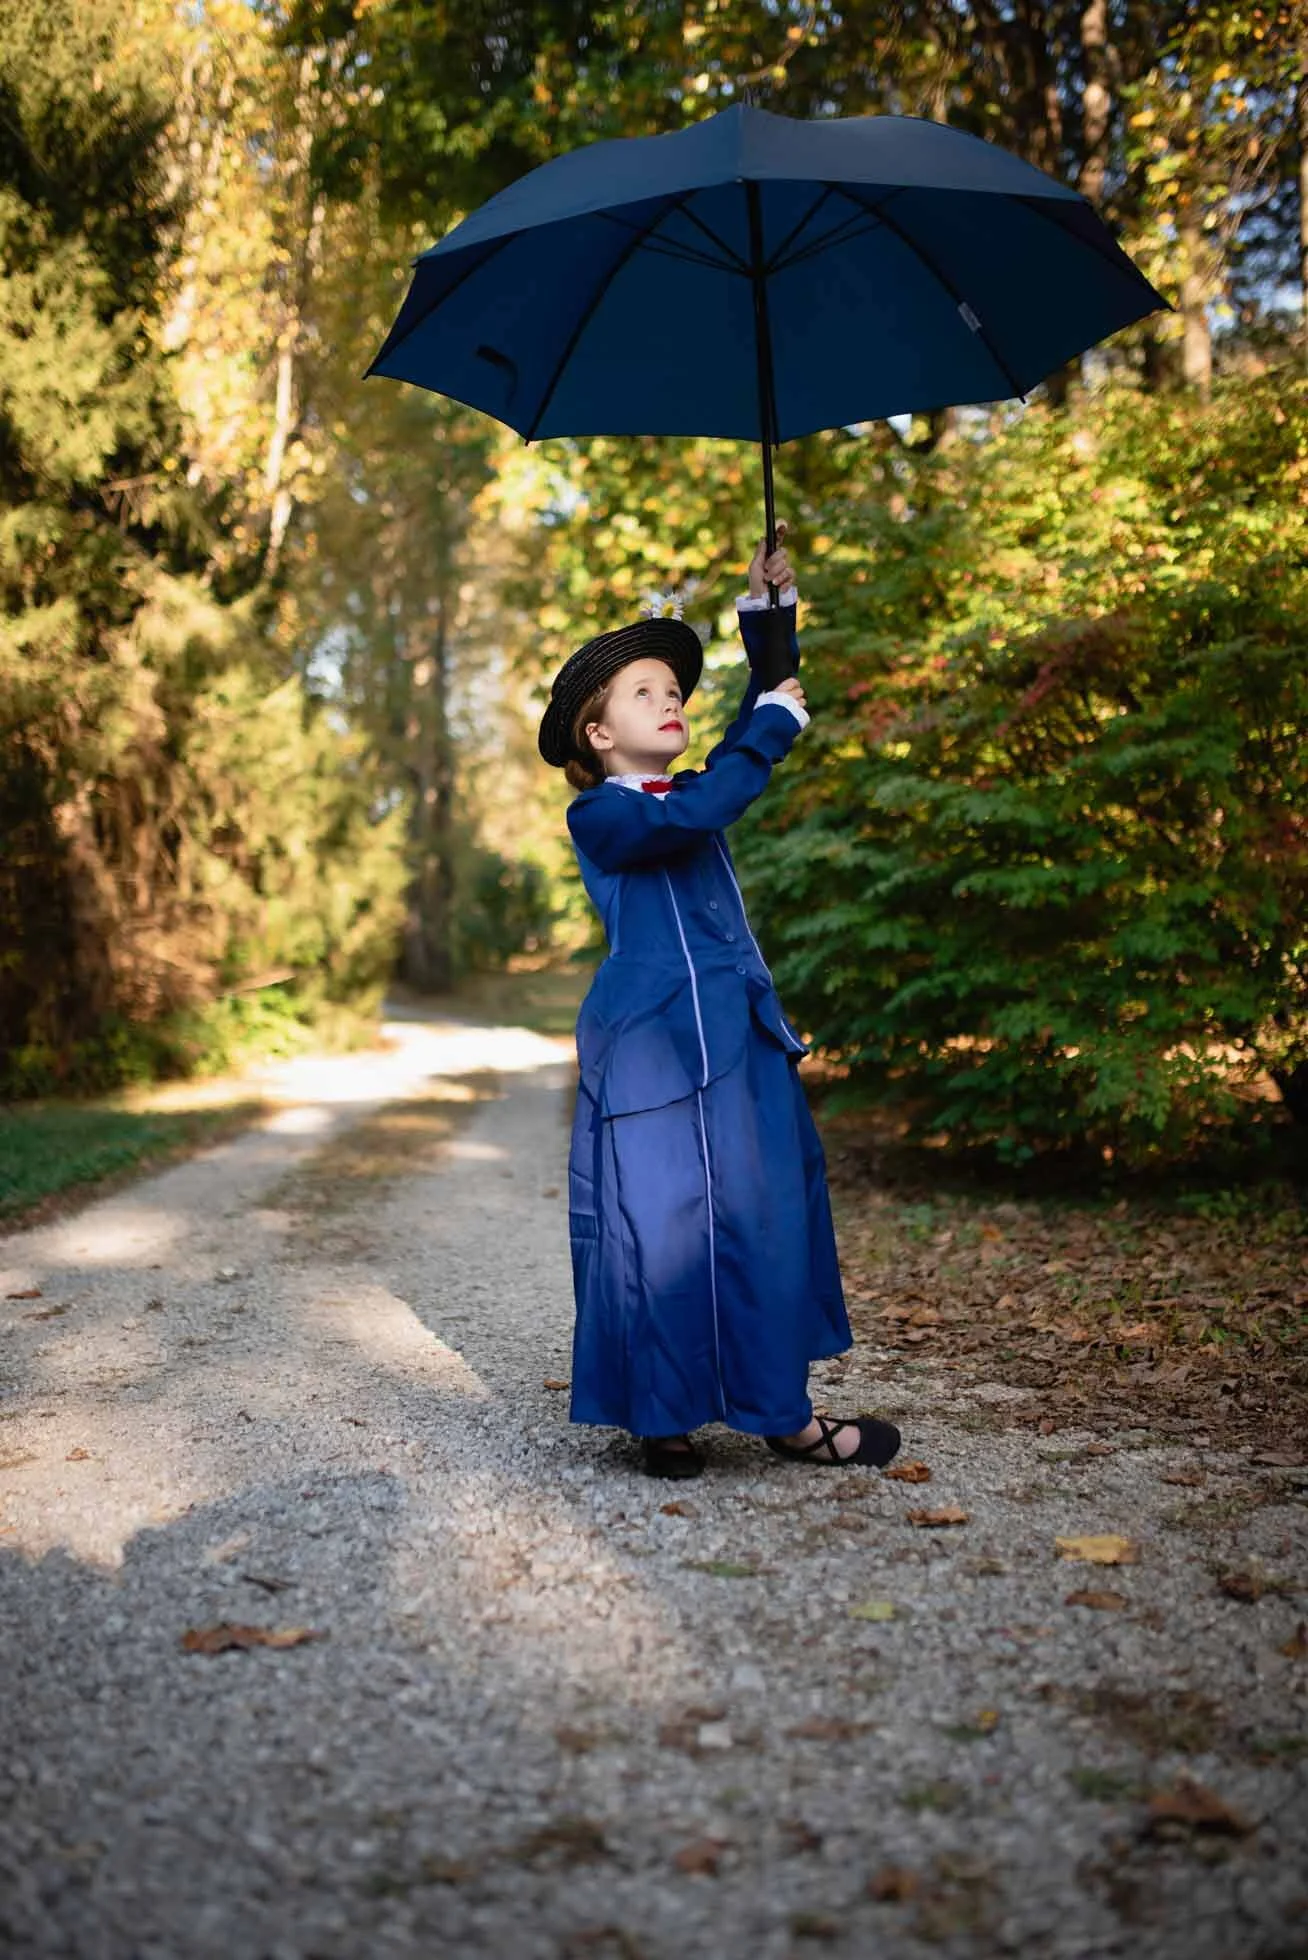
Consider the costume itself! What setting should it be in? Is there something you can add to make the photograph extra special? For the sleeping beauty photo below, I used flower petals and a soft pillow to set the stage (so to speak).  When my daughter was Mary Poppins, I let her borrow my umbrella and let her play out the character!  It is so much fun to capture the costume in a way that speaks to the character they are playing. Hopefully, you have practiced the make up and have a plan for props! Sometimes it’s just one prop that can make all the difference.

sleeping-beauty-halloween.jpg

2.       Edit for Magic

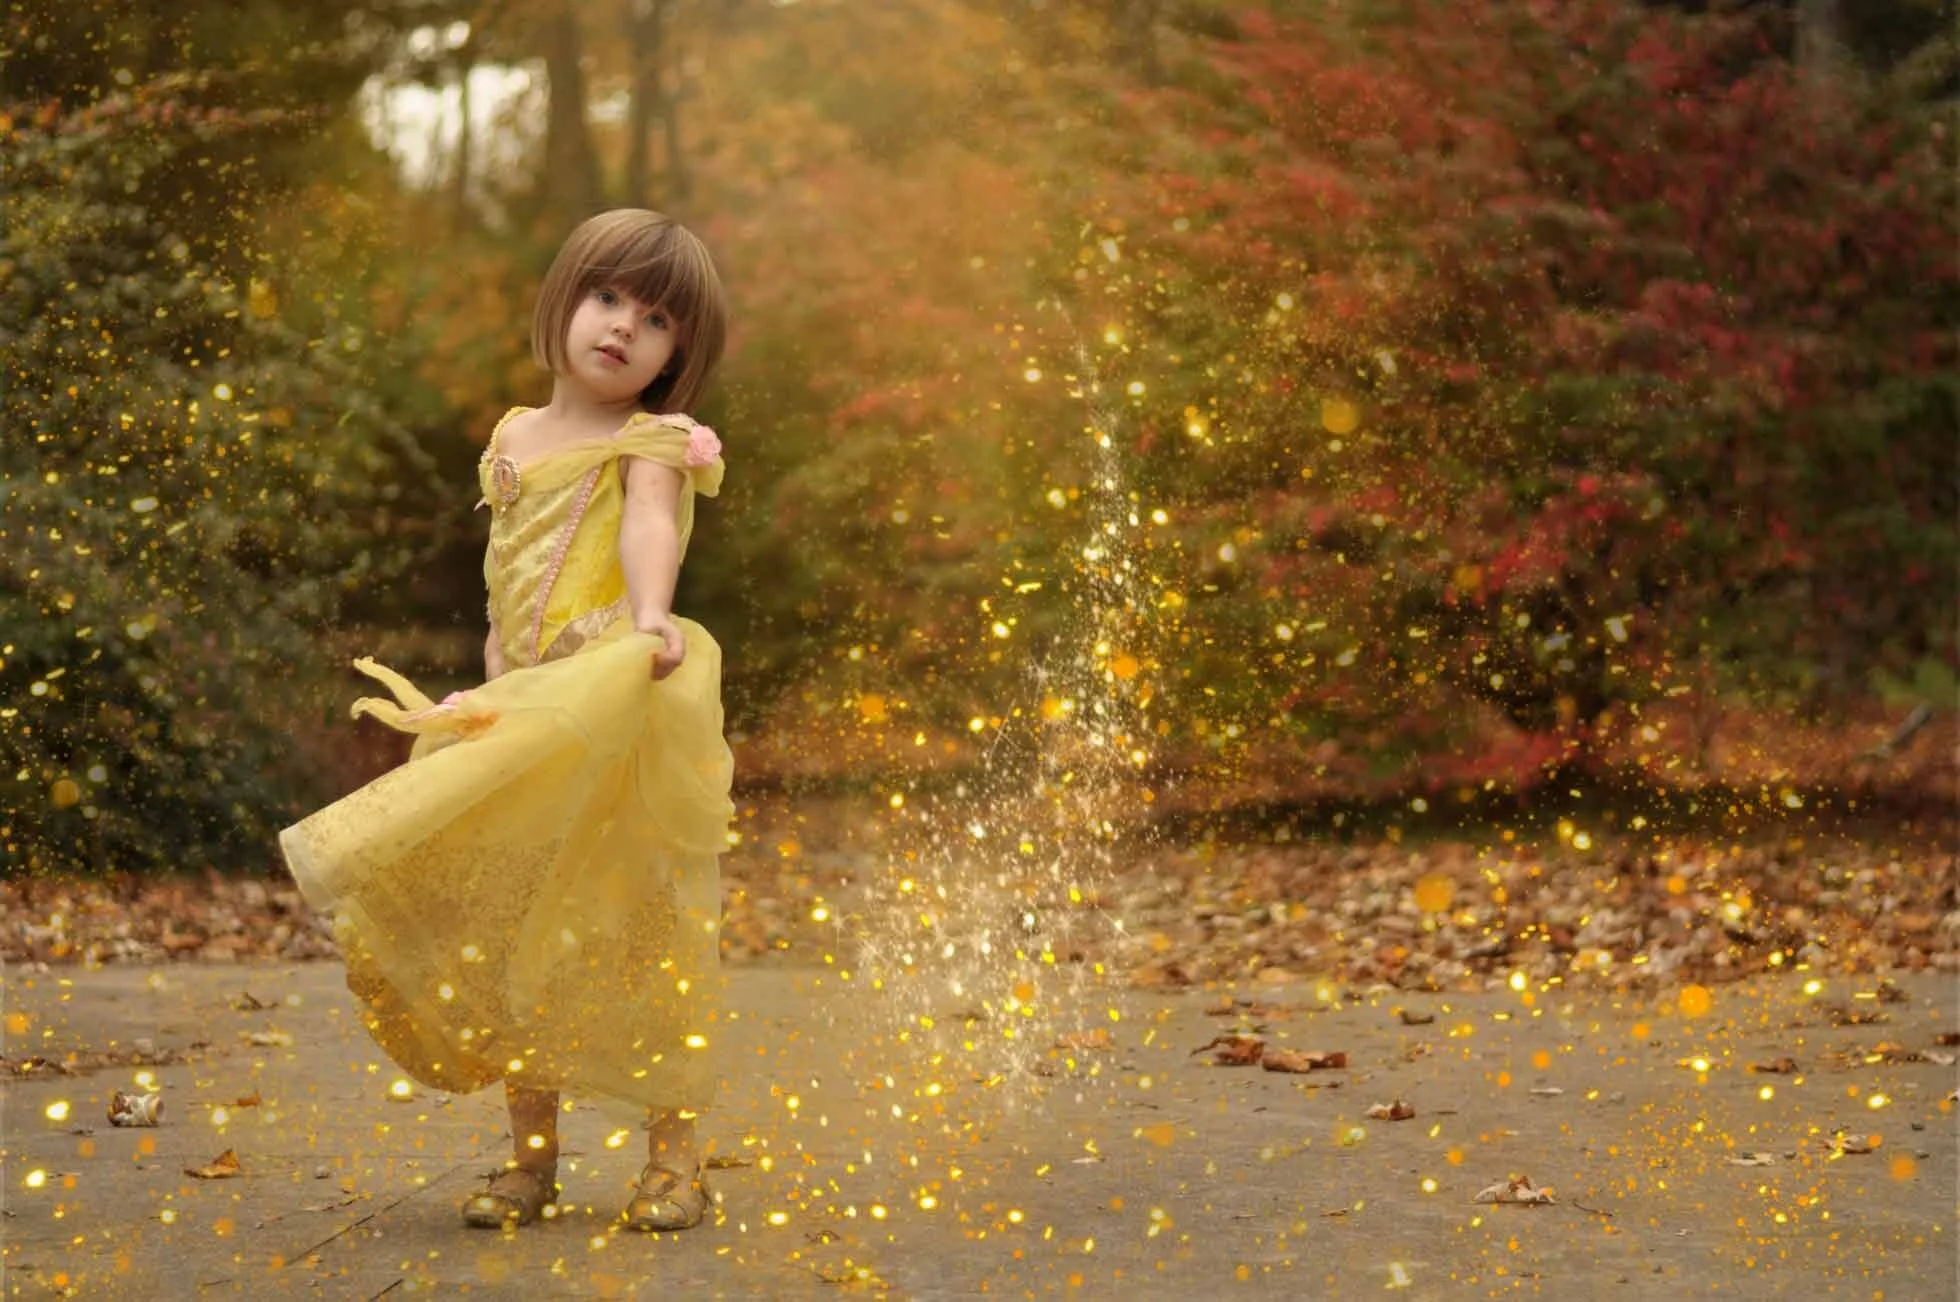
Photoshop can really add magic to the photo.  Use it to help the scene!  You can use a glitter overlay like I did when my kid was Belle. This overlay is from Jessica Drossin.  Or you can edit the eyes out to make your ghost look extra creepy! For a Harry Potter costume consider adding a lightning bolt, or a smoke overlay for a witch!  Maybe do a composite, or make your subject levitate.  I have a tutorial here on how to do a levitation photo. The possibilities really are endless for a good photoshop edit! This is a really good time to start experimenting.

ghost-eyes.jpg

3.       Capture their Personalities

Make sure to document the way they laugh or their favorite part of the costume, or how much candy they got that year.  It might be a good idea to try to do pictures ahead of time too!  That way you have plenty of time for trick or treating. Don’t forget to capture those details!

witch-halloween-costume.jpg

Whatever you do, make sure to document these moments! It’s so fun to look back at previous years.  For more Halloween inspiration check out Kellie Bieser.  She is the master at capturing Halloween costumes!

halloween-costume-ideas.jpg

Thanks for reading!

The Zombie Edit

How to Make Yourself look like a Zombie in Photoshop

First you start with a lovely head shot, or any kind of portrait.  For this I used an old head shot of myself.  I then used the Dodge tool to overly lighten highlights on the skin, and on the eyes. Then I used the burn tool around the eyes, mouth, and hairline.   Next, I used the sponge tool to take away some of the color.  At this point the photo was still way too pink for a zombie.  Looking dead is the key! I then added a texture layer of a photo I took of a granite countertop.  You could easily do this yourself! I then chose to set the layer to “overlay”, and I masked off the parts I didn’t want it to cover. I then added a texture layer of a photo of dirt I took.  I literally went outside and just took a picture of dirt.  SO EASY! I chose to set the layer to soft light and masked off the parts I didn’t want to show through. I felt the image needed some grit. I think I got this next texture from Brooke Shaden.  If you haven’t seen her artwork you need to go look now! Here! I then added some gore with a soft paintbrush around the eyes, nose and mouth, and I set the layer to soft light. Then added more gore with a brush, I think maybe I got online here. Then I just add more shadows and depth. There you have it! Years of art lessons have finally paid off! Ha! If you are interested in having me “zombify” one of your own photos please contact me!  See my speed edit below.

zombie-before-after-gif.gif

Thanks for reading/watching!

3 Ways to Adjust your White Balance

You might ask, why is white balance important?  Adjusting your white balance correctly in camera will give you more natural colors, and therefore be easier to handle during post processing. Proper white balance will help you achieve perfect skin tones, and fight color casts.  If you don’t know what color casts are you can refer back to this blog I wrote earlier.   As you train your eye through practice and persistence you will begin to notice the glaring importance of white balance. There are a few different ways of handling your white balance.  The first is:

Auto

This is where your camera automatically adjusts the white balance for you.  In this setting the camera is giving you what it believes to be the best results. Auto white balance can be a good place to start, but it doesn’t always give you accurate result, especially in difficult lighting situations.  You can fine tune your auto white balance in most full framed cameras by adjusting the settings to shoot either warmer or cooler.  Shooting in auto is good in those circumstances (like a wedding) where the light is continually changing (such as moving from room to room) and you don’t have time to adjust it manually.  The second is:

White balance preset

You can adjust the white balance preset to accommodate the specific type of light that you are in.  There are normally 6 different settings including: Tungsten, Florescent, Daylight, Cloudy, Flash and Shade.   You can also set your white balance by using a gray card or an expo disc.  These are good to use if you’re not sure how to use Kelvin.  When I first started out, I used an expo disc.  It was a good tool to help me achieve the perfect white balance.   The third is:

Kelvin

What is Kelvin? Kelvin is the temperature of light.  You can manually adjust your Kelvin number in your camera to closest represent the color of light in a room.  I think that Kelvin is the most accurate and best way to adjust your white balance, and it is the method I prefer.  As you continue to perfect your white balance in camera and during post processing it will be easier to adjust manually using Kelvin. On my Nikon D750 you can adjust the numbers between 2,500-10,000.  5500 would be the most neutral in color, and it would represent the sun at noon. At the low end of the spectrum (2,500K) would be your very warm light, like candlelight.  At the high end of the spectrum (10,000K) you would have very cool light like in deep shade, or blue hour.  As you increase your Kelvin number the more you warm up your photo, and conversely the more you decrease your Kelvin number the cooler your photo will be.  For Example: If the light is very warm (like candlelight) you will need to offset that orange tint in camera with a cooler (lower) Kelvin number.  To use Kelvin, you will need to observe the light in front of you and how they are affecting your subject.  This comes with time and practice.  So be patient!  See the examples below.

Kelvin.jpg

 TIP: When I use Kelvin, I like to first take a picture of pavement, or something neutral in color. I then adjust my Kelvin number so that it looks as close as I can get it to the natural color of the pavement. This helps me have a good starting point.

Kelvin-white-balance-multiple-examples-by-callihan-photography.jpg

Conclusion

So, in summary, there are three ways to adjust your white balance.  Auto, Preset, and Kelvin.  Kelvin is manually setting your white balance. Auto is letting your camera choose for you.  Preset isn’t as fine-tuned as Kelvin but can be adjusted according to the light that you are in by using a gray card, expo disc, or choosing the light setting. White balance is an important tool in making more accurate or artistically intentional coloring in your photographs.  I hope you have found this to be helpful!

Thanks for reading!